
Tie Dye
Tie dyeing is always a favorite activity for us to do each summer. A couple summers ago, after Jack potty trained, he asked for rainbow underwear (which, for the record, is impossible to find for boys), so we tie dyed white toddler boxer briefs. This summer we did some more underwear, t-shirts, bandannas, and some masks.
Since tie dyeing is apparently the thing to do during a pandemic/quarantine, it was kind of difficult to find the supplies. Michaels was wiped out of all RIT dye and dyeing kits, and they were missing many sizes in their t-shirt section. I finally found shirts that would work, and ordered the dye (one color at a time, as they became available) from Amazon.
What you will need:
White t-shirts, socks, bandannas, underwear, etc..
Rubber bands
Purchasing via these affiliate links help support the site.

Step 1 - Buy supplies & prep
Buy & Mix Dye - The first thing you’ll need to do is buy your supplies. If you’re choosing to buy a tie dye kit, it will most likely also come with the squirt bottles. We bought RIT dye in red, orange, yellow, green, blue, and purple, and then bought plastic squirt bottles separately. Since the dye was so difficult to find, we purchased some colors in liquid form and other colors we could only find in the powder form. It really doesn’t make a difference which you choose. Mix the RIT dye according to the directions on the bottle or box, and pour each color into a plastic squirt bottle.
Soak in Soda Ash - We also ordered soda ash, which we mixed, and then soaked the clothes in for about an hour. Doing this helps activate and set the dye into the fabric. *If you chose a tie dye kit instead of individual dye bottles, there may be soda ash already in the dye.


Step 2 - Tie up fabric with rubber bands
After soaking in the soda ash, wring out the fabric, and decide which pattern you would like to create. Pictures or You-tube videos can be found showing directions on how to create various tie dye techniques (bull’s eye, spots, stripes, spiral, folding, etc…). (https://www.tiedyeyoursummer.com/techniques has great directions!) Use rubber bands to tie up your fabric to achieve the design that you want (do this while your fabric is still damp, but not dripping).


Step 3 - Tie Dye!
Once the fabric is all tied up, you can begin dyeing. Decide which colors you would like to use, and using the squirt bottles, cover the fabric with the dye. When done, place the dyed fabric in a plastic bag and leave for at least 24 hours.


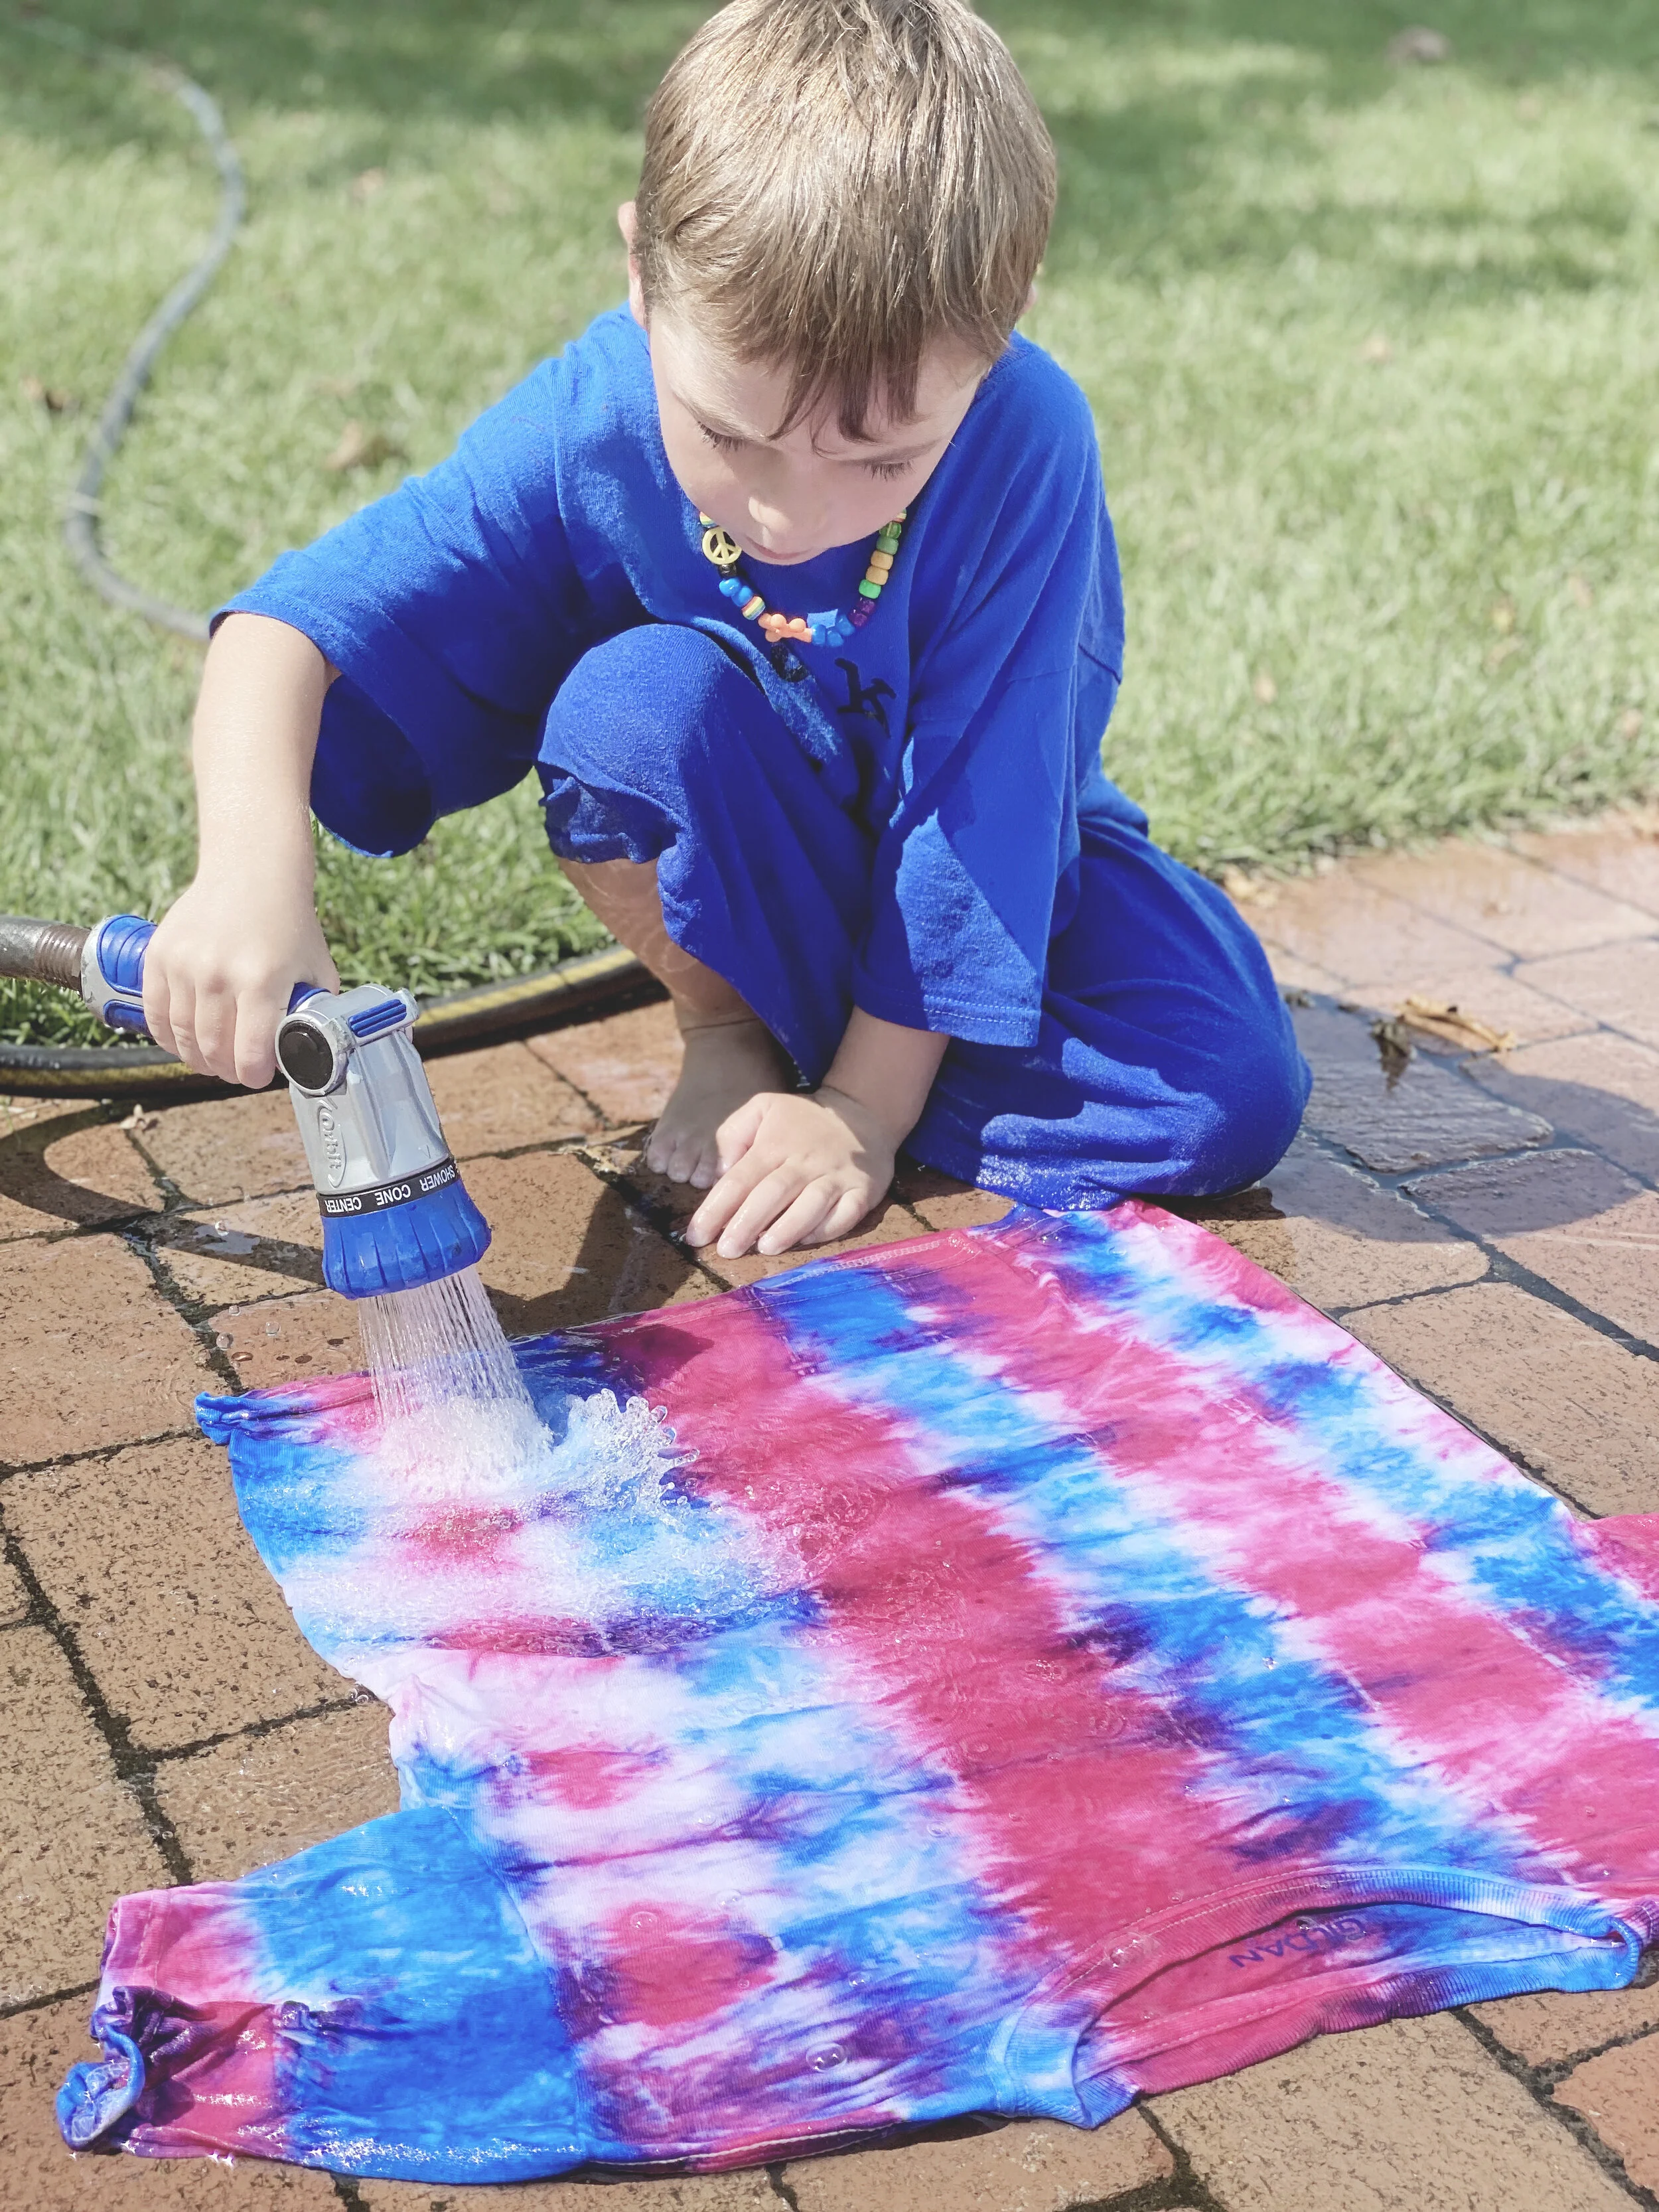
Step 4 - Untie & Rinse
After the fabric sits in the bag for at least 24 hours, use a hose or running water in a sink to COMPLETELY rinse all of the dye out of the fabric (do this while it is still tied up with rubber bands). Keep rinsing until the water runs clear. Untie or cut all of the rubber bands, and then continue rinsing (again, until the water runs clear).
After rinsing, we either hang or lay our fabric in the sun to set for a few hours before washing in warm water (separate from other clothes).

Tips!
We found that, even if we rinse completely, and then rinse some more, the red dye always bleeds into the white sections of the fabric. Next time, I think we’re going to avoid using the red dye altogether.


