sparkler art
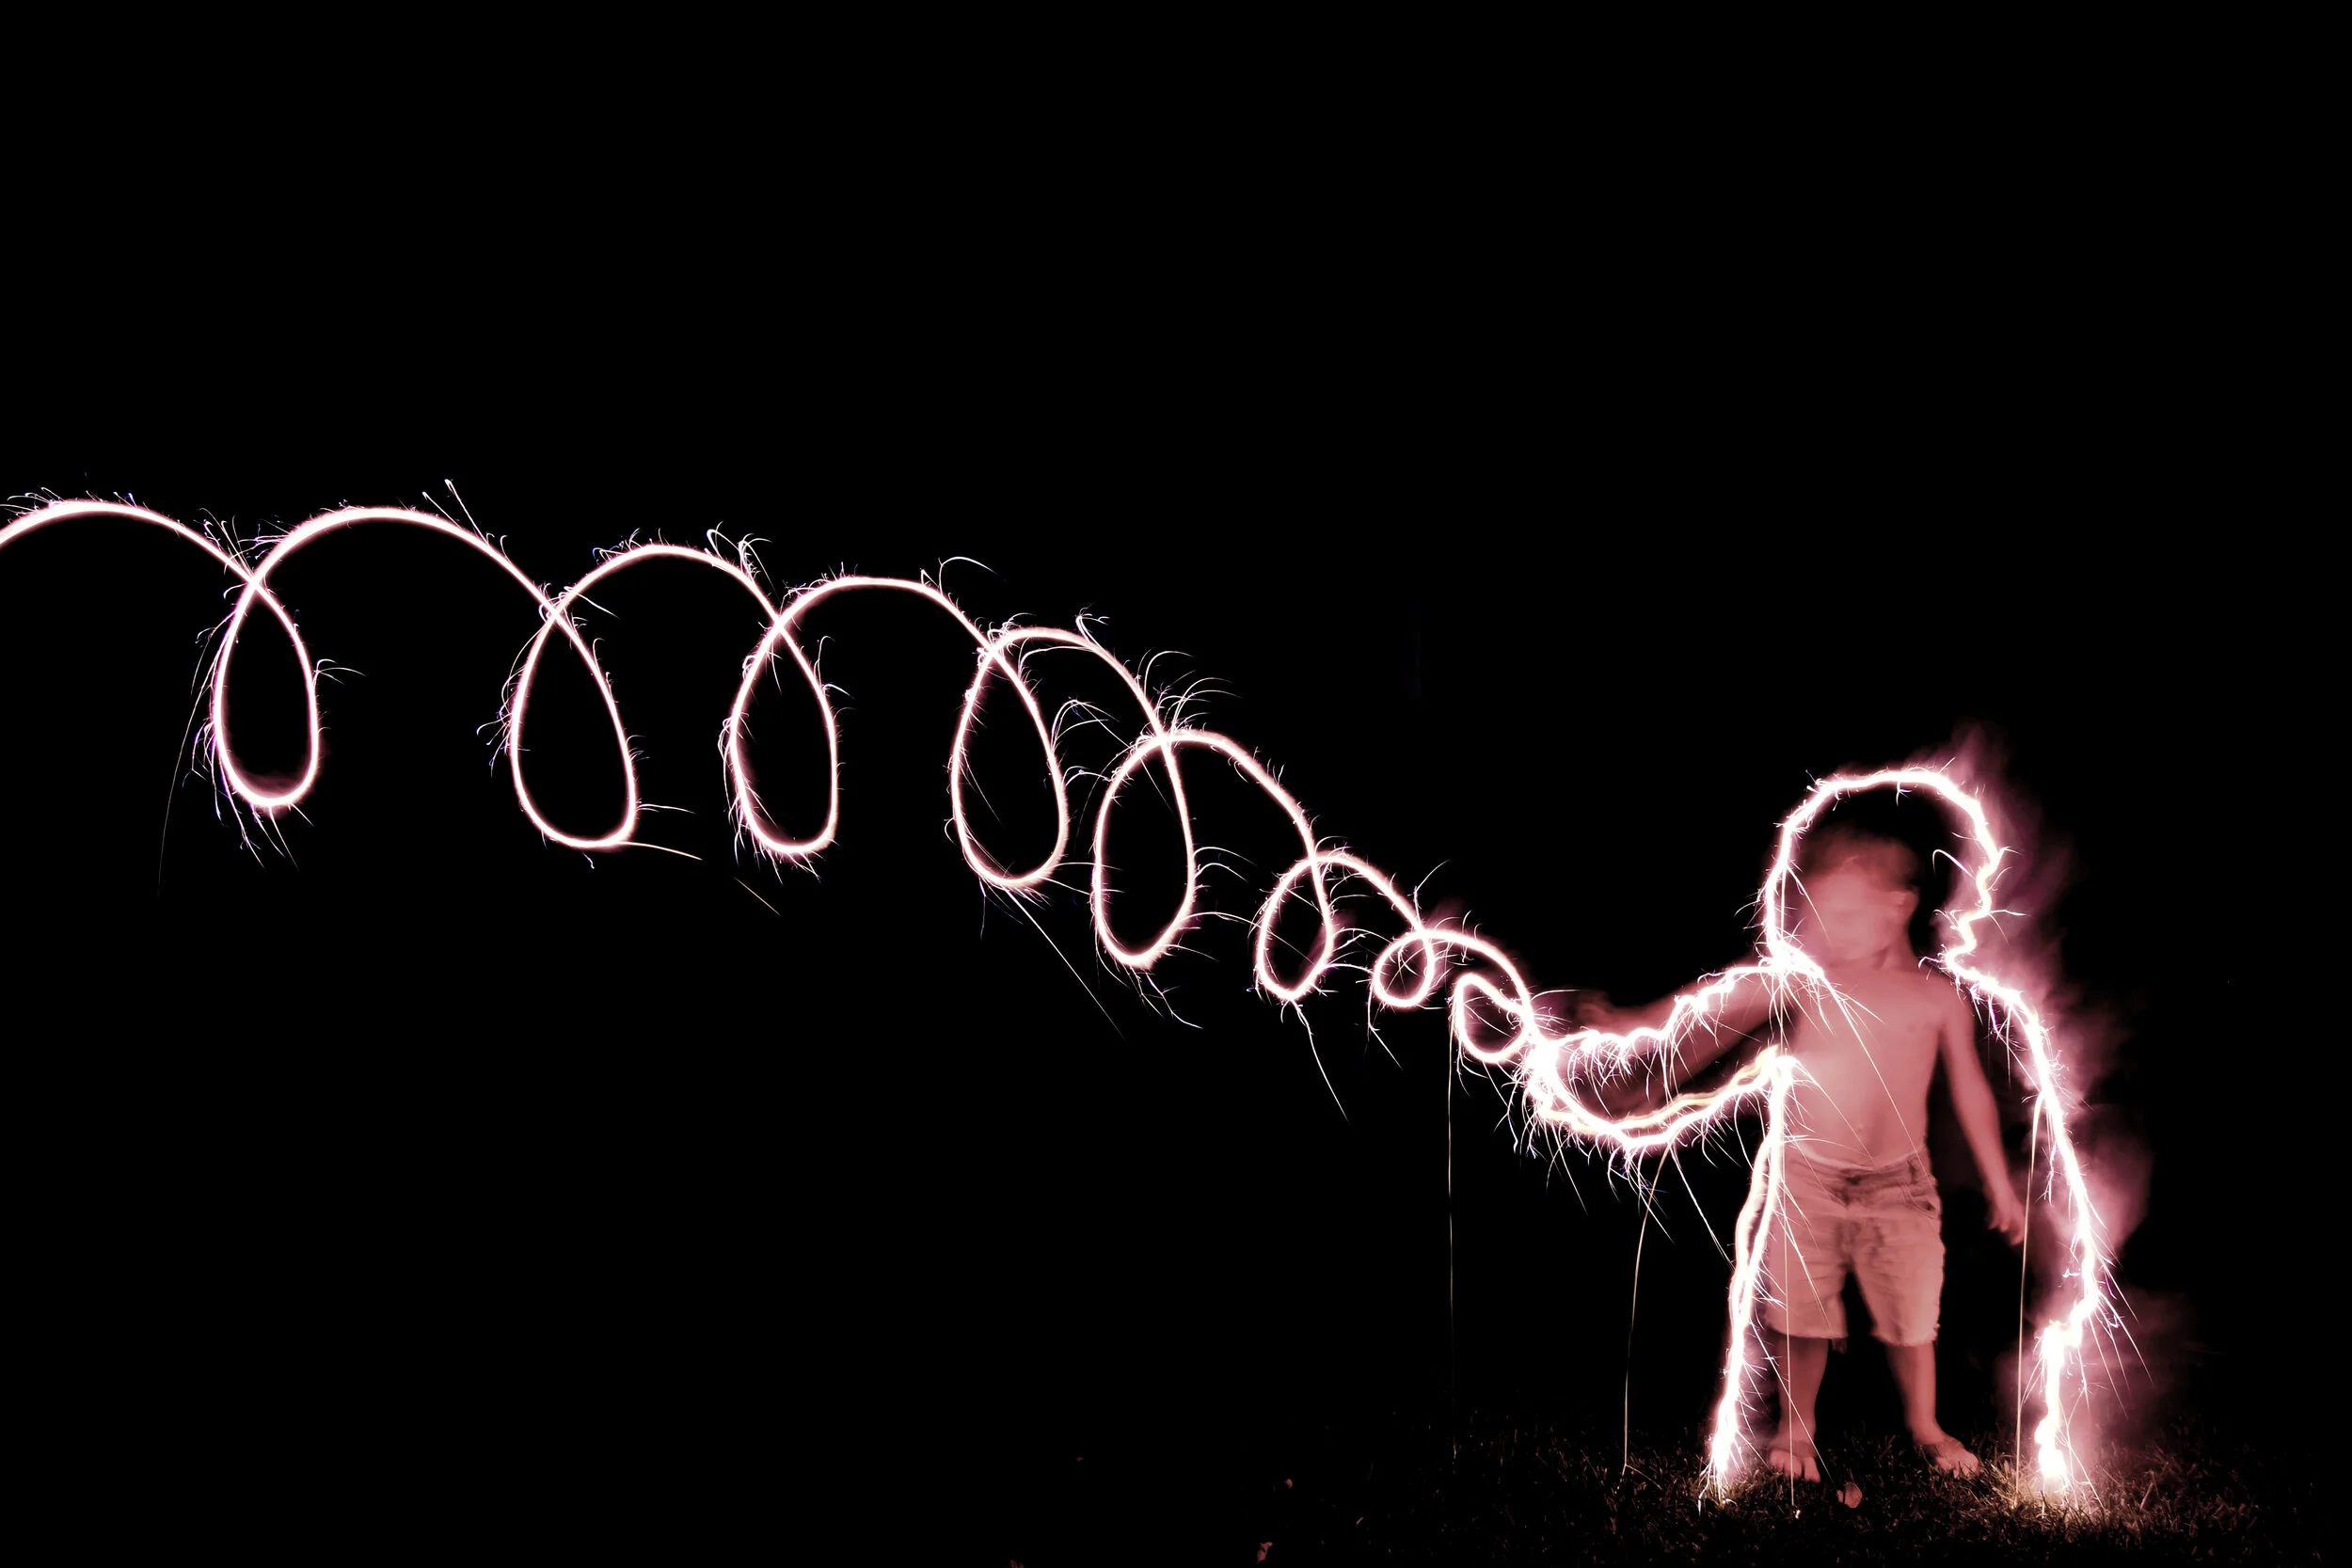
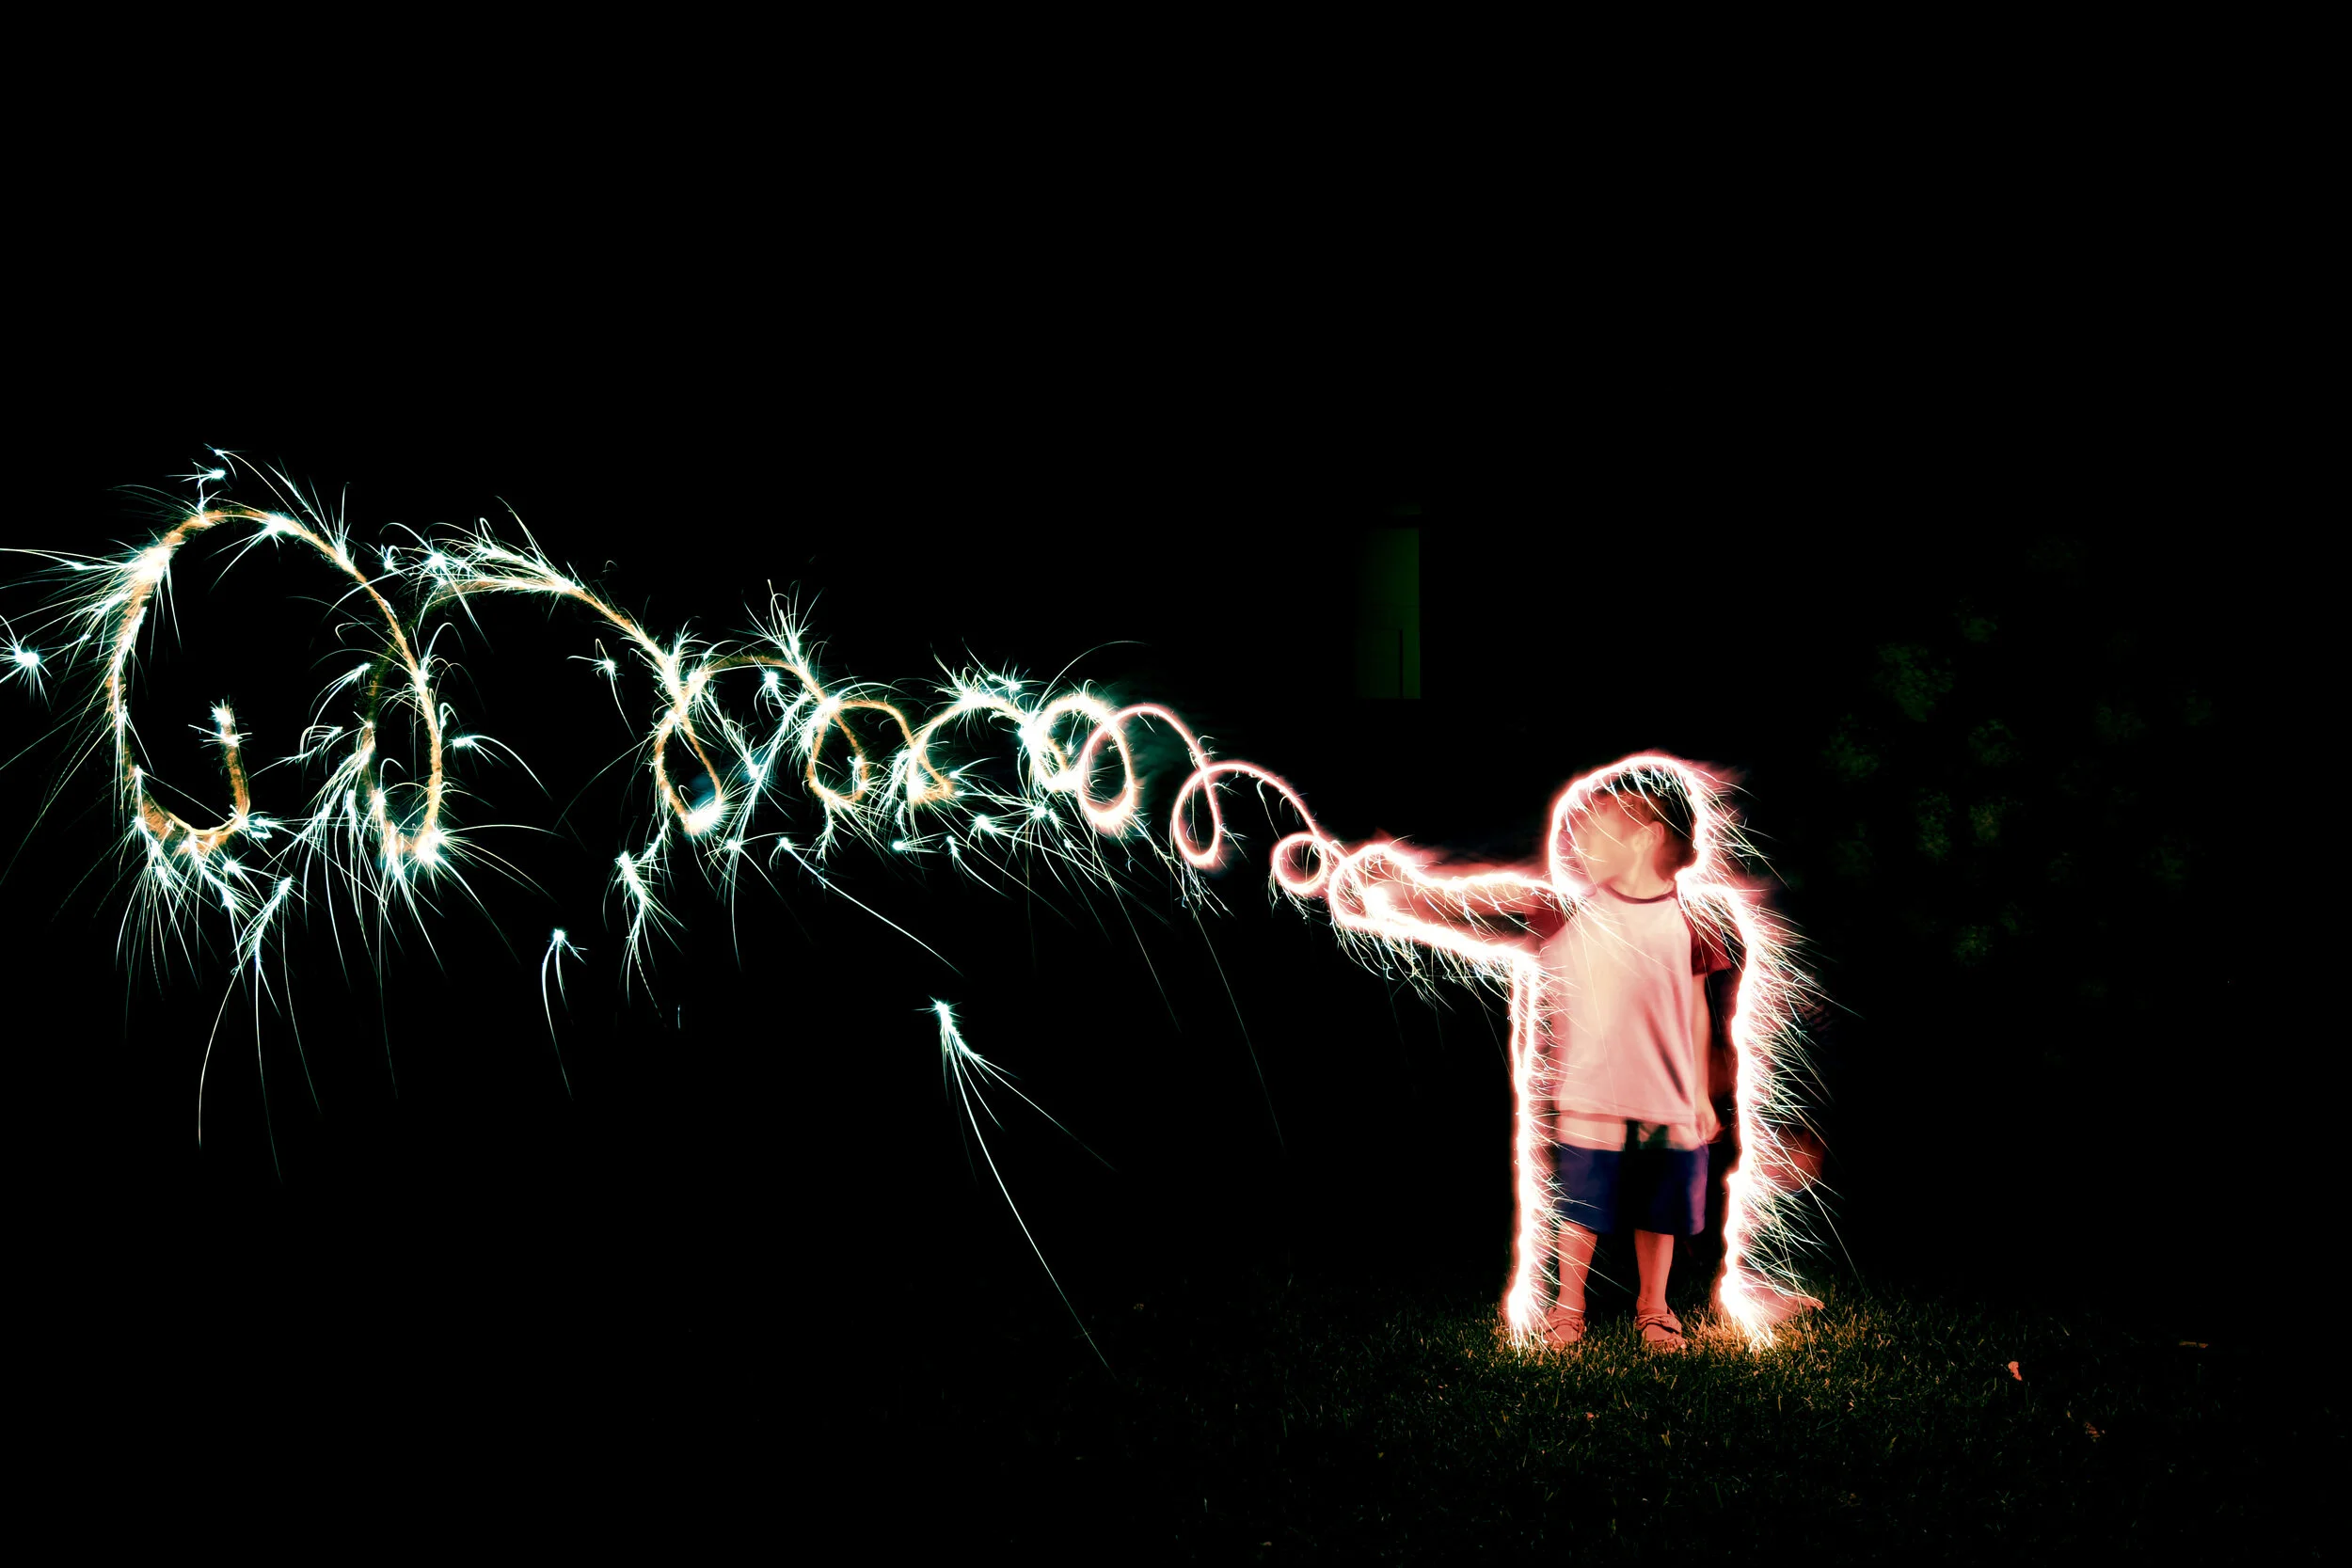
Sparkler art is a quick, easy, and super fun activity to do if you’re hanging out by the fire outside after dark! First, assemble your supplies and then set up your camera on a tripod. The shutter speed on your camera (this measures how long your aperture will remain open) must be set to “bulb”. The ISO (or film speed) should be pretty low (mine was set to 125). The f-stop (or aperture setting) controls the size of the opening that allows light into the camera…you can change this depending on the look you are going for. I usually use a pretty high f-stop of about 18-22 (meaning that the opening allowing light in is small)…this creates a picture where you see the sparklers, but the background is usually completely black. If your goal is to see some of the background, you can open up the aperture more.
Once the camera is set up on the tripod and the sparklers are ready to go, one (or more) person at a time will light a sparkler and try to draw a picture with it in front of the camera. Someone else will have to take the picture. Whether you are using a timer or just pressing the button on the camera to take the picture, you will need to hold down the shutter button (the button that you press to take the picture), until the person is finished with his/her drawing. Once they are done, just release the button. If you are not using a remote timer, you will need to hold down the shutter button on the camera without moving the camera too much, since this will result in a blurry photo. The drawings will obviously have to be done pretty quickly (before the sparkler burns out). The longer you press the shutter button, the lighter your background and overall picture will be.
What you will need:
Camera
Tripod
Timer for Camera (optional)
Sparklers
Lighter