Shark paintings
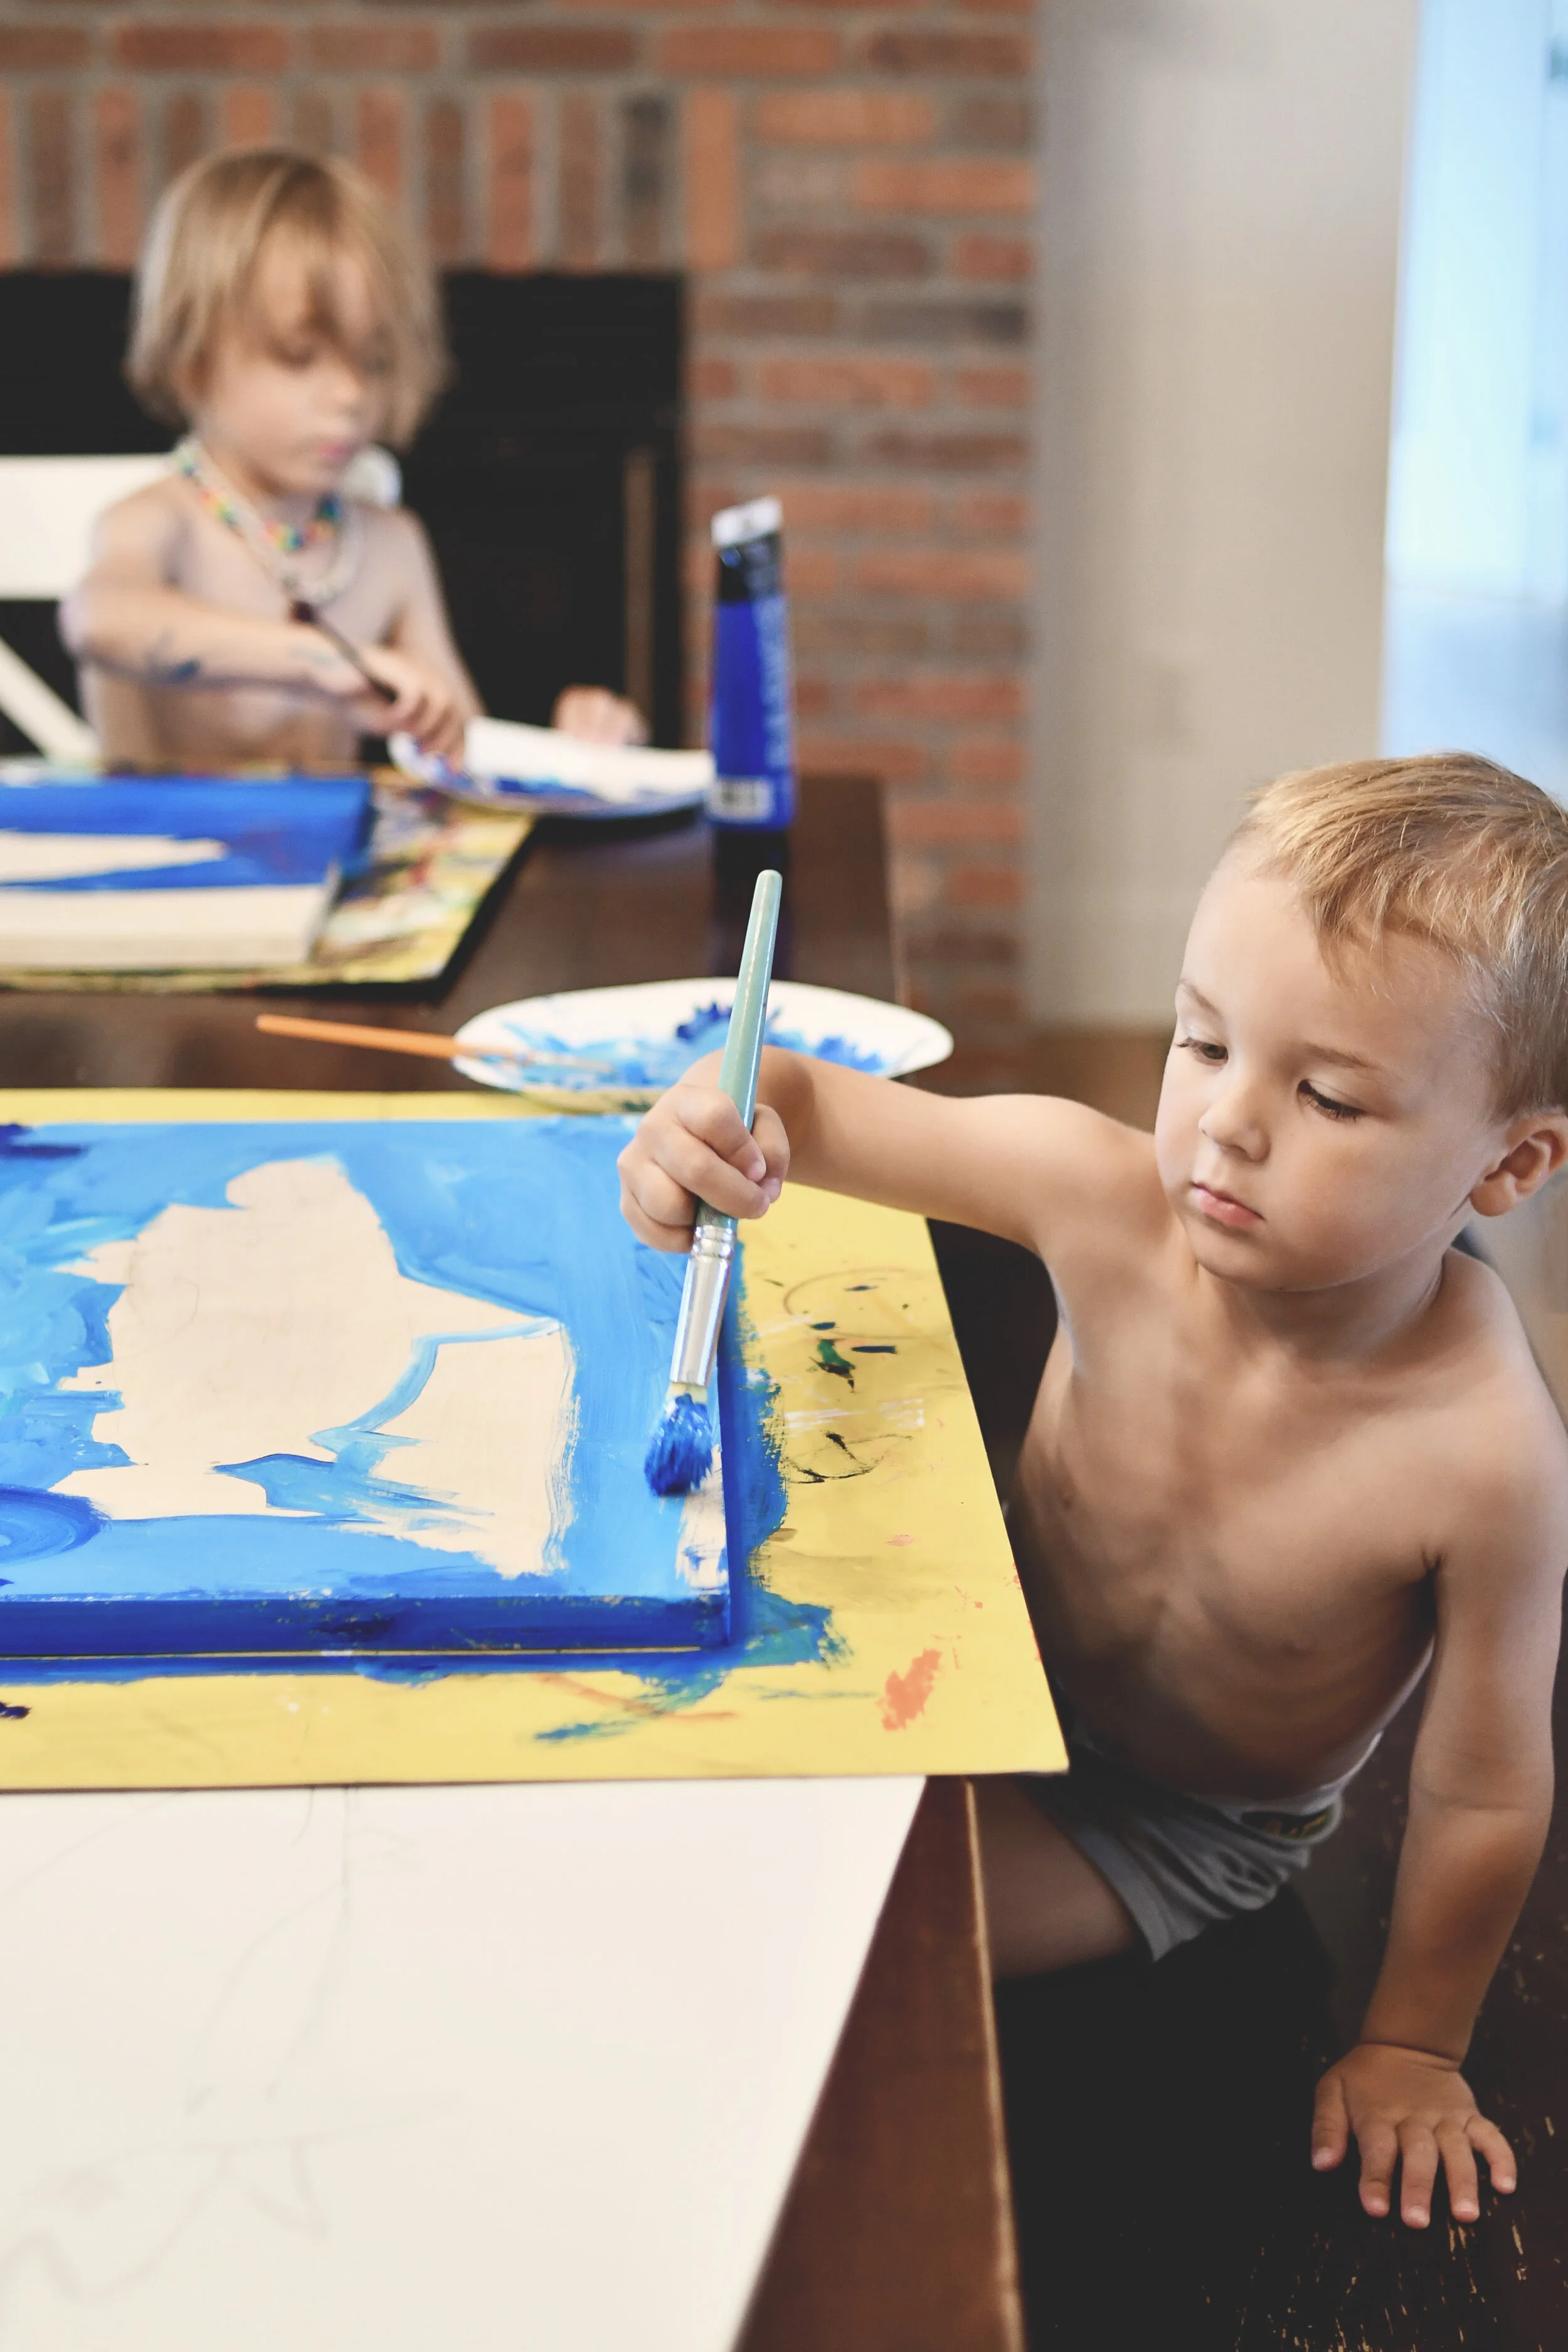
We always have tons of scrap wood laying around our garage, so whenever we’re cleaning up in there, we cut them into squares or rectangles to use for future painting projects. So when the boys wanted to paint sharks, we grabbed 3 of these boards. The boards that we used were just plywood (measuring about 15” x 20.5”), but any wood type or size is fine.
Lightly sand the edges and corners to prevent splinters.
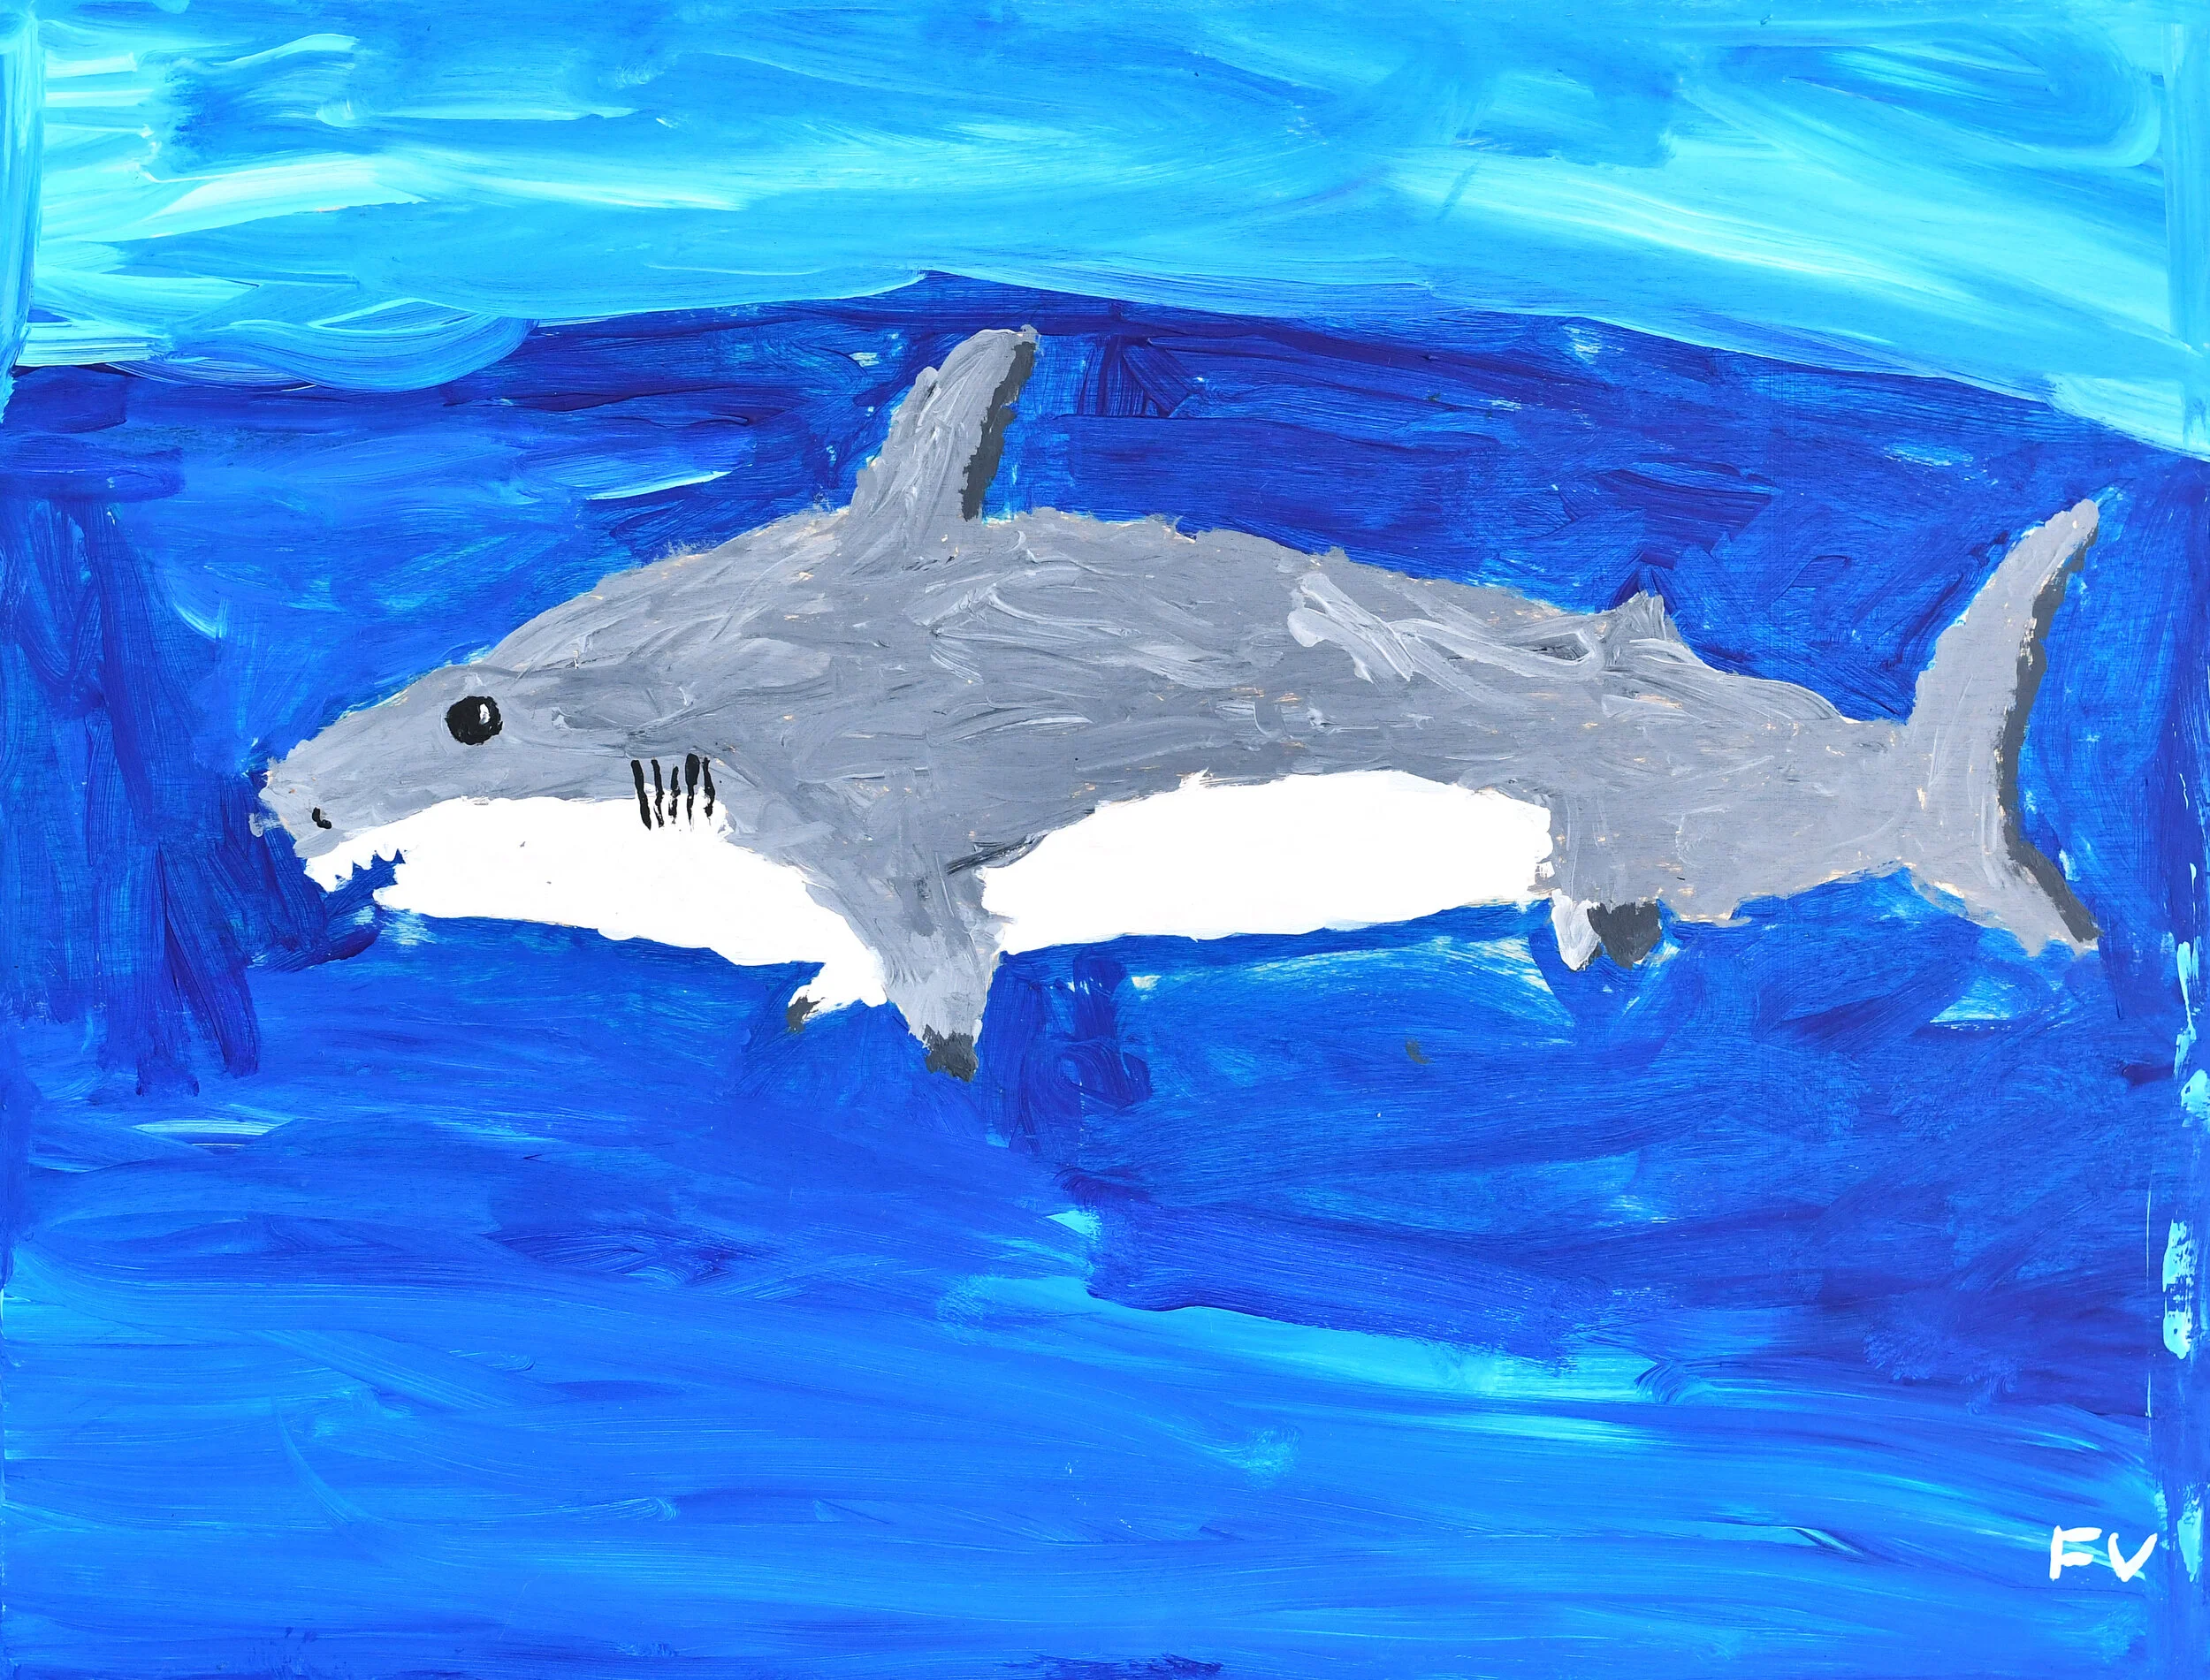
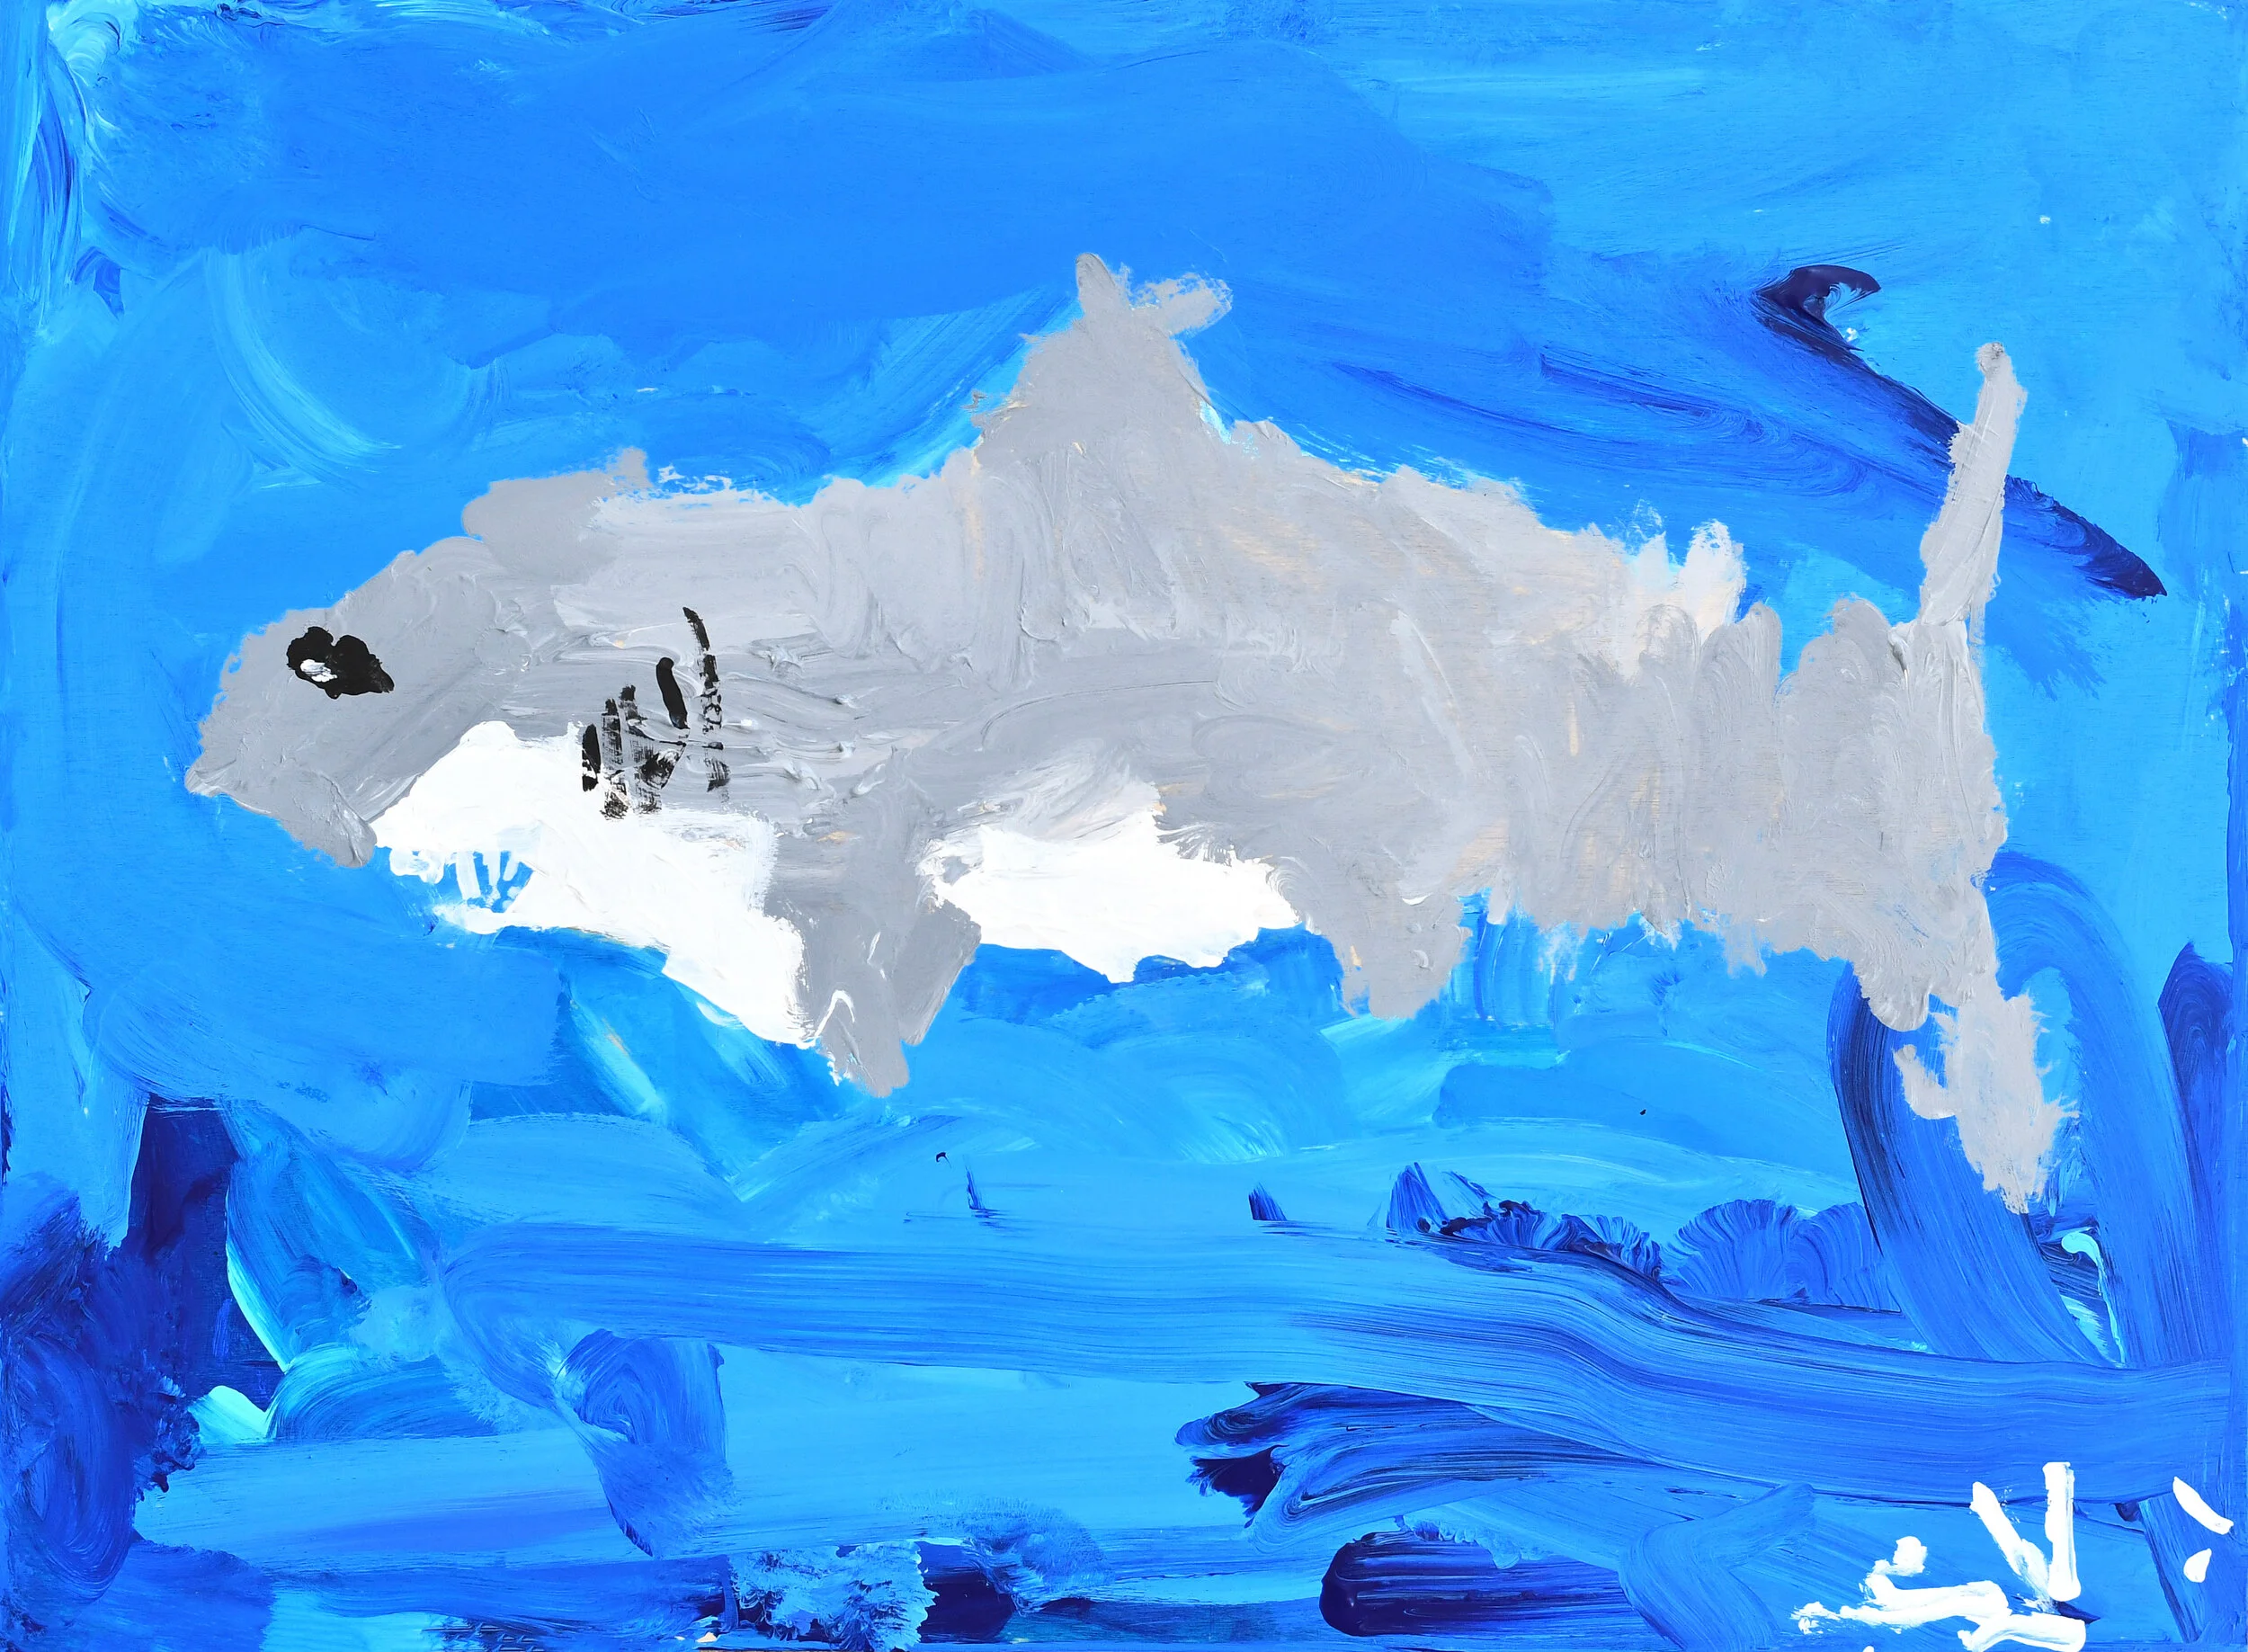
Decide what kind of shark that you want to paint. Fisher and Sam both wanted to paint great white sharks, and Jack wanted a hammerhead. We decided to watch a video showing how to draw the great white, and then once it was finished, Jack looked at pictures of a hammerhead and just changed the head shape of his. This way we could all draw together. I paused the video after each step and drew alongside of them on my own piece of paper.
Once the sharks were drawn in pencil, the boys were given a few shades of blue acrylic paint along with some green and white. Using both large and small brushes, they then painted everything AROUND the sharks (including the edges of the board). We didn’t wash brushes…all colors were just blended together.
Once the background was dry, the boys used white paint to paint all white parts of the shark (including the teeth!). (This step needed two coats, allowing it to dry in between coats for about 10 minutes).
Next, the boys mixed black and white acrylic paint to create the shade of gray that they wanted. They used this to paint the entire shark (they painted right over the eyeball and gills…those will be added back in later). Before the shark dried, they also blended a little black onto the tips of some of the fins (they looked at pictures of sharks as a reference).
Once the shark was dry, they used pencil to draw the eyeball and gills back on, and used black paint with a VERY small brush to paint these.
After everything was painted and dry, they took some white acrylic paint to touch up any white spots that needed it, and also to sign the bottom of the paintings with their initials.
What you will need:
Wooden boards (or canvas, paper, etc…)
Sand Paper
Pencils
Acrylic Paint (blues, green, white, and black)
Paintbrushes (various sizes)
Purchasing via these affiliate links help support the site.