shark attack
photo booth
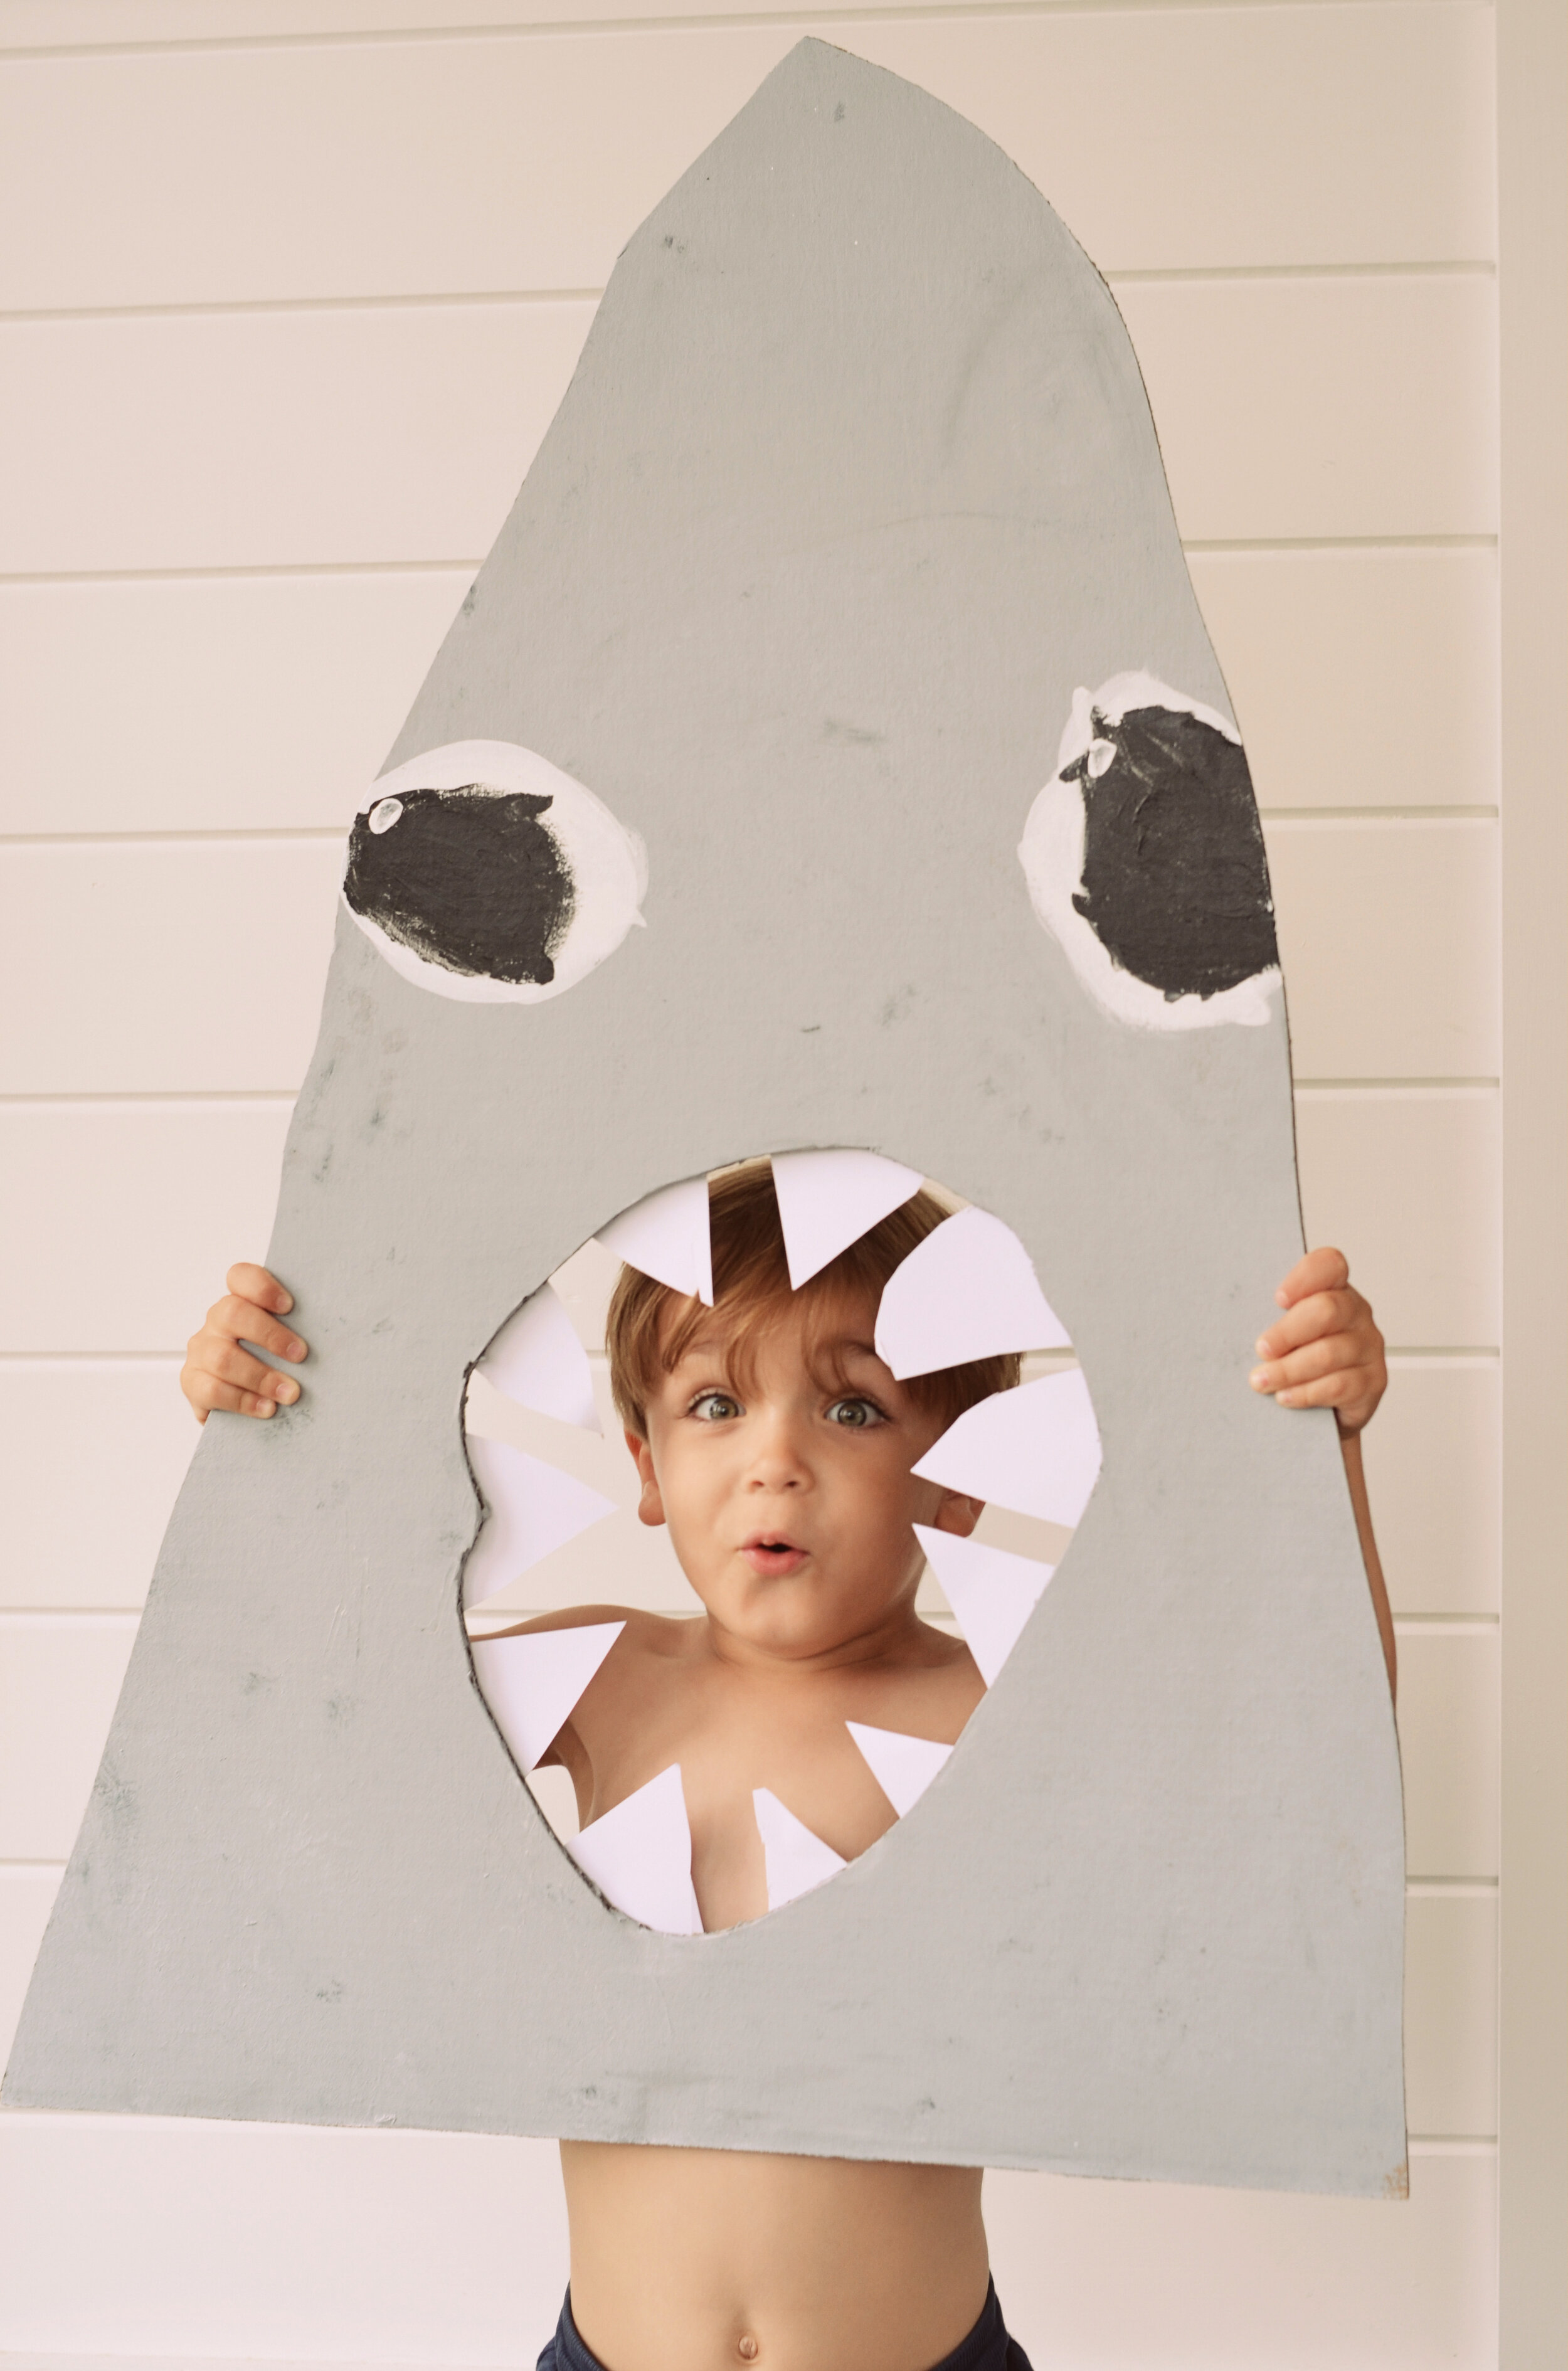
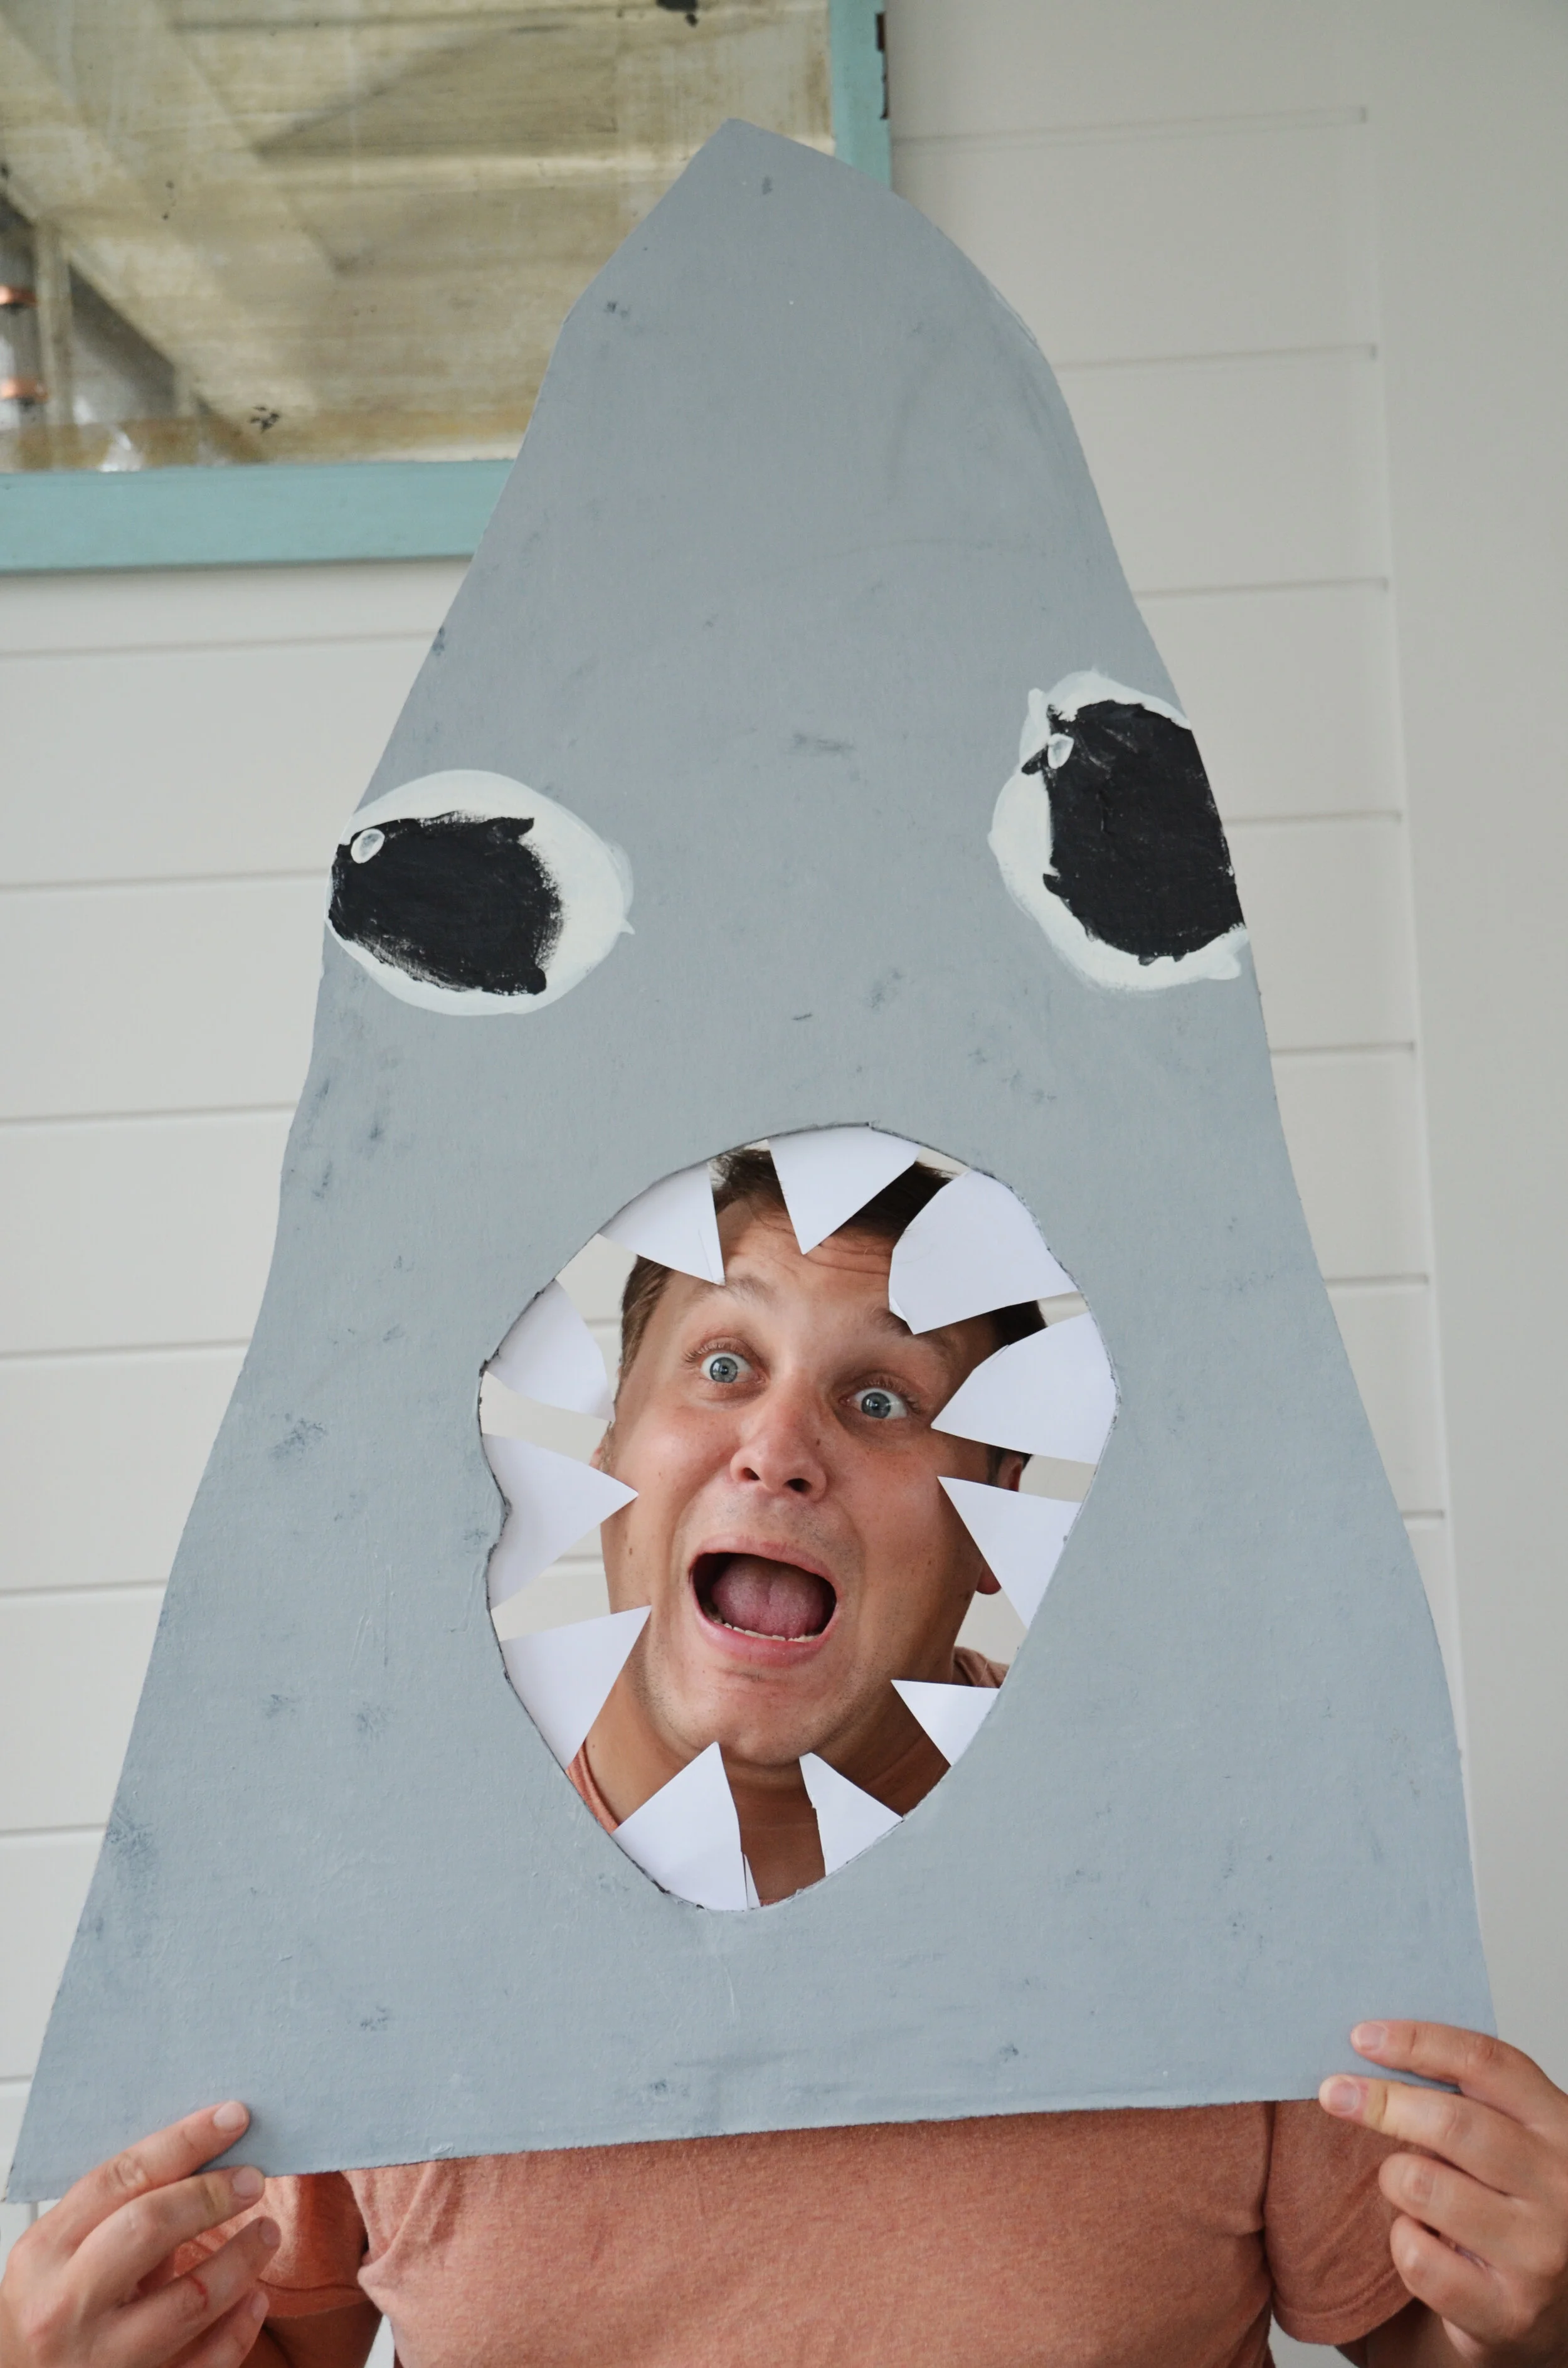
To get ready for shark week, we had the boys construct a shark attack photo booth. Our family sort of LOVES these things. This is a really fun project that requires minimal supplies. Don't miss Shark Week on the Discovery Channel!
What you will need
cardboard (at least 33" x 23"")
paint brushes / rollers
scissors
cardstock
hot glue / hot glue gun

Step 1 - Cut out and paint shark head
Have your child draw the outline for the shark head. Fisher was 4 so we had him draw an 'up and down' motion like he was drawing the letter "A". Our shark head ended up being 32.25" at the tallest point and 22.25" at the widest point. Generally, you will want the face hole to be about 12.25" by 9.5"-ish to accommodate both child and adult heads. An adult will have to cut out the shape of the shark and the face hole with an x-acto knife.
Once cut, place down additional cardboard and have your kids paint the entire face gray using acrylic paint. We used rollers because the kids love using them, but paintbrushes will work fine.
Let paint dry completely.
Step 2 - Paint the whites of the eyes
Use white paint (we used latex since it was we had handy, but acrylic will also work) to draw circles on each side of the shark's face. Make sure to tell the child to have the eyes touch each edge.
Let paint dry completely.


Step 3 - Paint the pupils
Use black paint to draw circles inside the white circles. Once completed, your child can add a dot of white as a highlight using the back of a paintbrush.
Let paint dry completely.
Step 4 - Draw, cut, and attach the teeth
On white card stock, have your child draw and cut out large triangular shapes around the edges (5-6 depending on size). Secure these to the backside of the shark head using hot glue (or Elmer's glue).