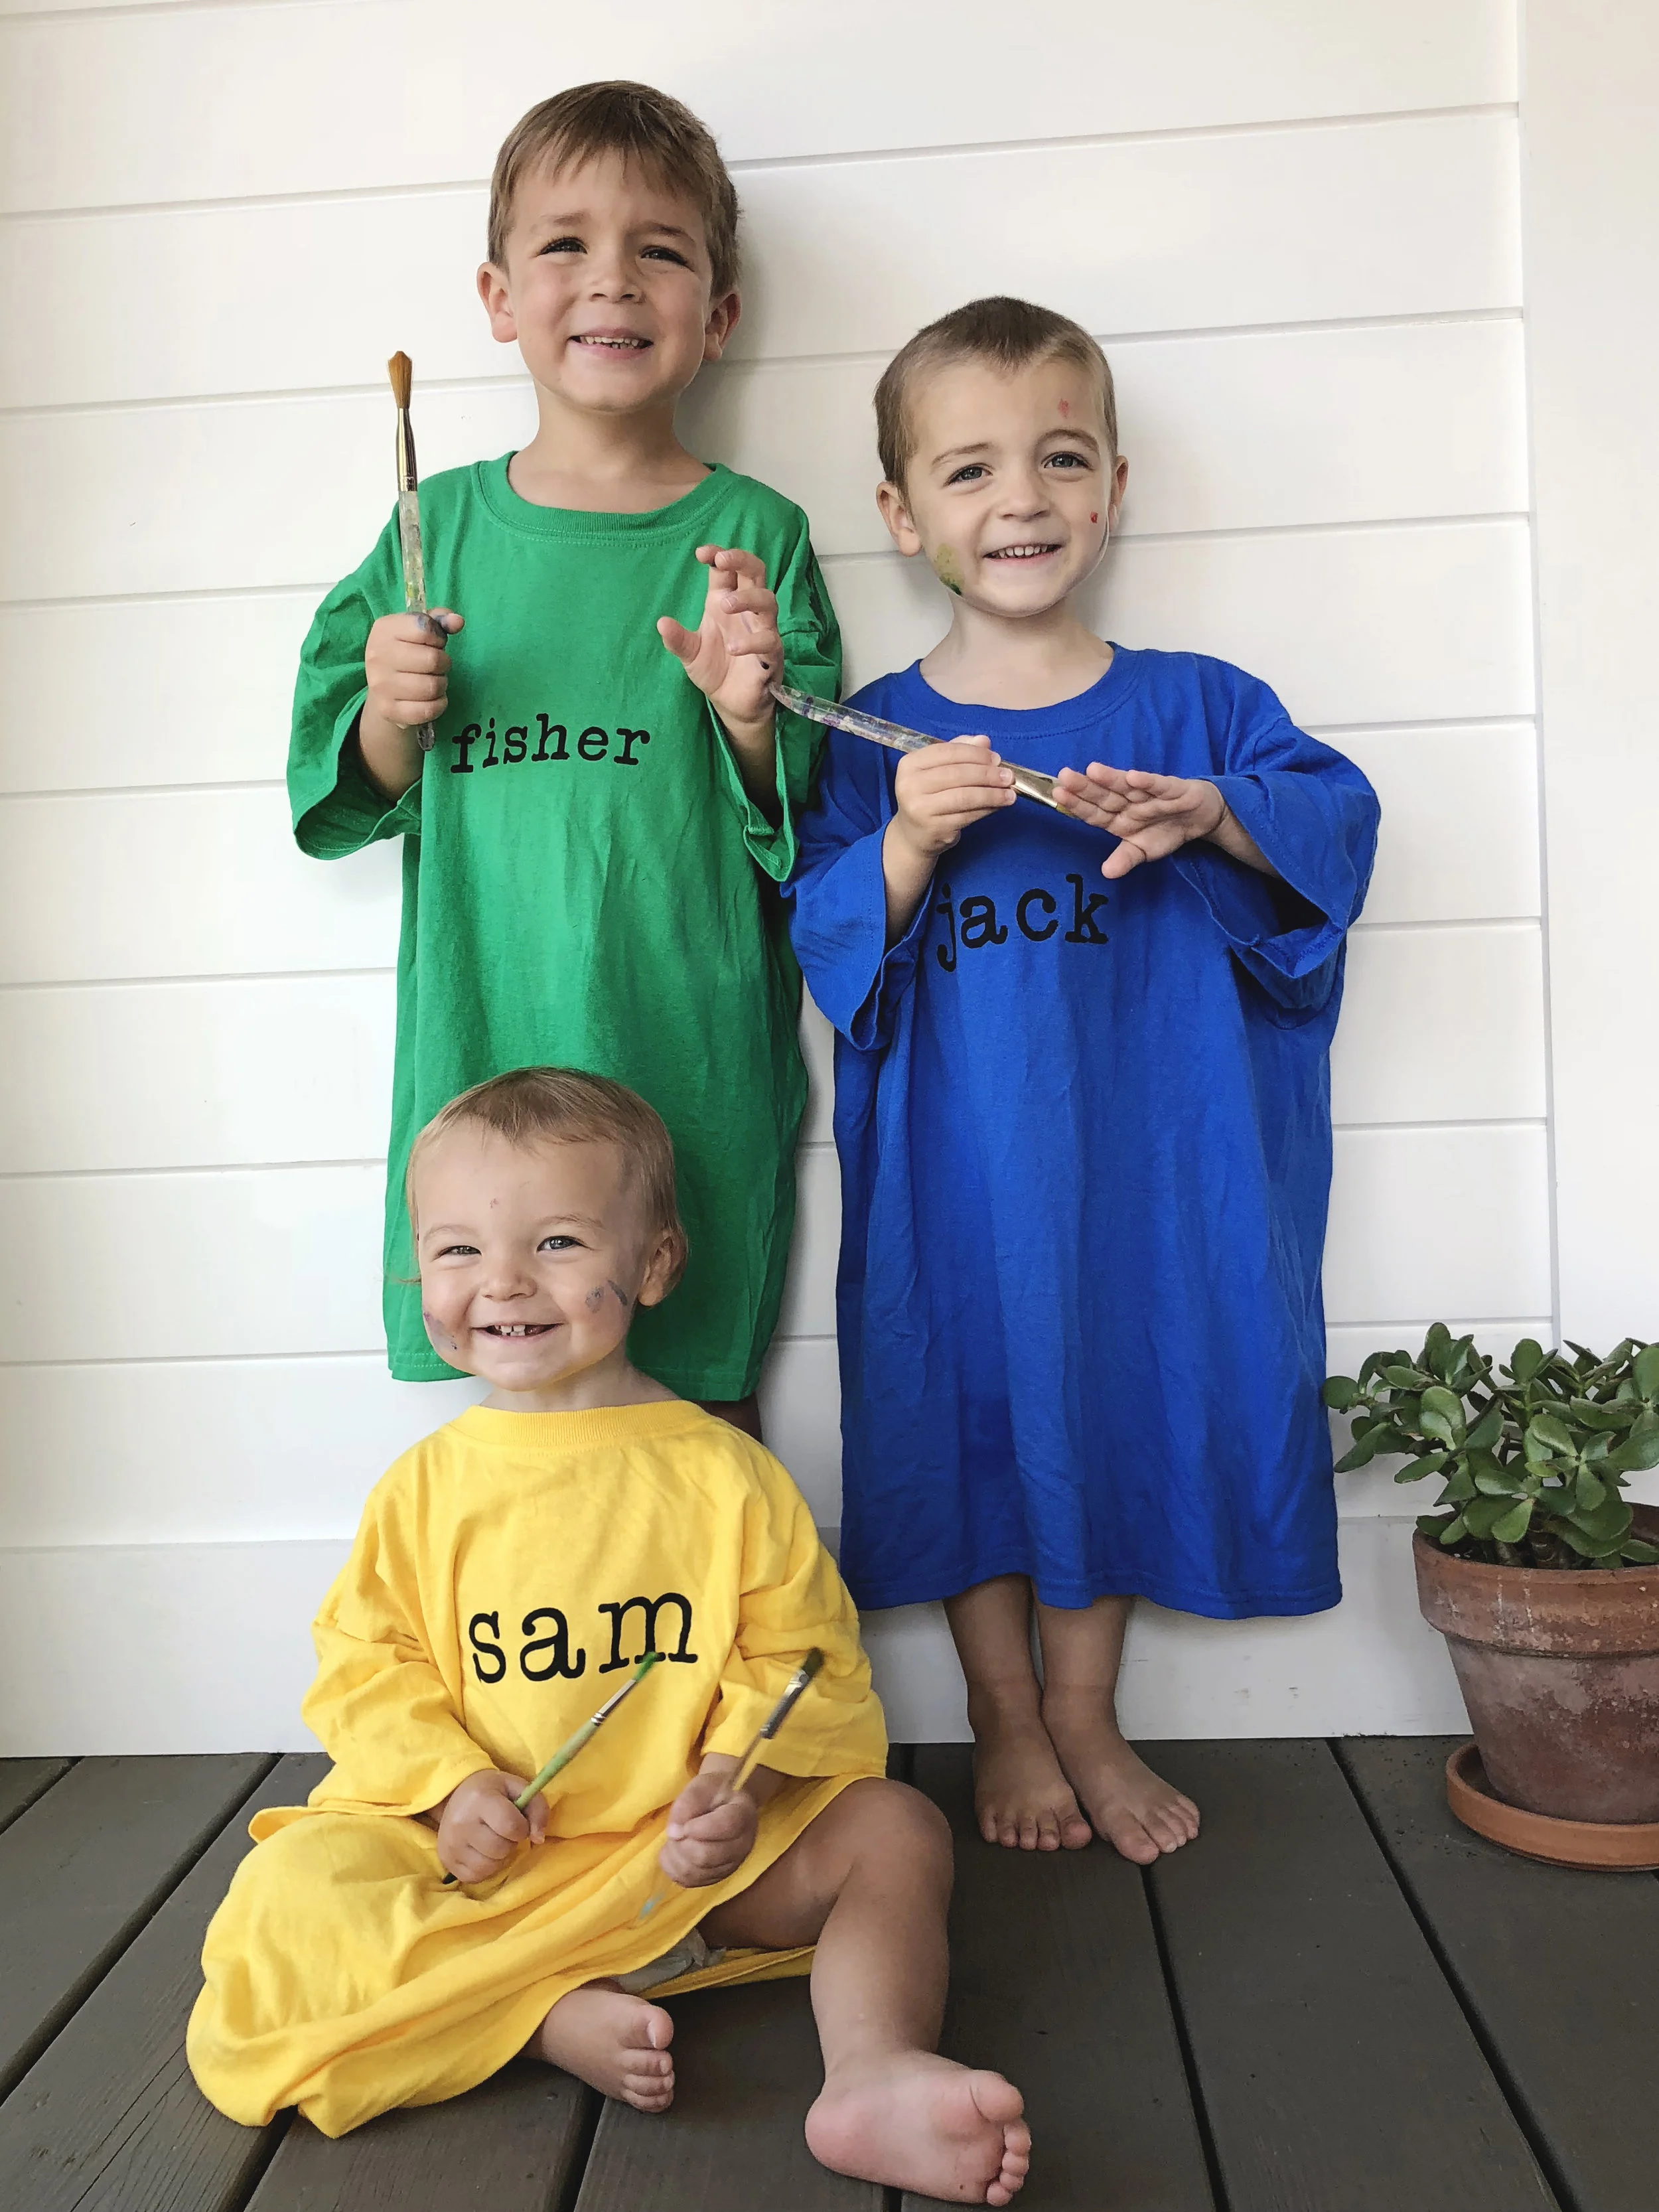
screen printed smocks
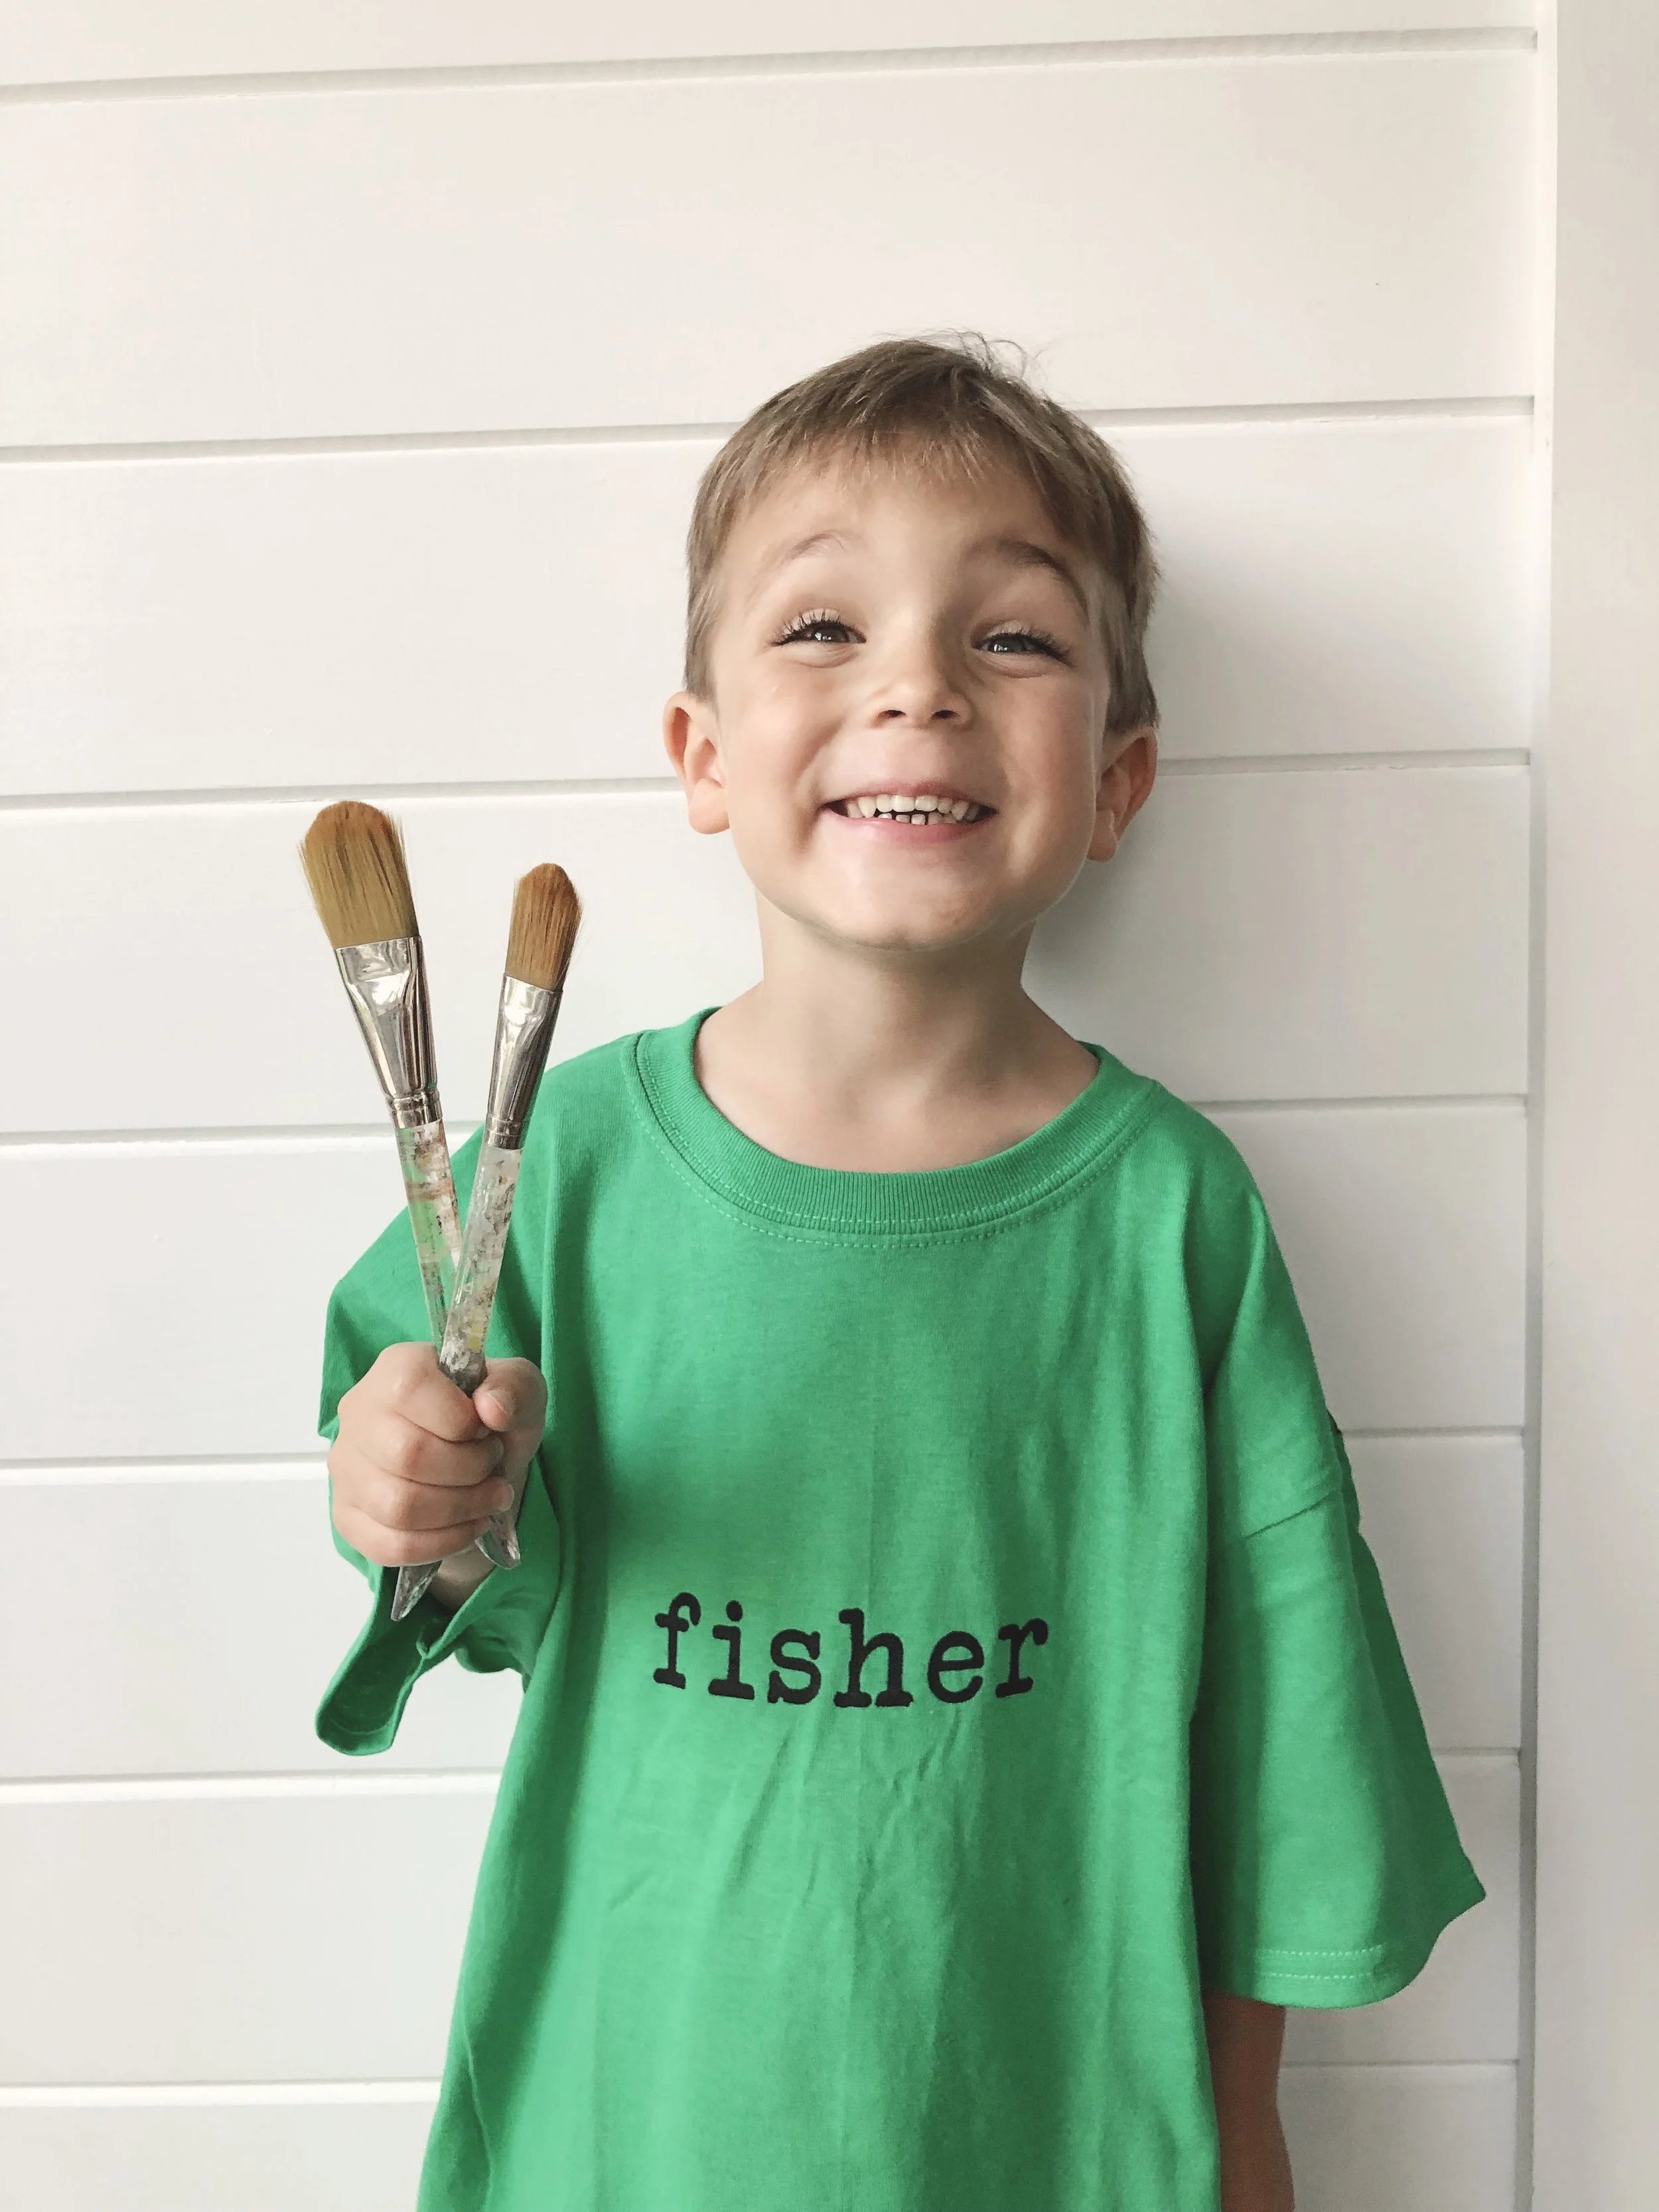
As an art teacher myself, it’s always frustrating (and wastes lots of precious art time) when I put the box of almost all white smocks out and ask my students to find theirs…Help your child’s art teacher out this school year by buying a brightly colored, oversized t-shirt with his/her name across the front to use as an art smock! (AC Moore and Michaels have SO many color choices for between $3 and $4 each).
t-shirt = so it can be put on quickly
brightly colored = so your kiddo can find it easily in a sea of white smocks
oversized = to fit over bulky sweaters and sweatshirts
Writing his/her name across the front in Sharpie is great, but if you want to get really fancy, here are some steps to screen-print a name on the front…
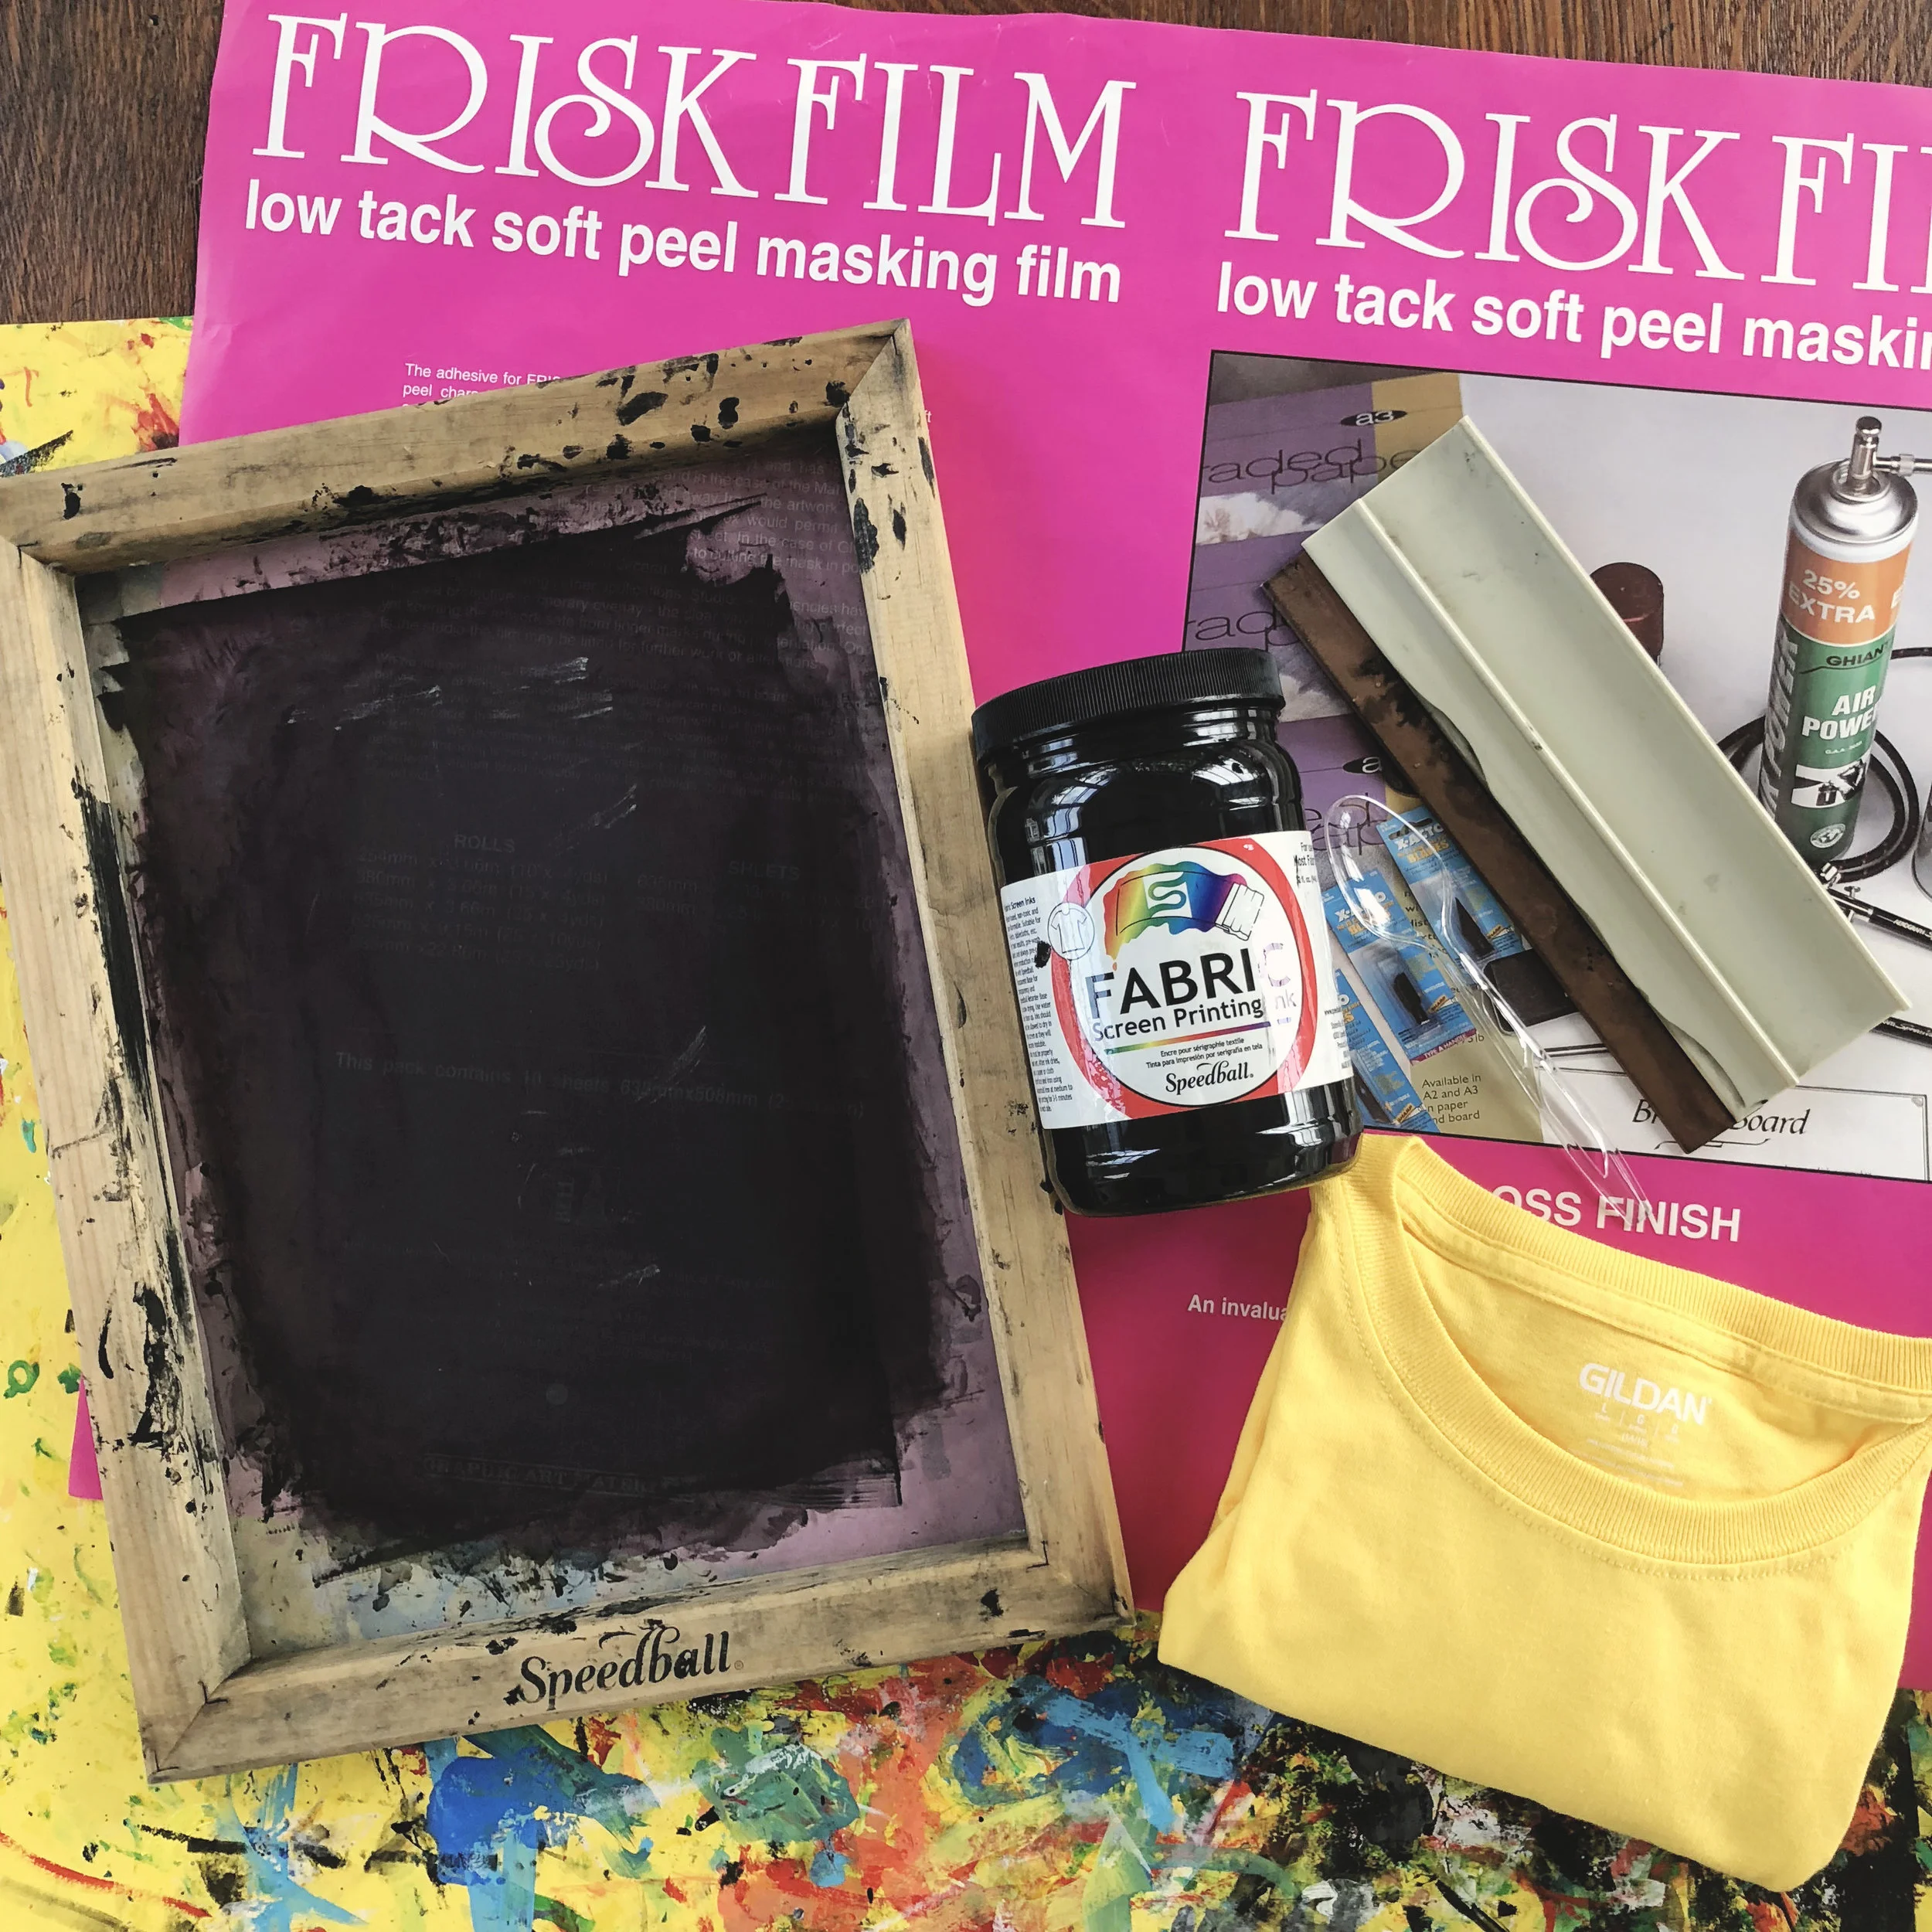
What you will need:
T-Shirt
Cricut Machine (or X-acto knife)
Cardboard
Iron
Purchasing via these affiliate links help support the site.

Step 1 - Cutting the stencil
Anthony loves gadgets, so of course we have a Cricut. If you don’t have a Cricut, the old fashioned way works great too! It’s how I used to do all of my screen-printing before this fancy machine came along. You’ll just have to print the name in the font/size of your choice (be sure to mirror image it!!), lay the frisket film on top of the printout, and then carefully use an x-acto knife to cut out the letters. You'll definitely want to tape everything down to either a piece of cardboard or a self-healing mat before cutting.
If you do have a Cricut, the process is really easy. Just type in your child's name and reverse the image. We've found that it helps to add a .01"x.01" object in the top left corner of the workspace and 'weld' the items together to keep the text aligned on the sheet. Once your workspace is setup, apply the frisket film to the cutting board and let the Cricut do the work. We used "wrapping paper" as the material setting because the other settings are too aggressive for the frisket film and will ruin the material.
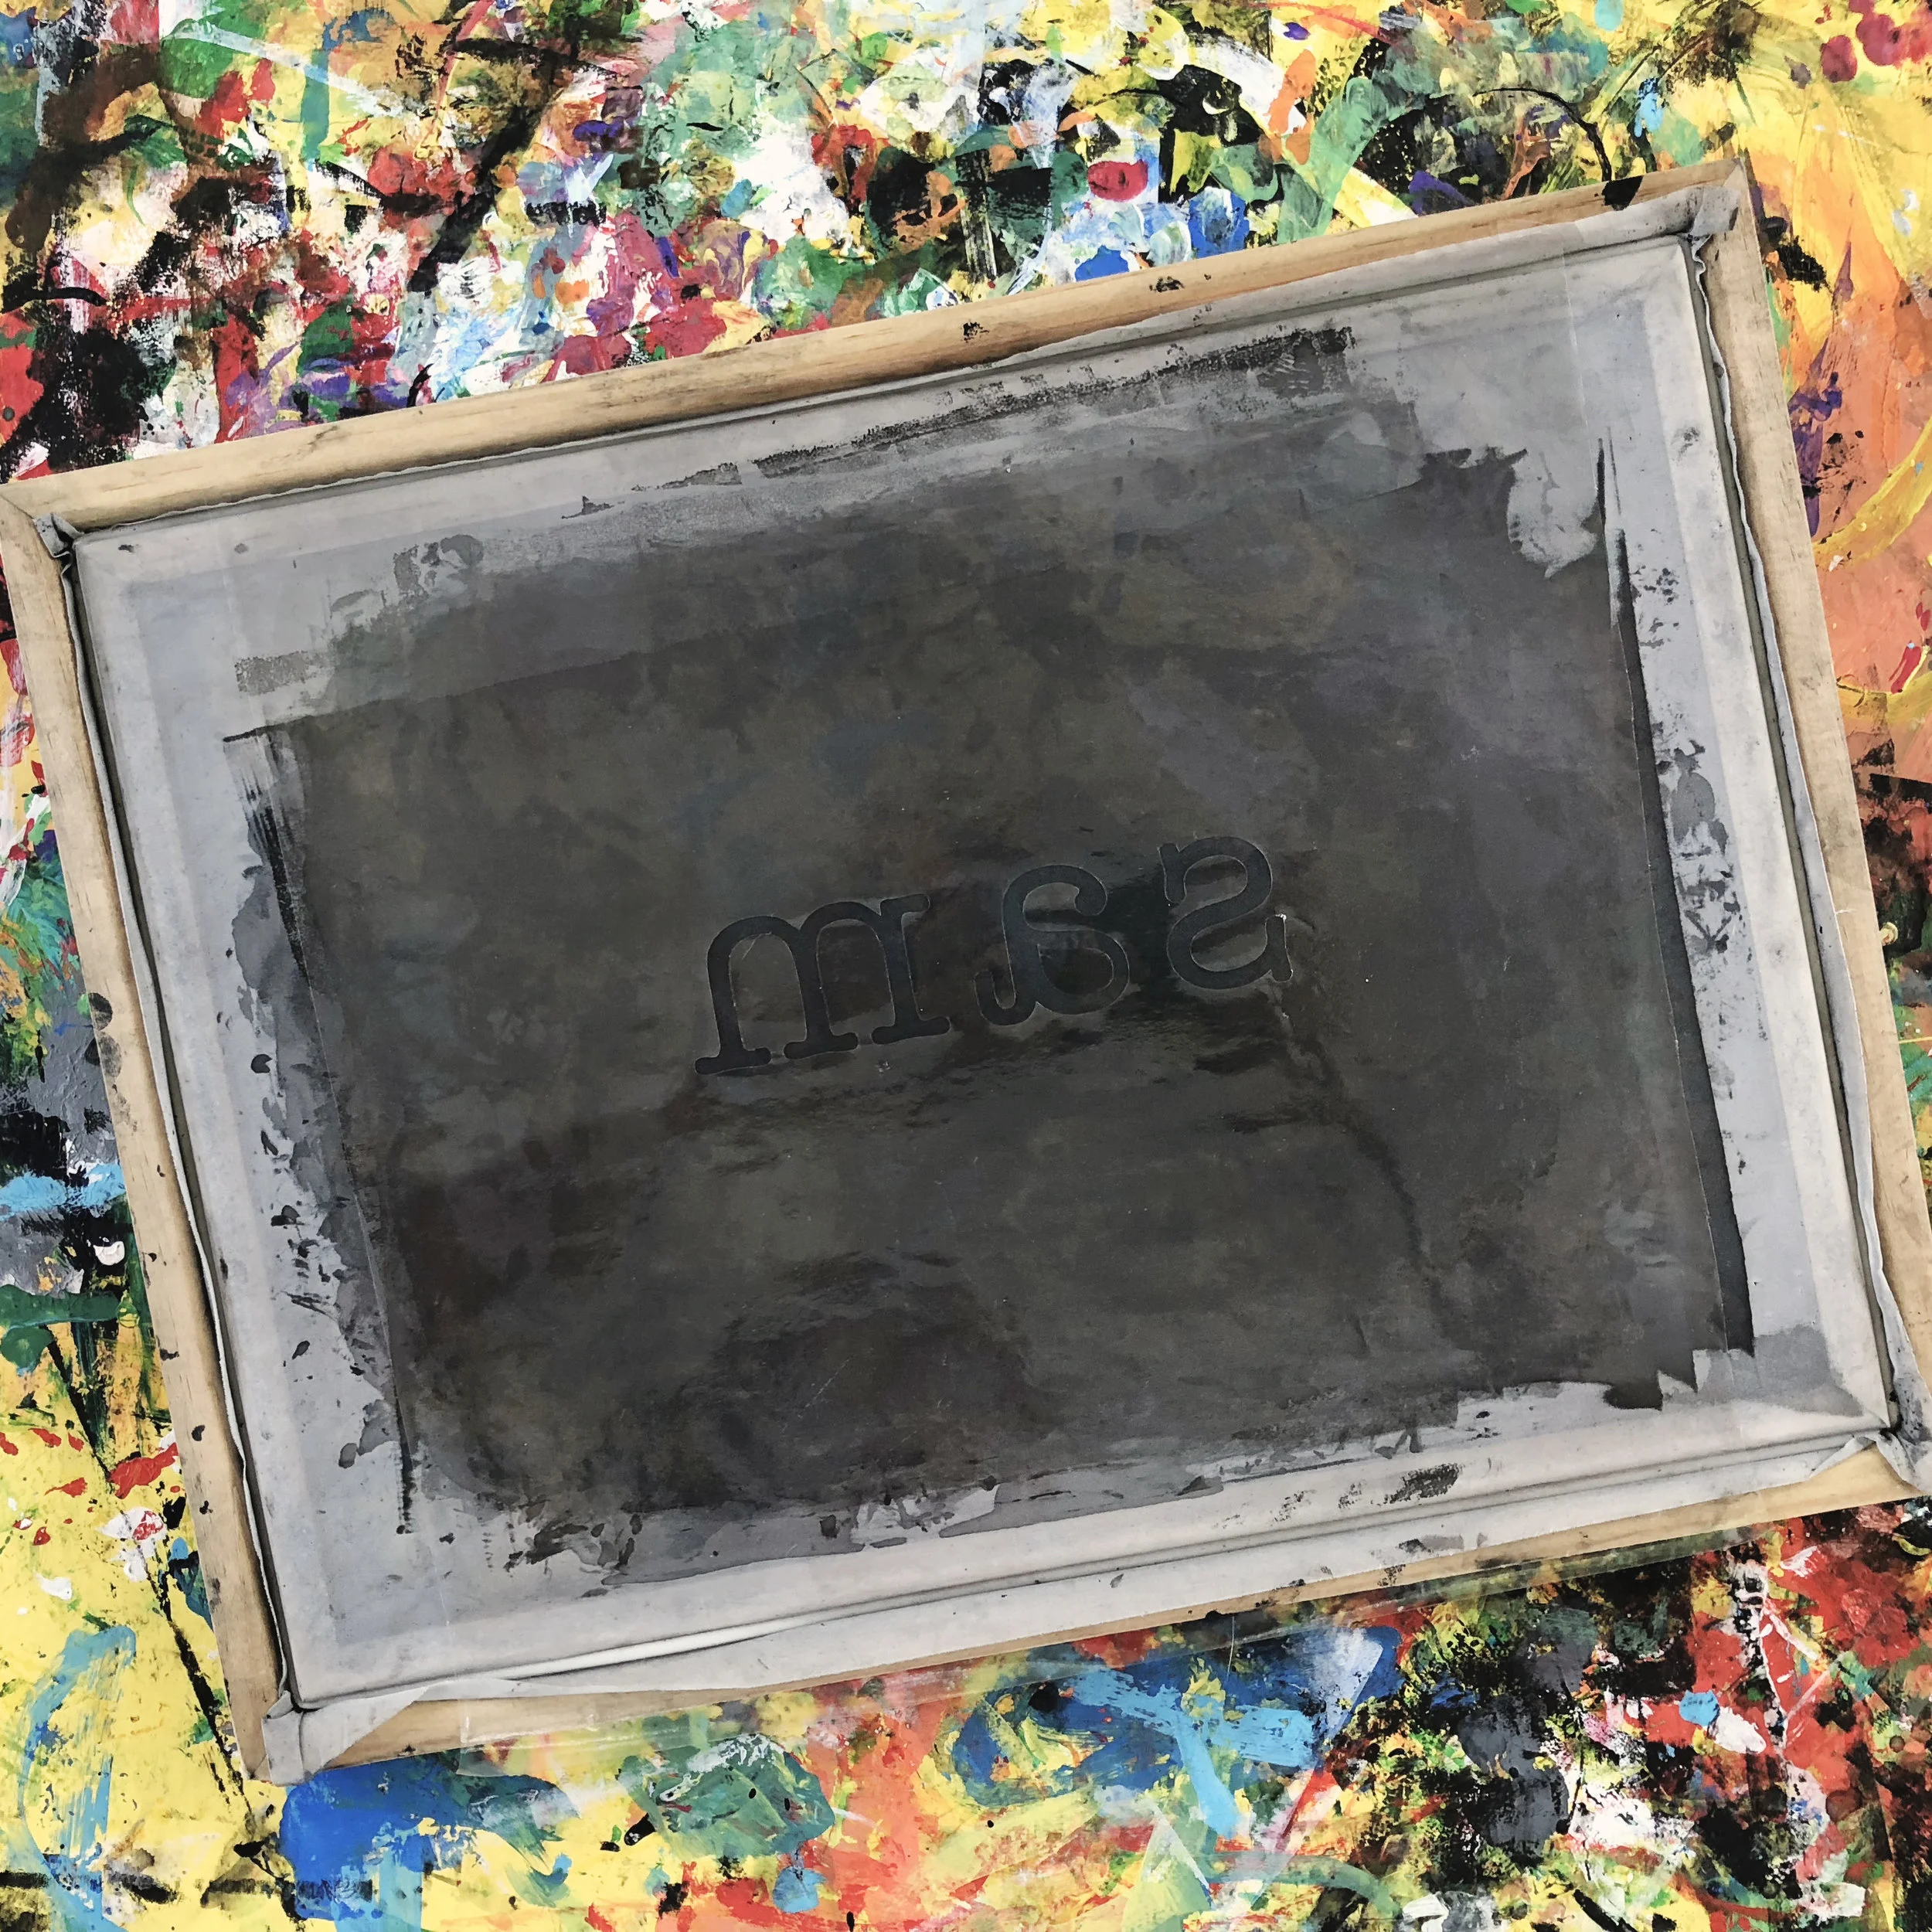

Step 2 - Preparing to print
Peel the frisket film apart, and lay it, sticky side down, on top of the silkscreen. Make sure you also place any inside pieces of letters on the silkscreen as well (i.e. the inside of the “a”, “b, “e”, etc…).
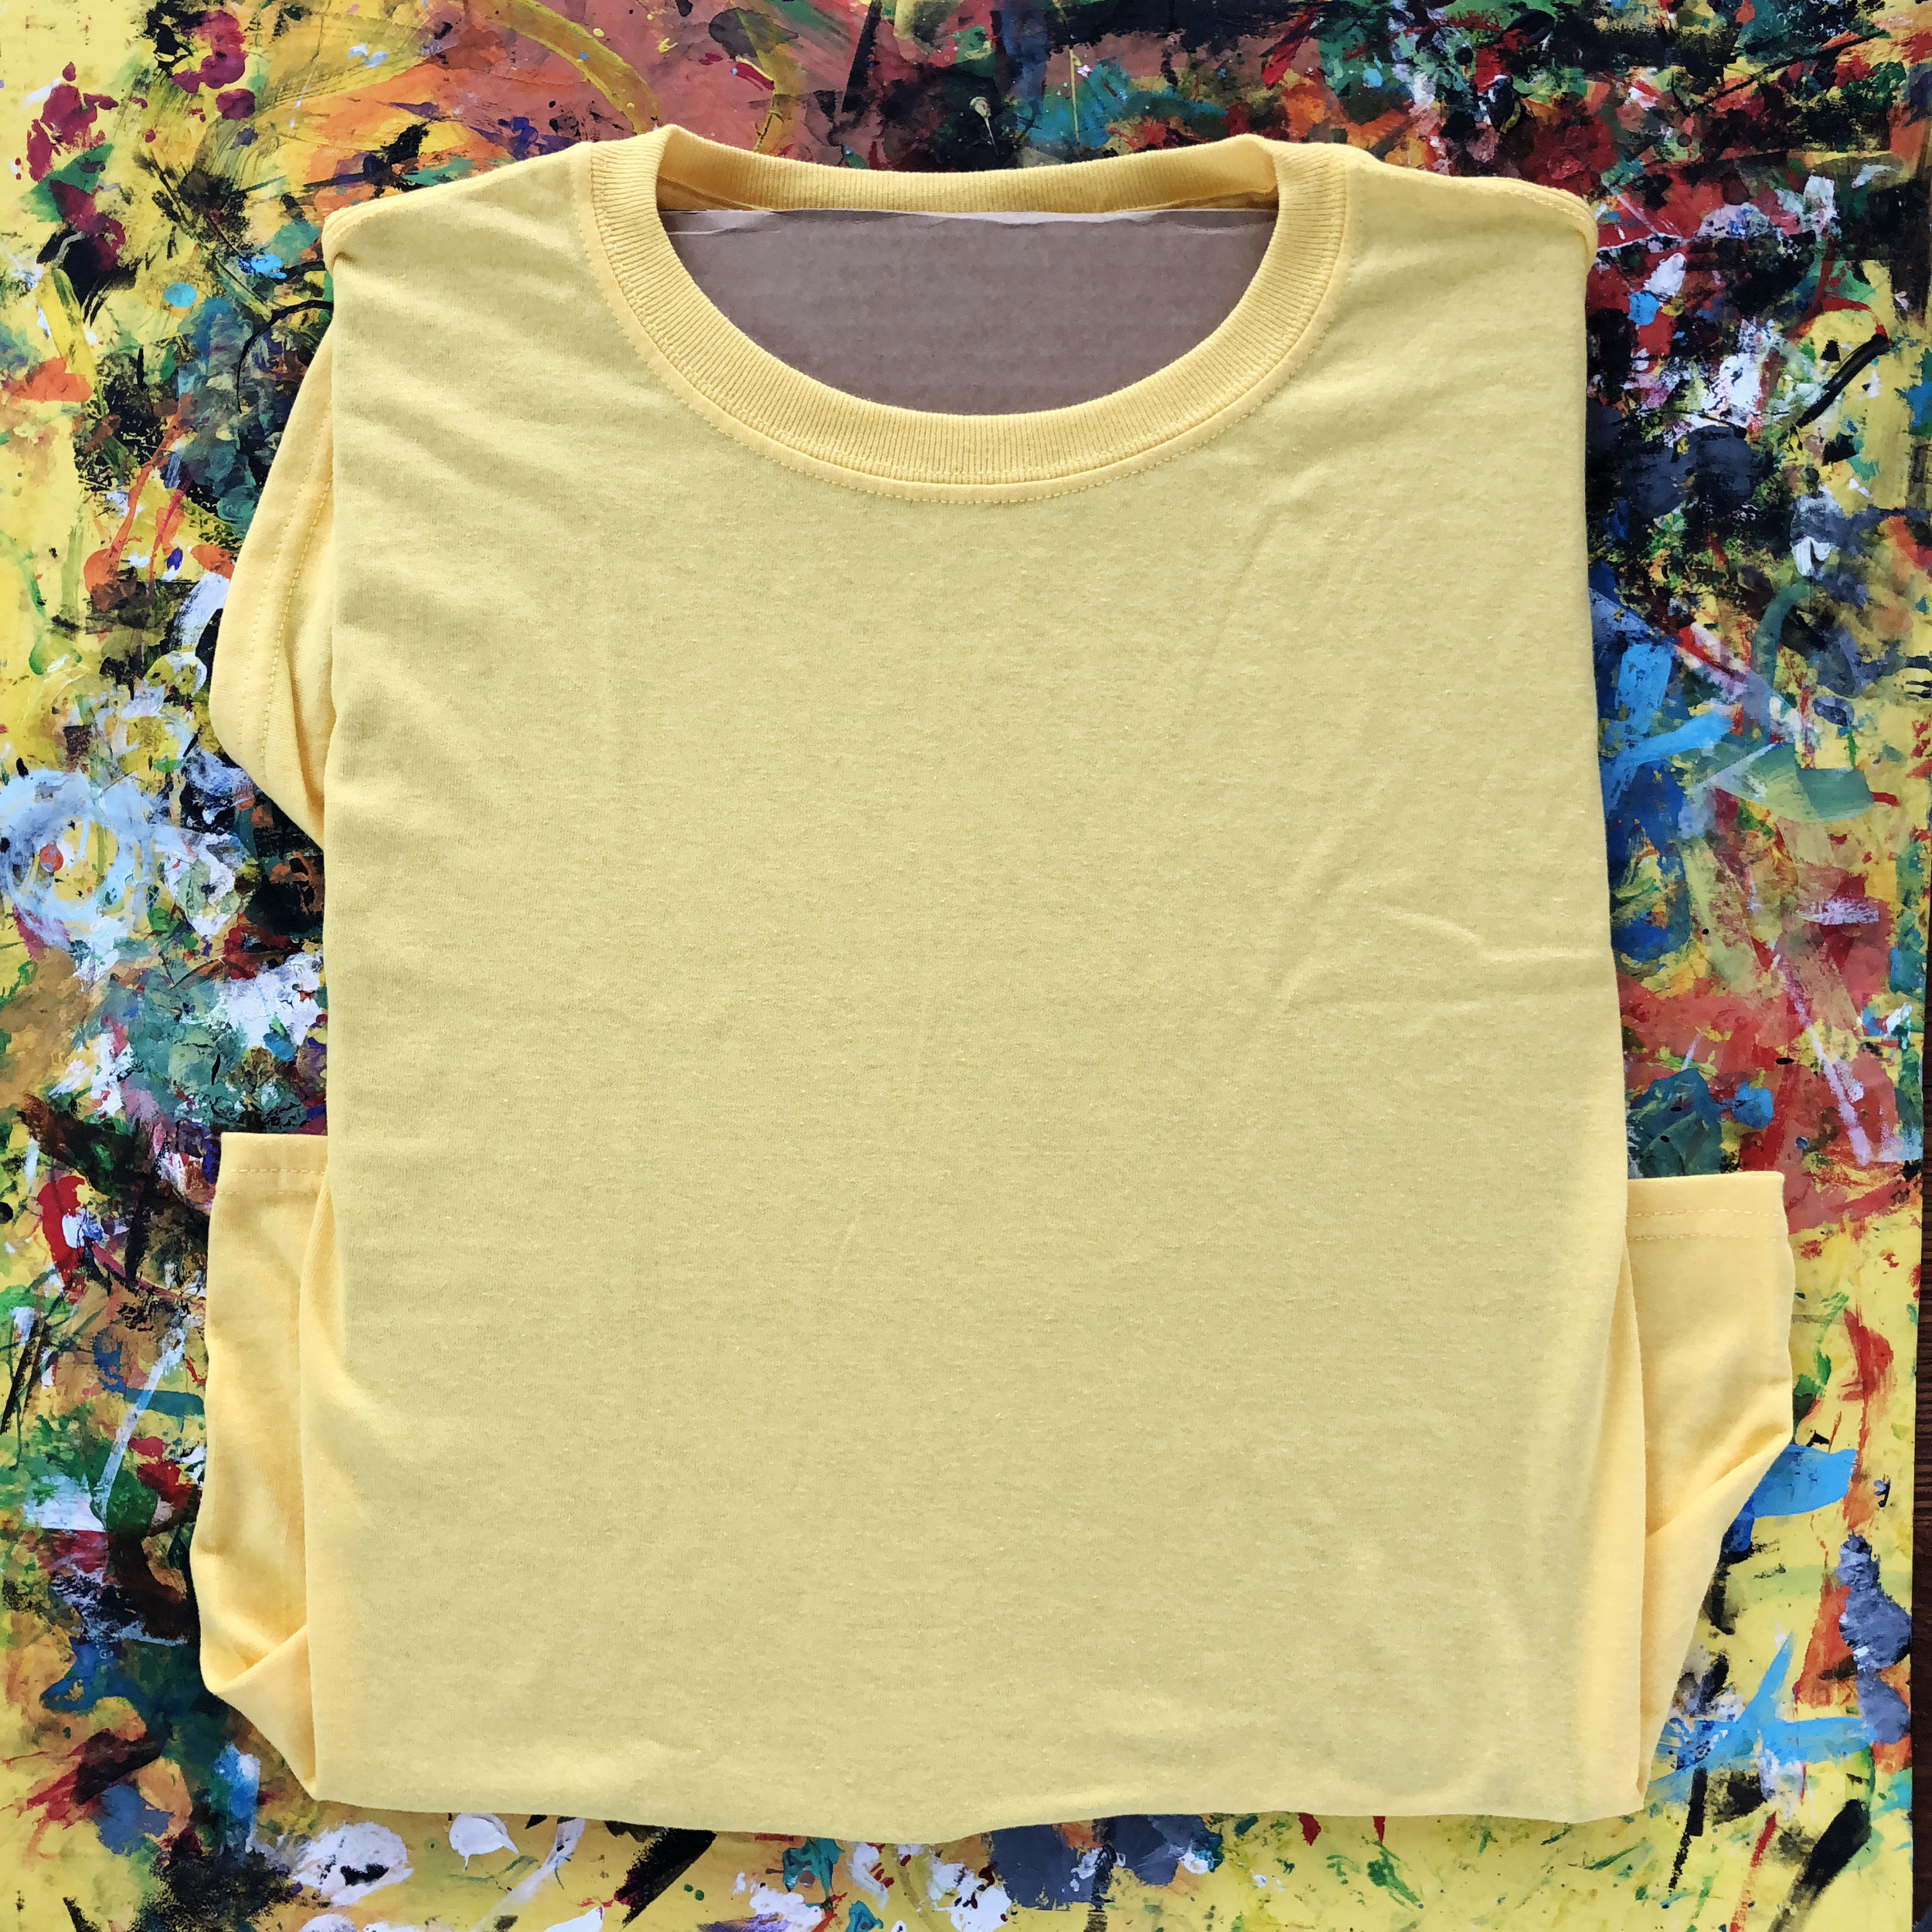
Place a large piece of cardboard inside of the t-shirt. This will help to stetch the shirt out while printing, and will also block the ink from bleeding through to the other side.

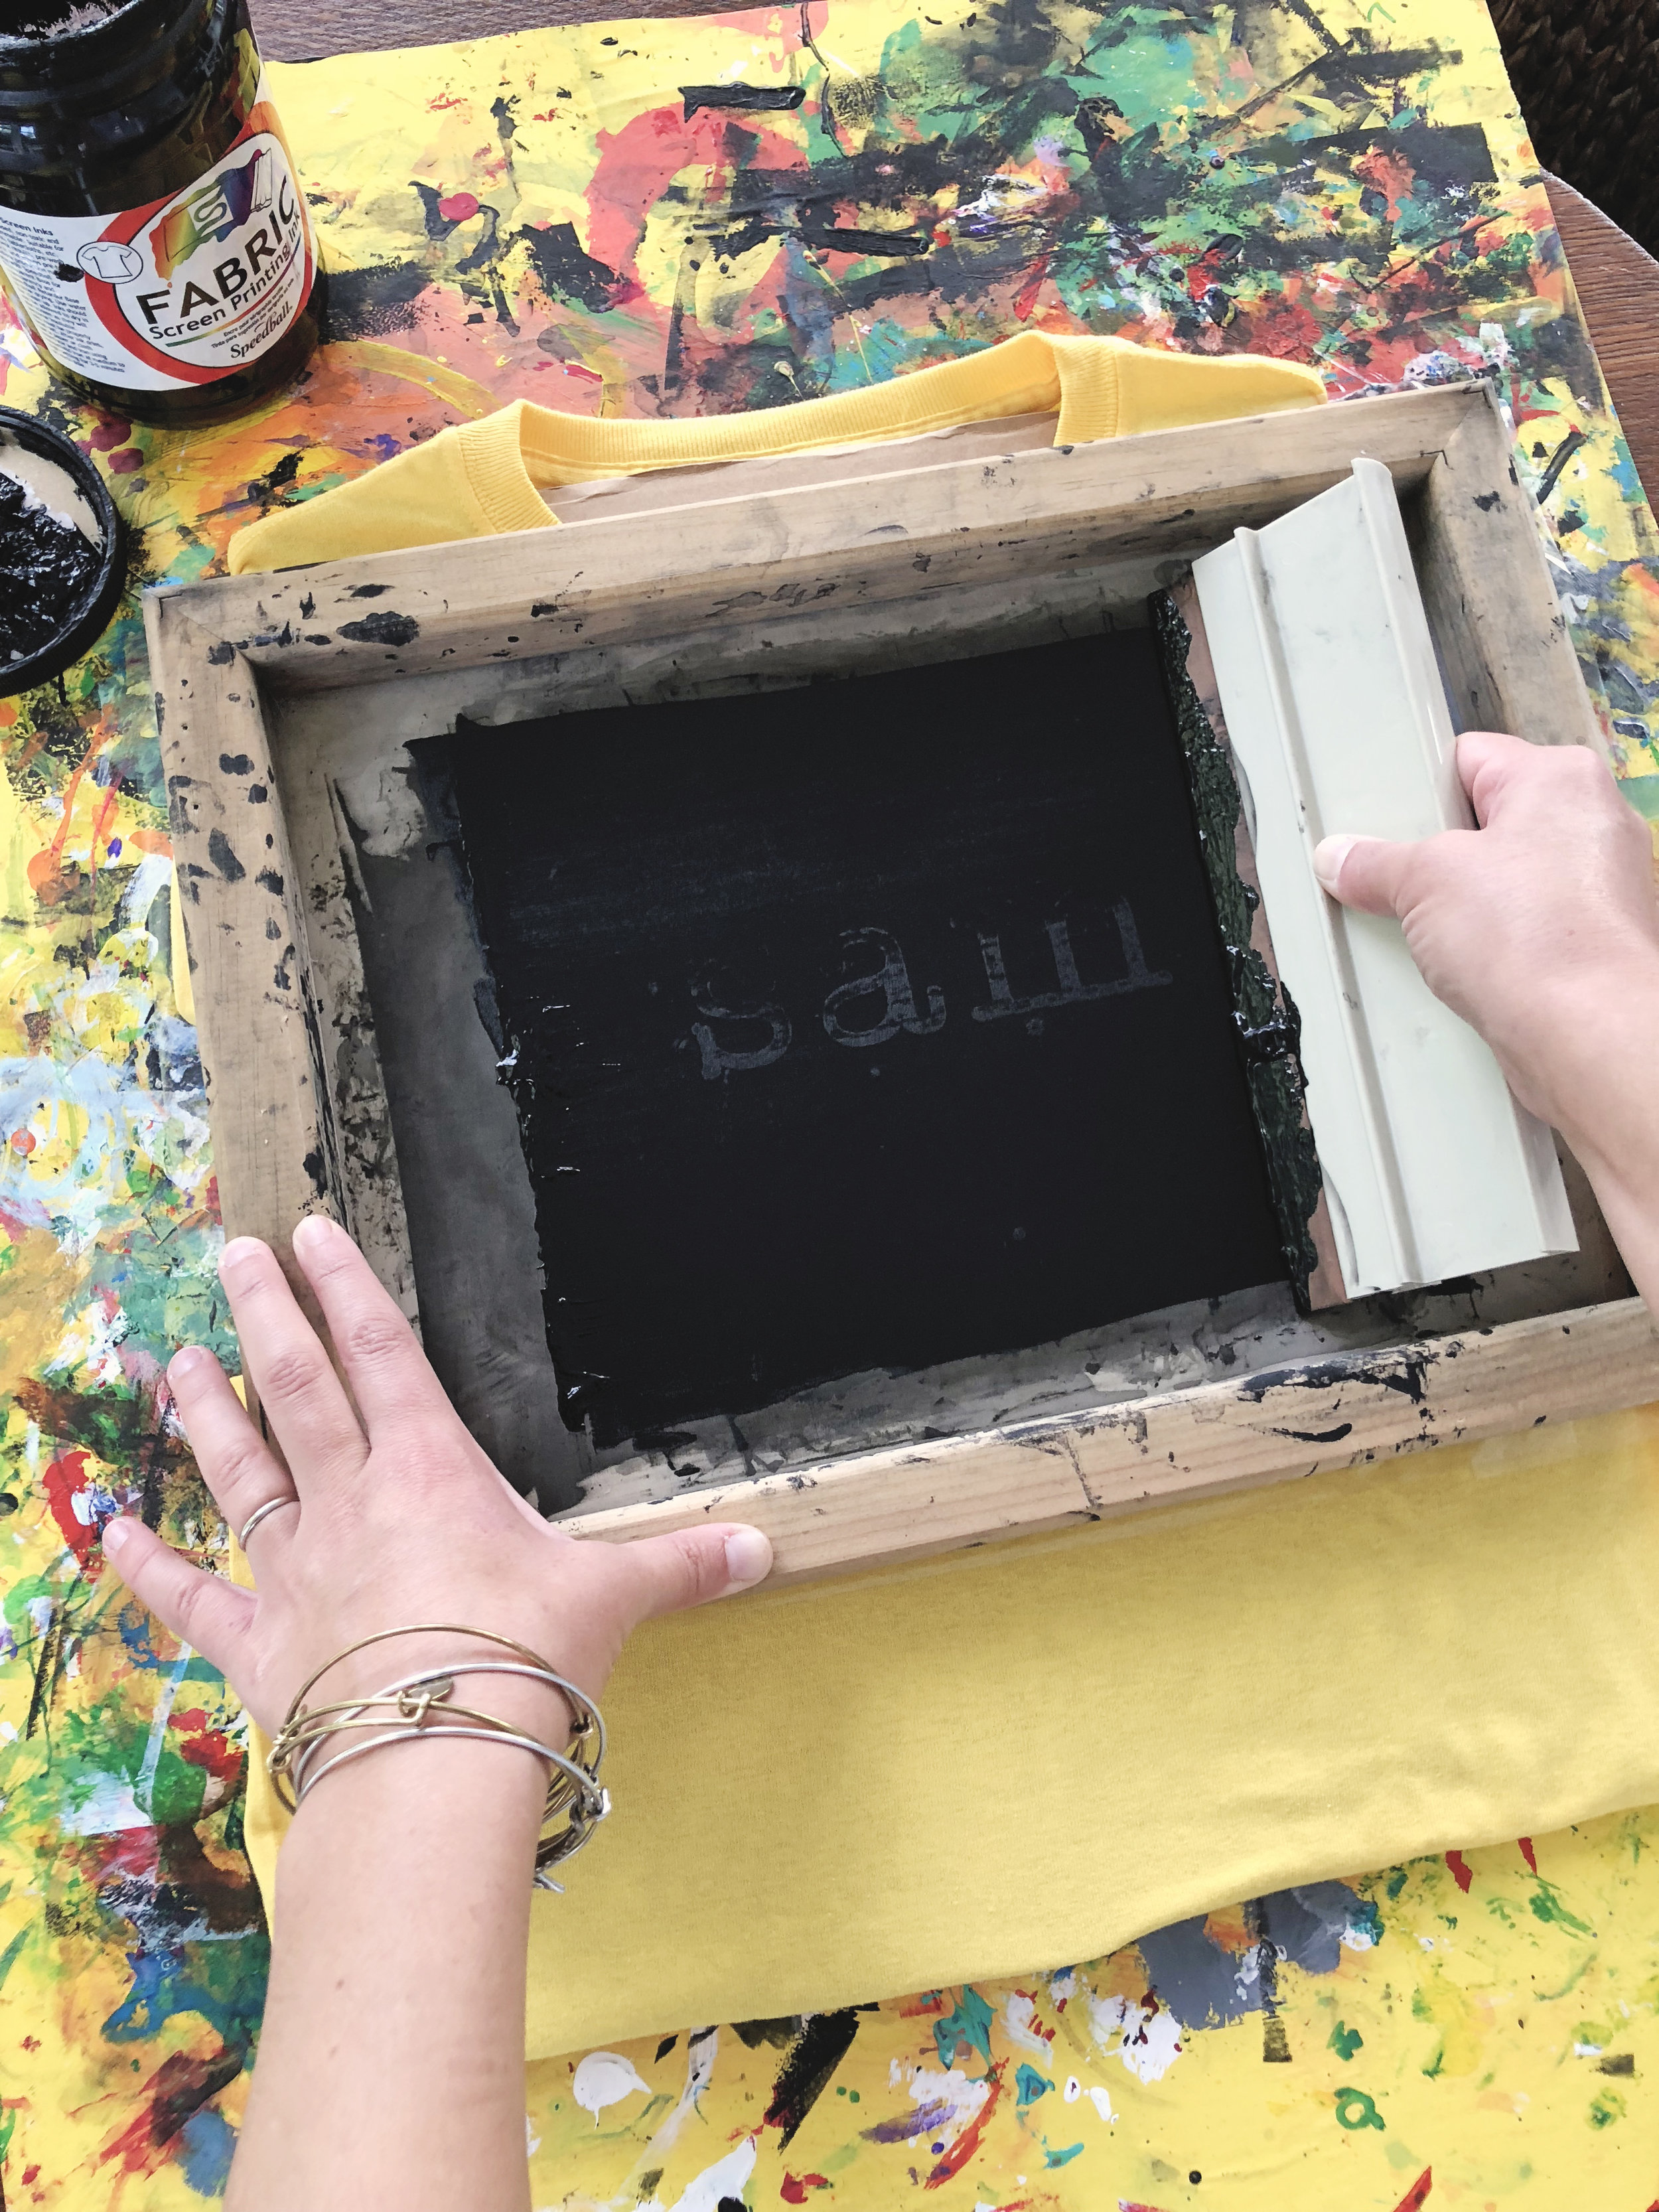
Step 3 - Apply the ink
Place the silk-screen on top of the t-shirt (making sure to get your text in the desired location), and then put a blob of screen printing ink on top (I scoop it out of the container with a spoon). Next, hold down the silkscreen with one hand, while moving the ink up and down, back and forth with the squeegee, until all of the letters are covered.

Step 4 - Finishing up
Carefully peel the silkscreen off of the t-shirt and let the shirt dry completely. Your shirt should dry completely in a few hours, but you can leave it overnight just to be safe.
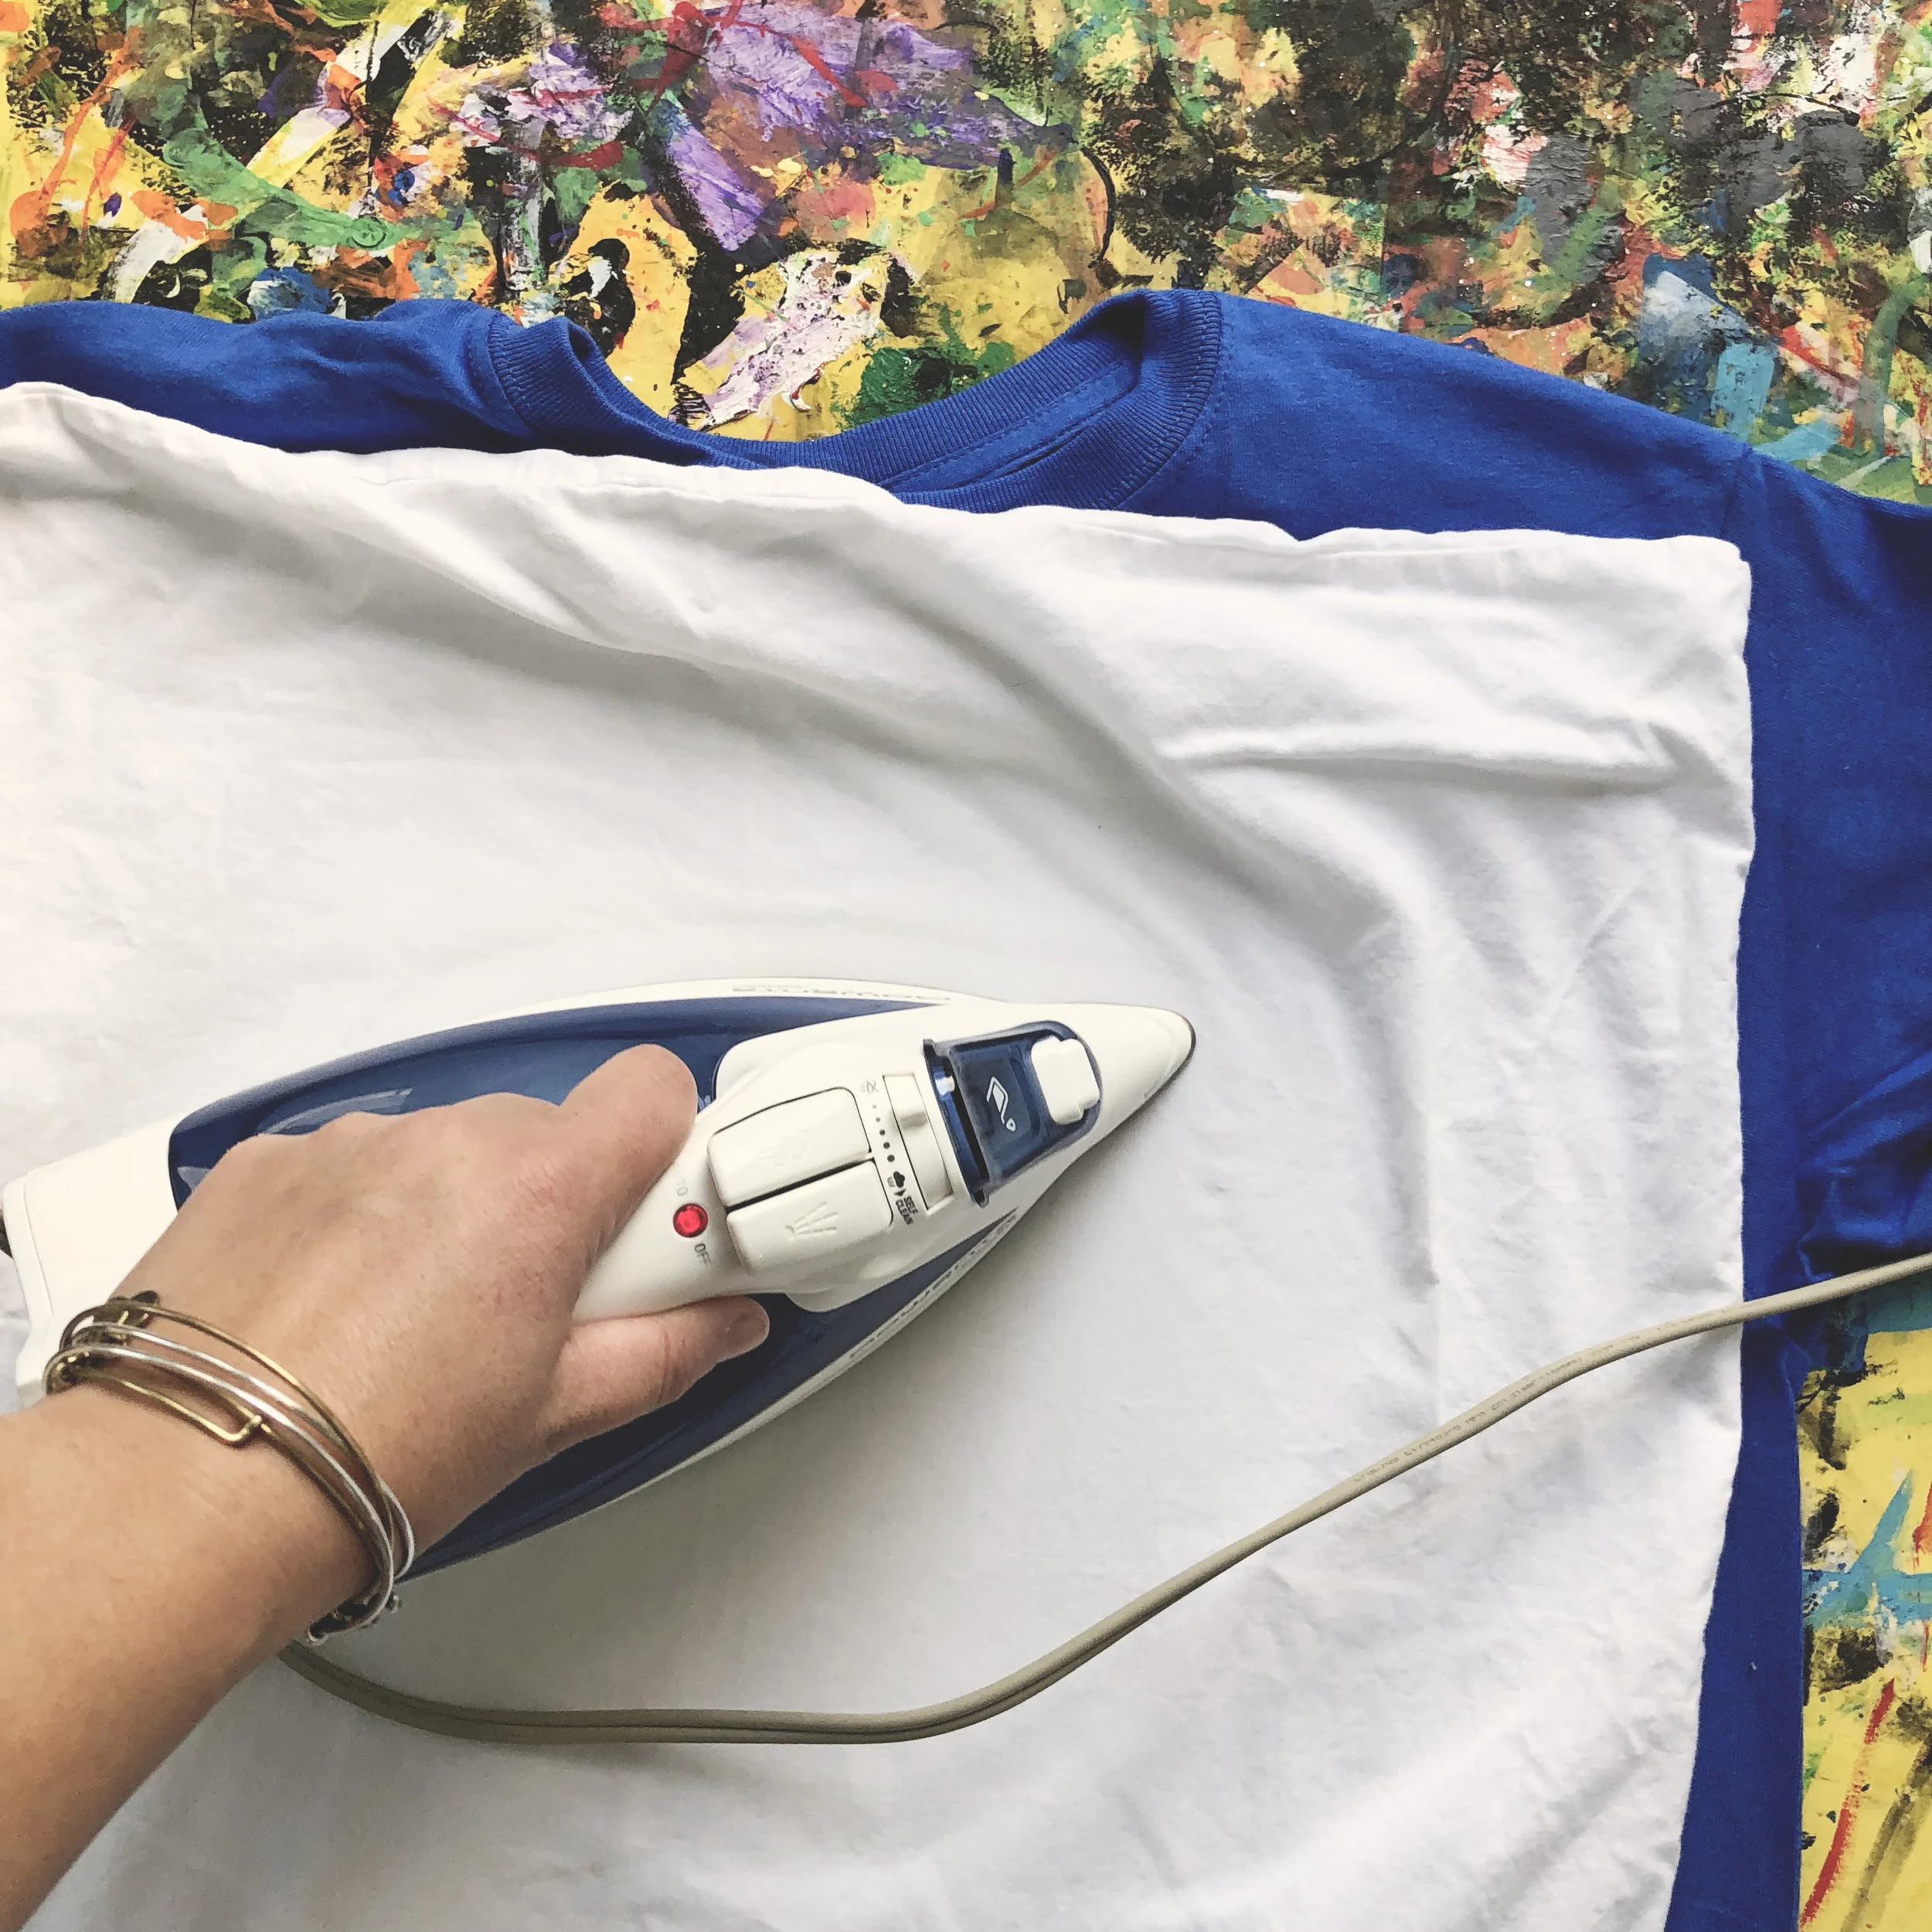
Once dry, lay a piece of thin fabric (I usually use a pillowcase) on top of the t-shirt and iron to set the ink. The length of time that you need to iron for should be on the back of your screen printing ink bottle, but it’s usually about 6-8 minutes.
Step 5 - Enjoy
Now that all of the hard work is done, let your children enjoy the smocks and go create themselves!