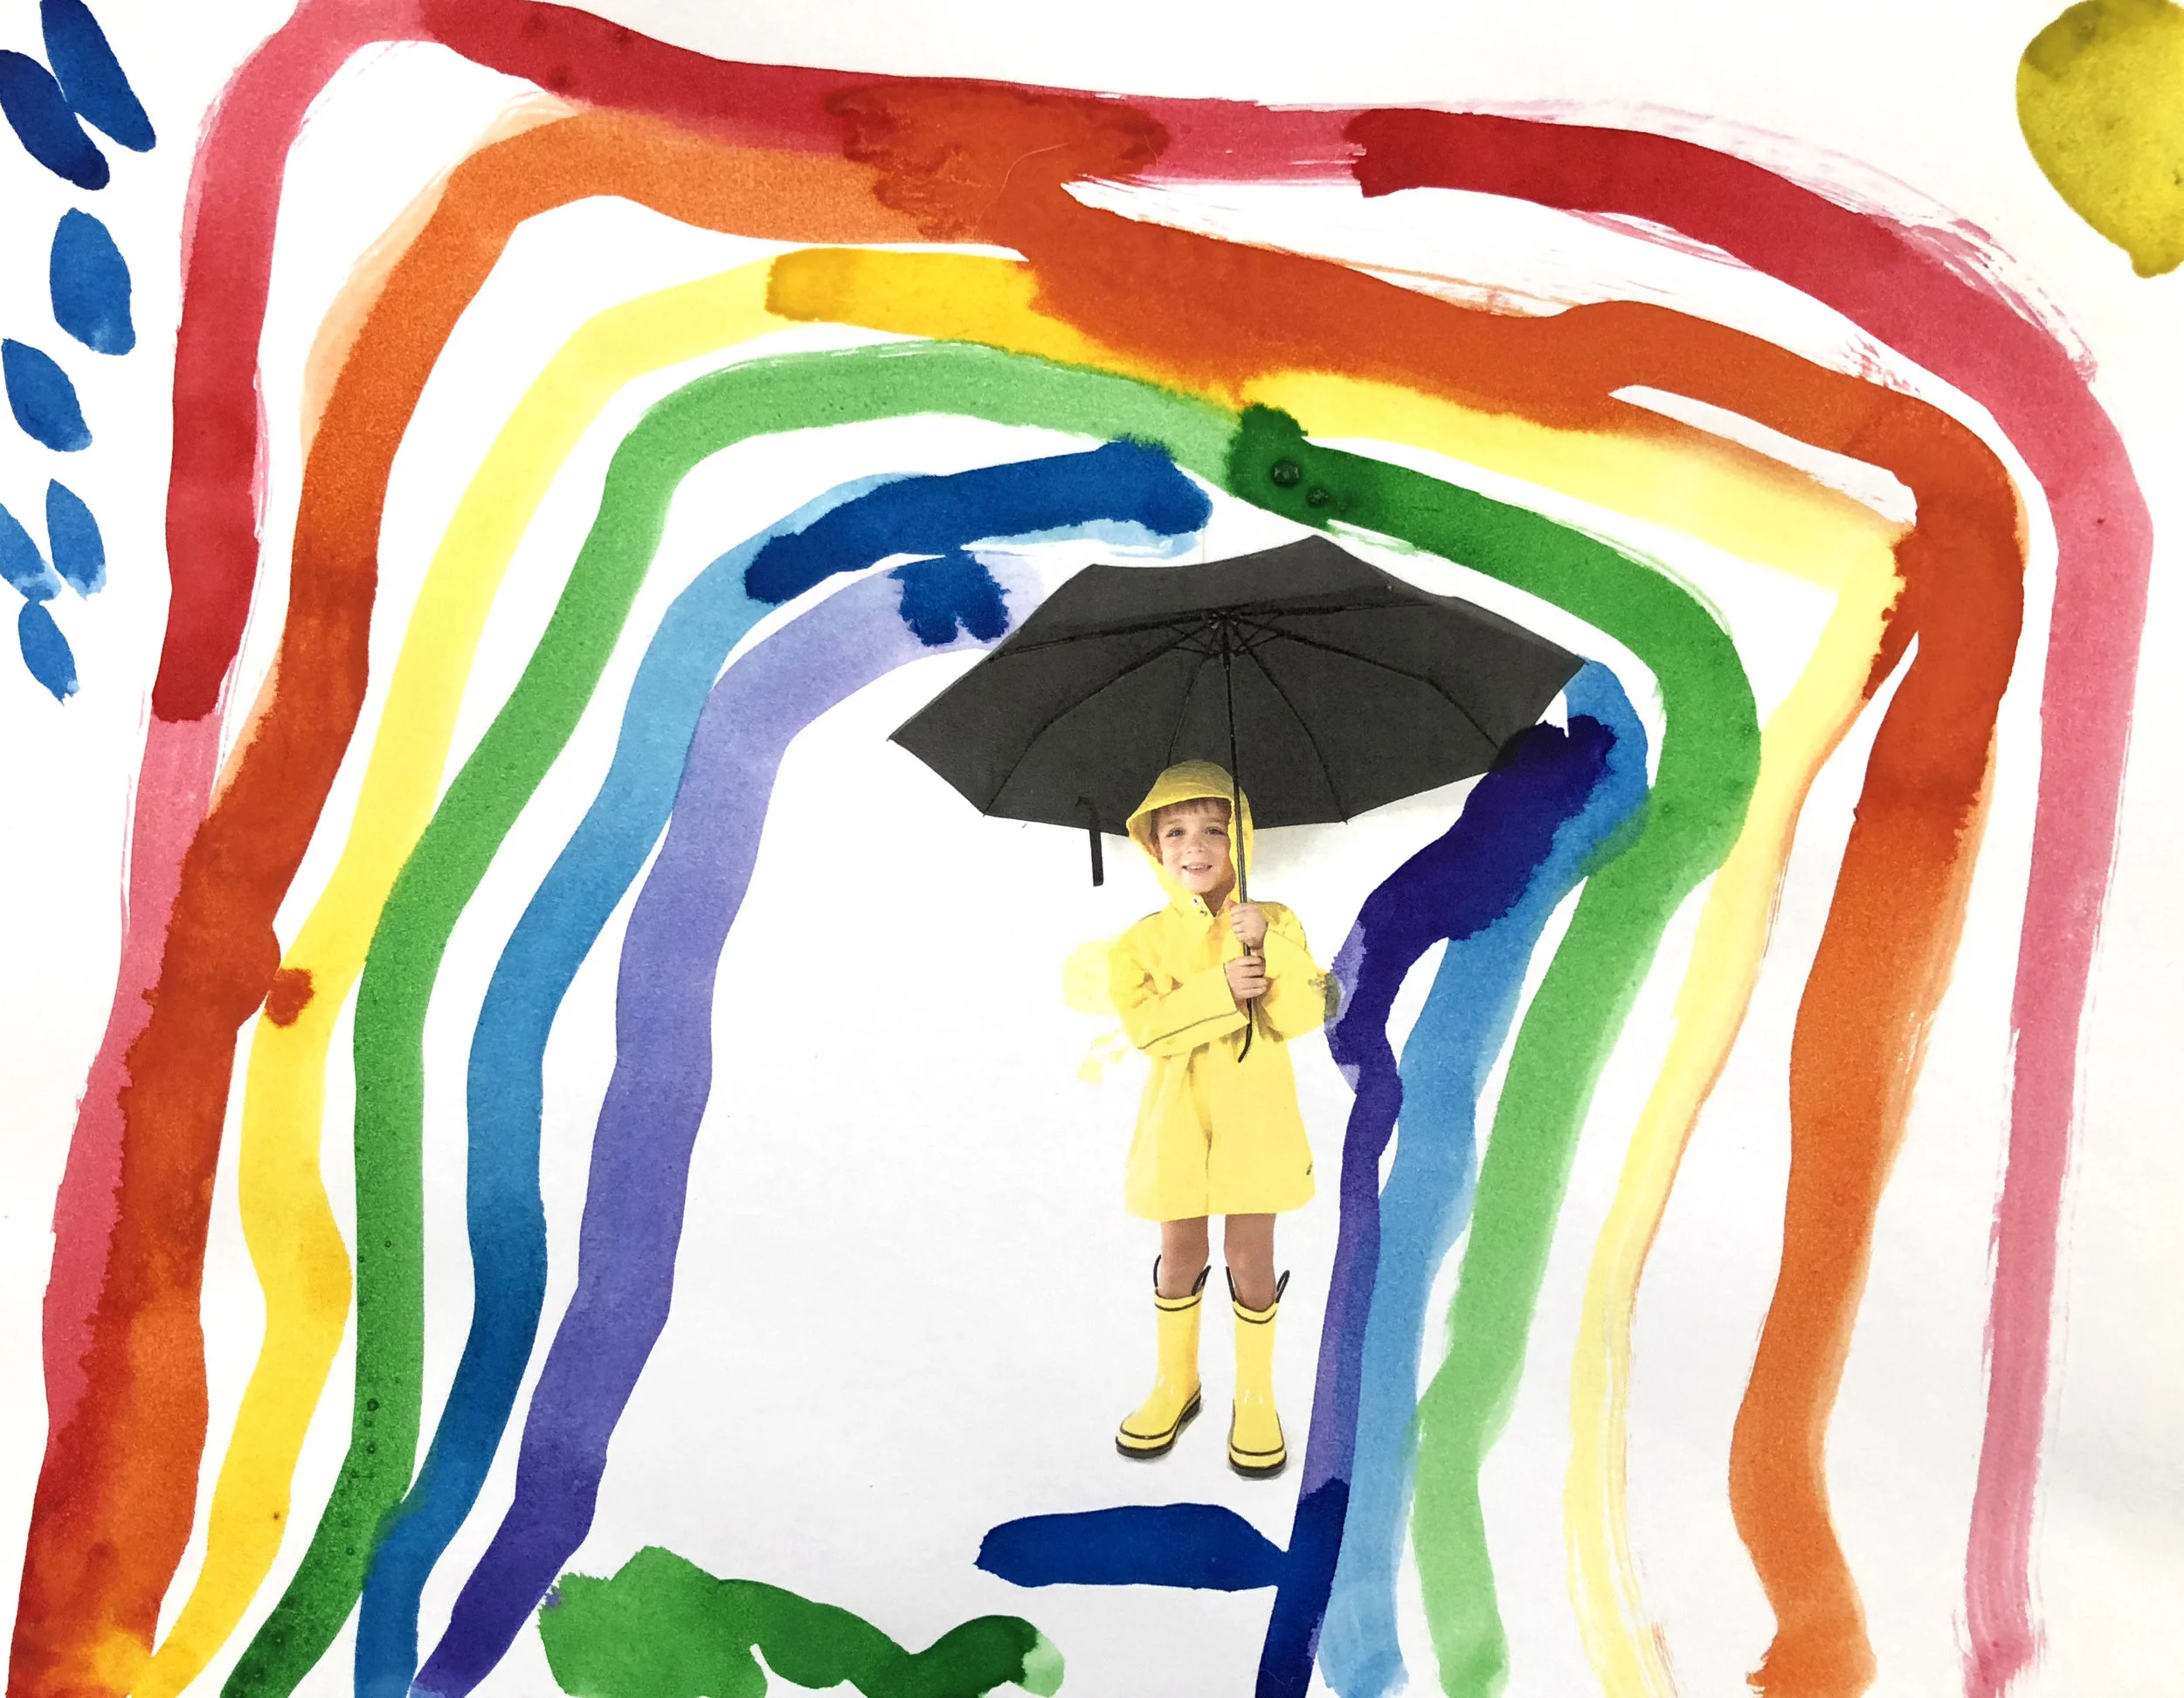
mixed media ‘rain’bows
Our kids have always been OBSESSED with wearing their rain boots, whether it is pouring outside or 90 degrees and sunny. So when we had several days of rainy weather and were looking for a quick activity to do, they dressed in their rain gear and posed for pictures. We then turned those pictures into a mixed media self-portrait project.
What you will need:
Camera
Photoshop (or alternative photo editing software)
Props (raincoats, rain boots, umbrella)
White backdrop
8.5” x 11” white card stock
Printer
Watercolor Paints
Purchasing via these affiliate links help support the site.

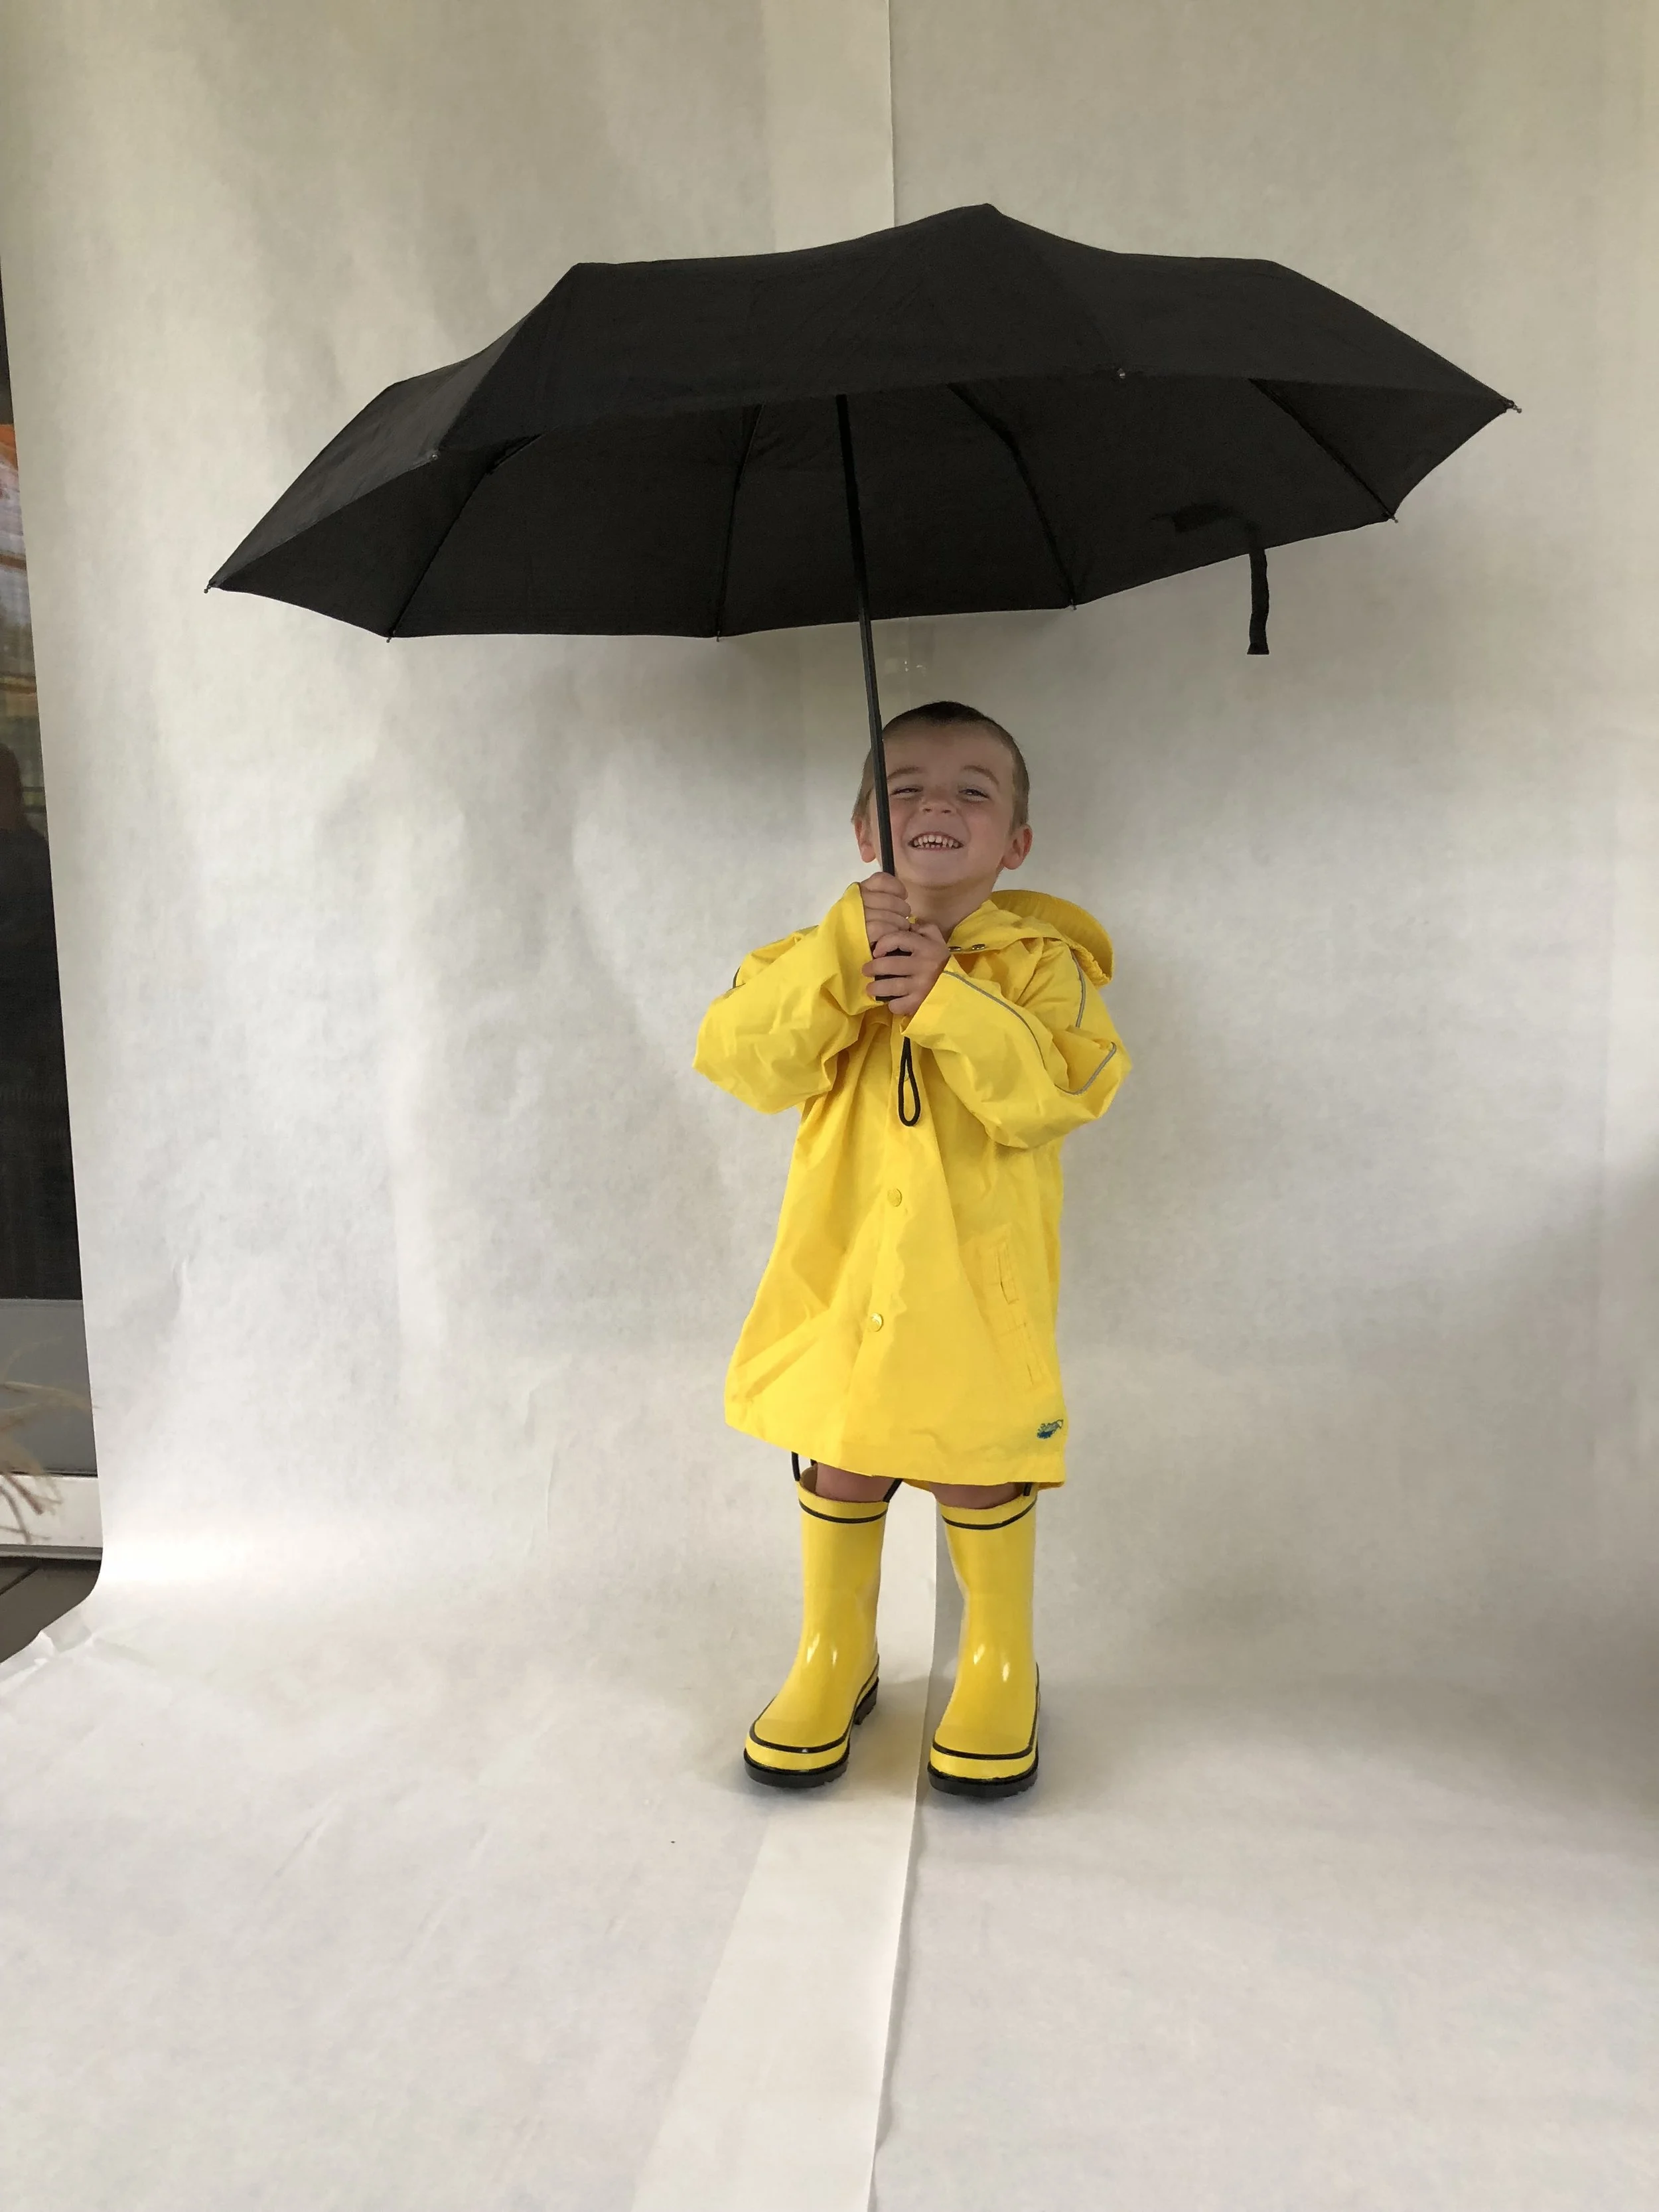
Step 1 - Photo Staging
Have your child / children dress up in a “rainy day” outfit. We used a pair of yellow rain boots, a yellow raincoat, and a black umbrella, but anything will work.
Take their picture in front of an all white background. I used a couple sheets of white paper taped to the wall (and extending onto the floor), but a white sheet or tablecloth would also work perfectly.

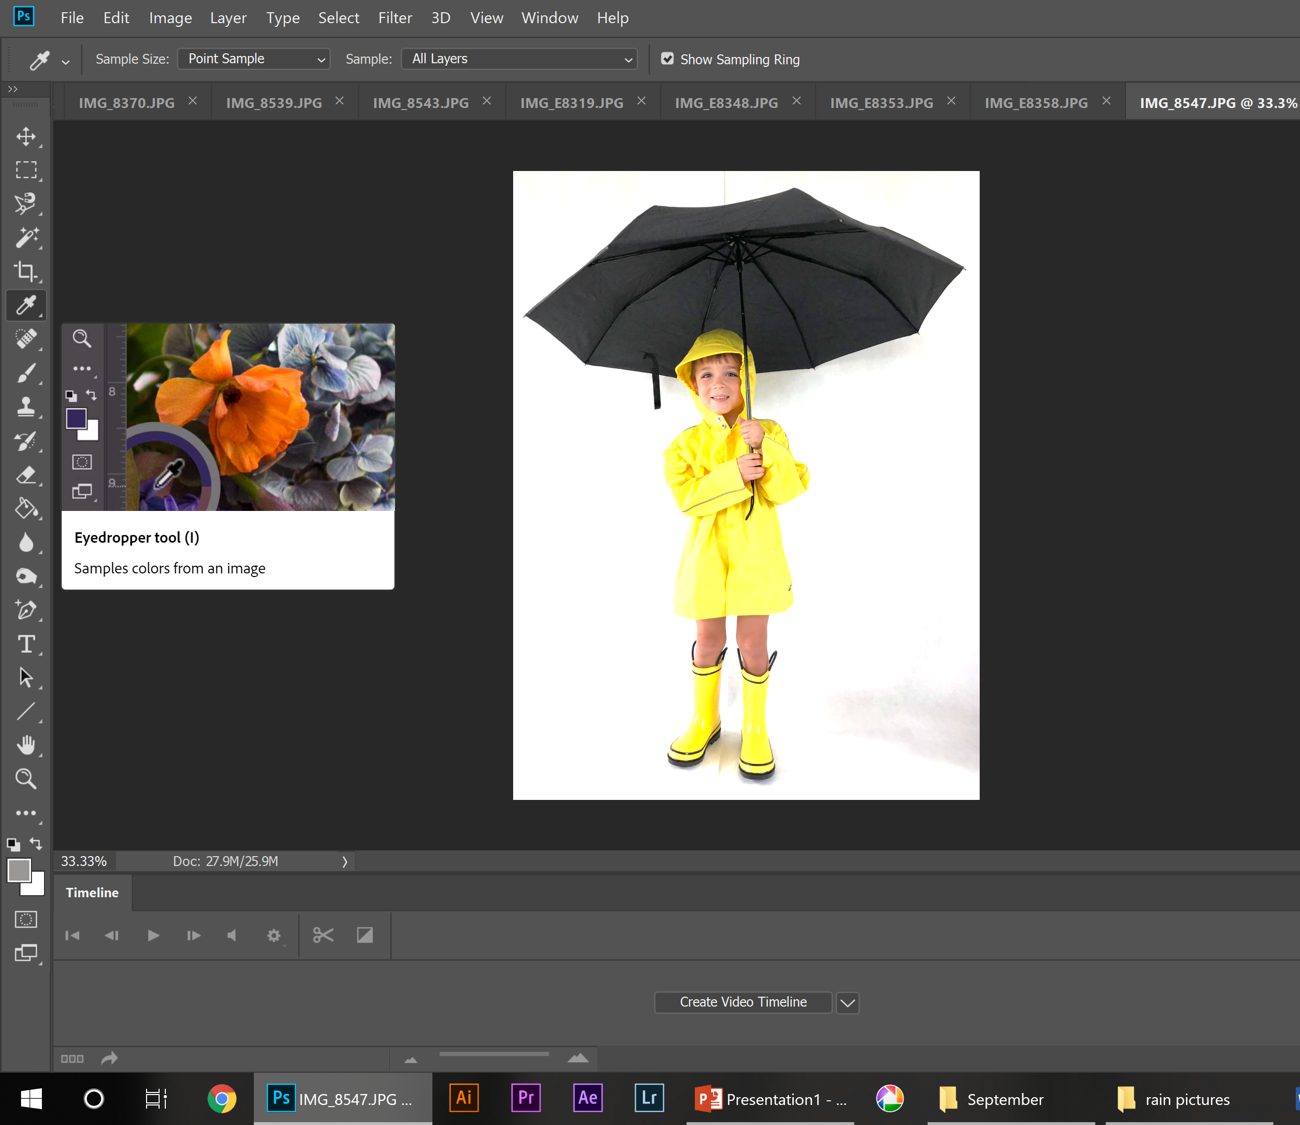
Step 2 - Photo Editing
I then edited the photo in Photoshop, but other editing software can also be used.
First, crop the picture to just around your child and their umbrella.
The white background won’t look so white in the photo, but it has to be so that it matches the card stock you will later print it on. To make the background white, and also to brighten up your child and the clothing, click on “Image”, then “Adjustments”, and then “Levels.”
You’ll then want to click on the white eyedropper and then onto the white background of your picture. Keep clicking around the white area until you are happy with how the picture looks. Once it looks good, click “OK” on the “Levels” window.


If any parts of the background still look really dark, or if your child was not completely on the white background when taking the picture, you can fix that by clicking on the “Eyedropper Tool” on the left side of your screen, and take a sample of the whitest part of the background.
Use the “Paintbrush Tool” (also on the left side of the screen) to cover over any areas that need to be whiter. You can also adjust the size and hardness of your paintbrush on the top left side of your screen.


Step 3 - Canvas Prep
When you’re happy with your picture, save it, and then copy and paste it into PowerPoint. You can then make it any size you want (I made mine 5” high), and place it wherever you choose on the slide.
Now print it onto white card stock (I used 110 pound, but anything relatively thick will work with the paint).

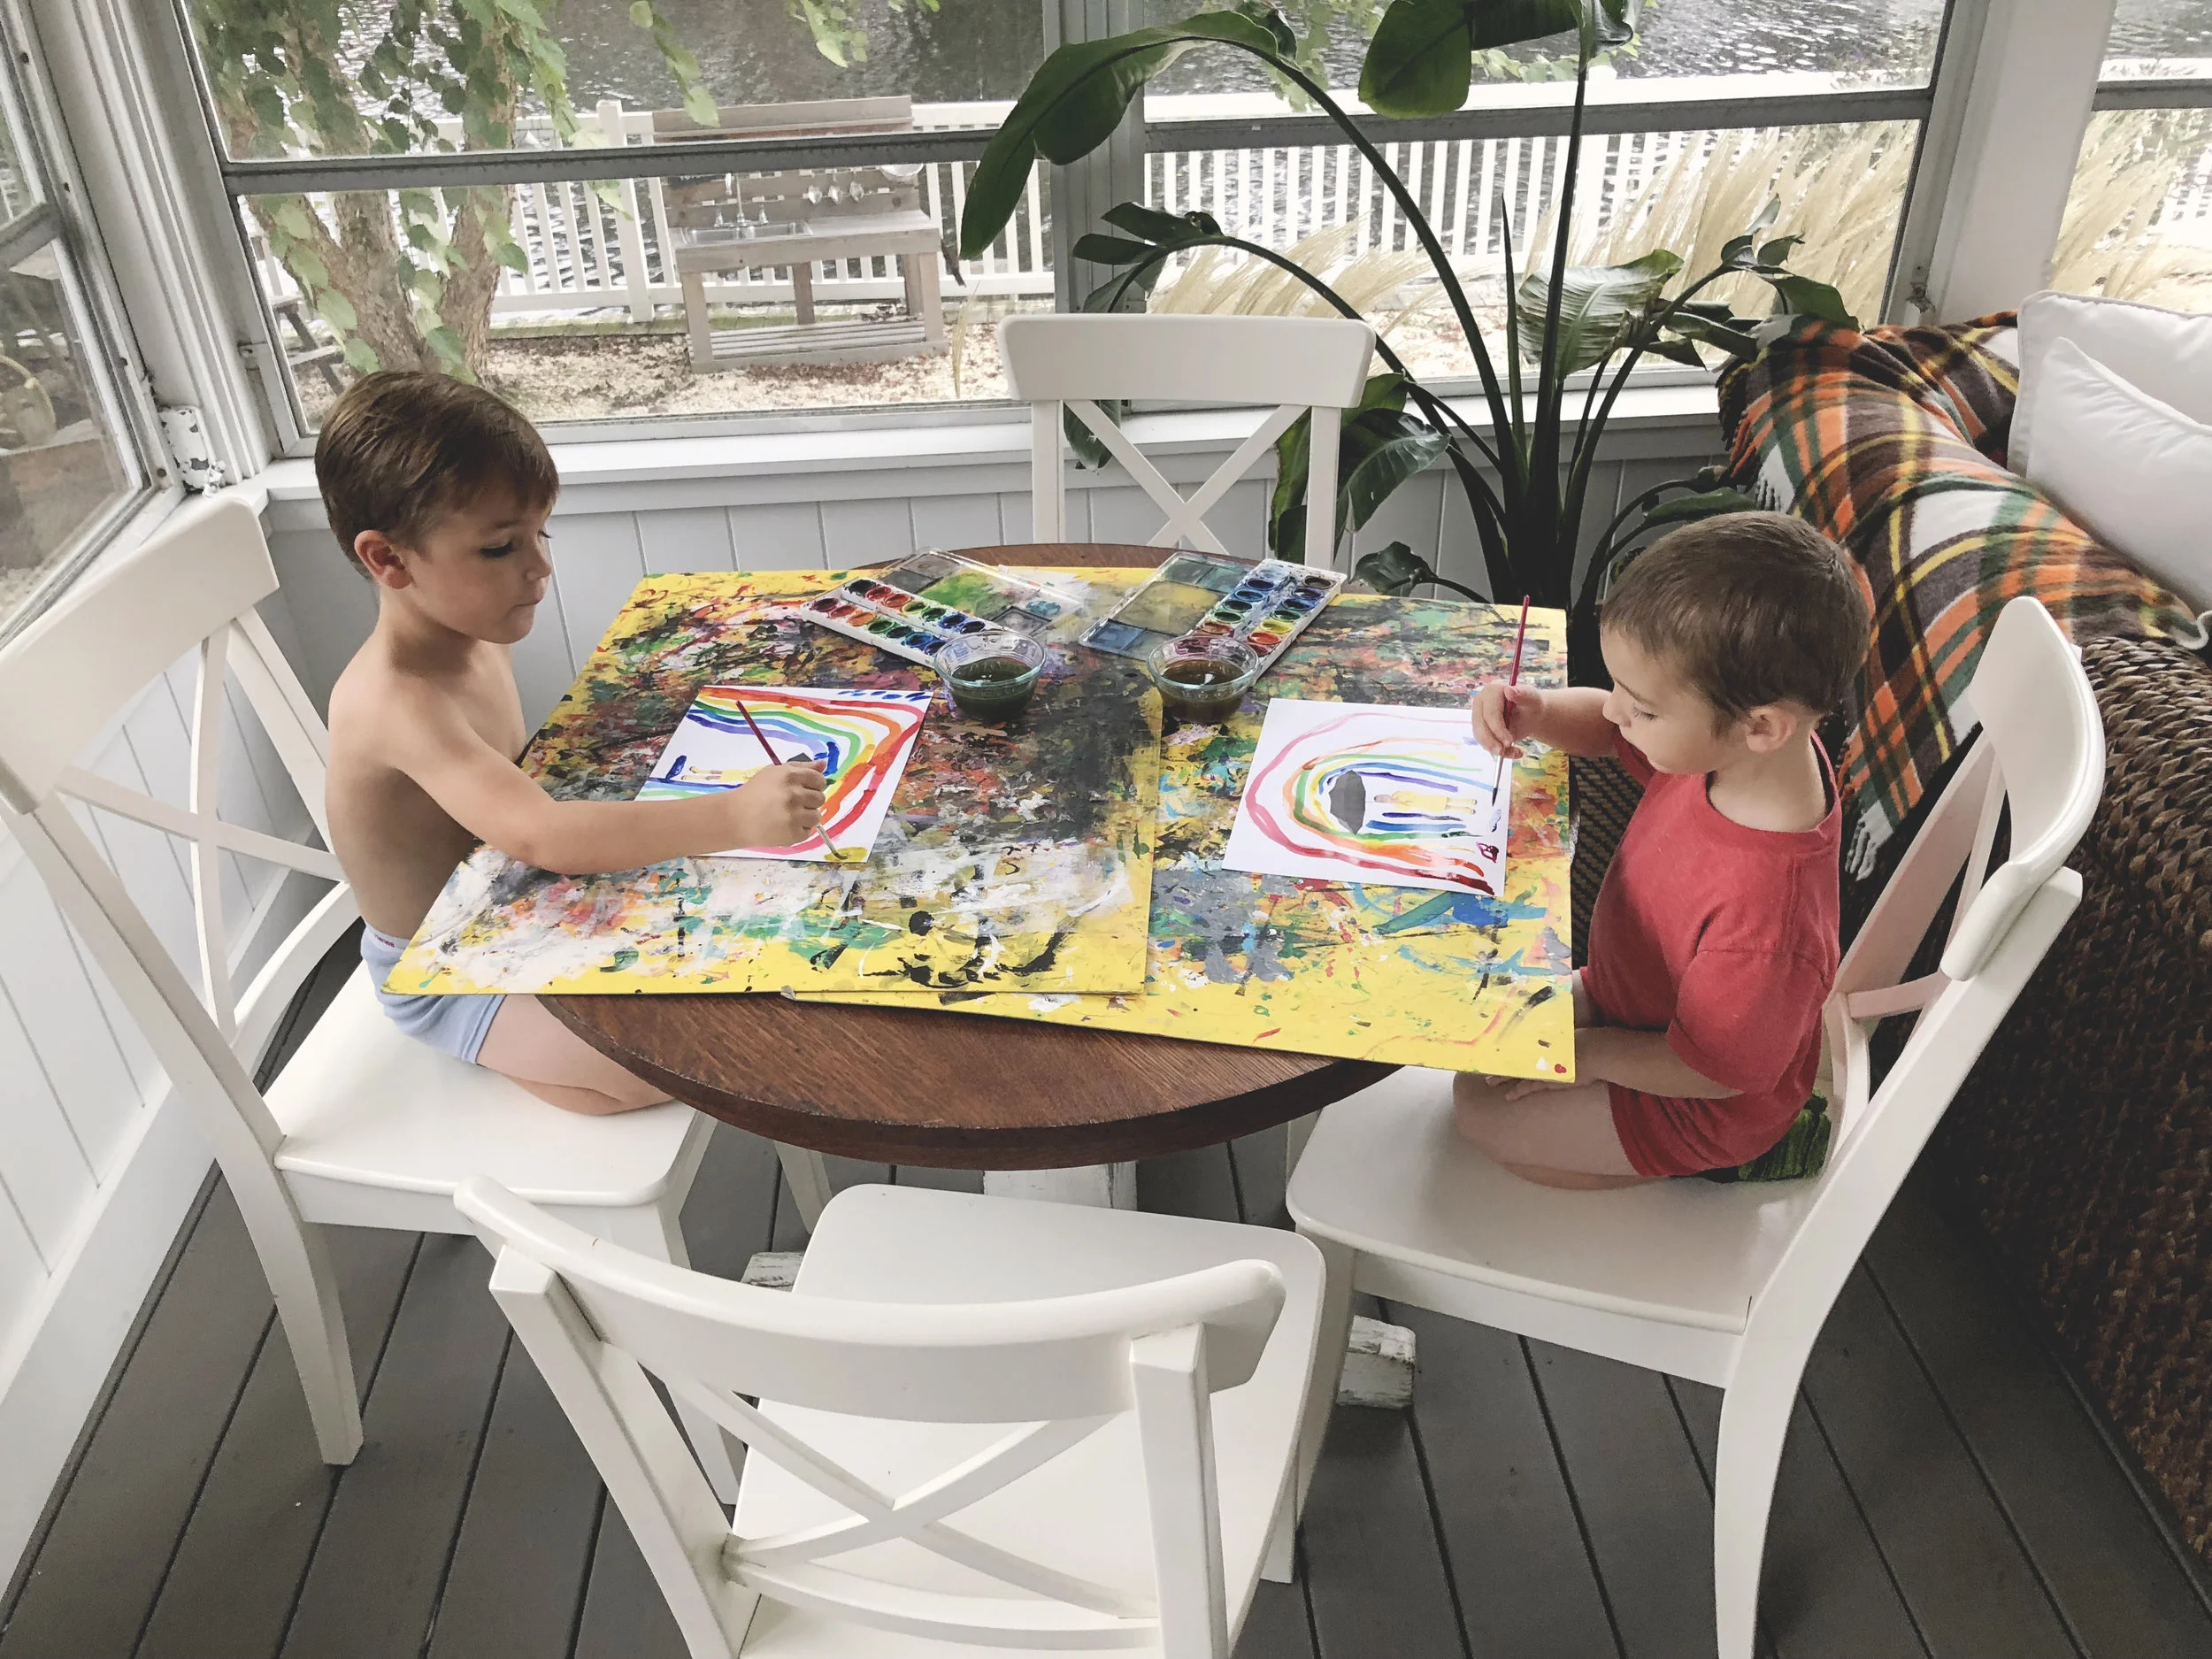
Step 4 - Paint the background
Once printed, your child can use watercolors (or really any medium) to add their own background (rain, grass, puddles, a rainbow, etc…).
Painting tips:
make sure that your child does not touch their printed picture with the paint or water
the more water they add to the paint the lighter the colors will be
to achieve dark, bright colors only add a tiny bit of water and mix the paint several times before using it
remember to wash your brush while switching between colors