diy scrap wood flag
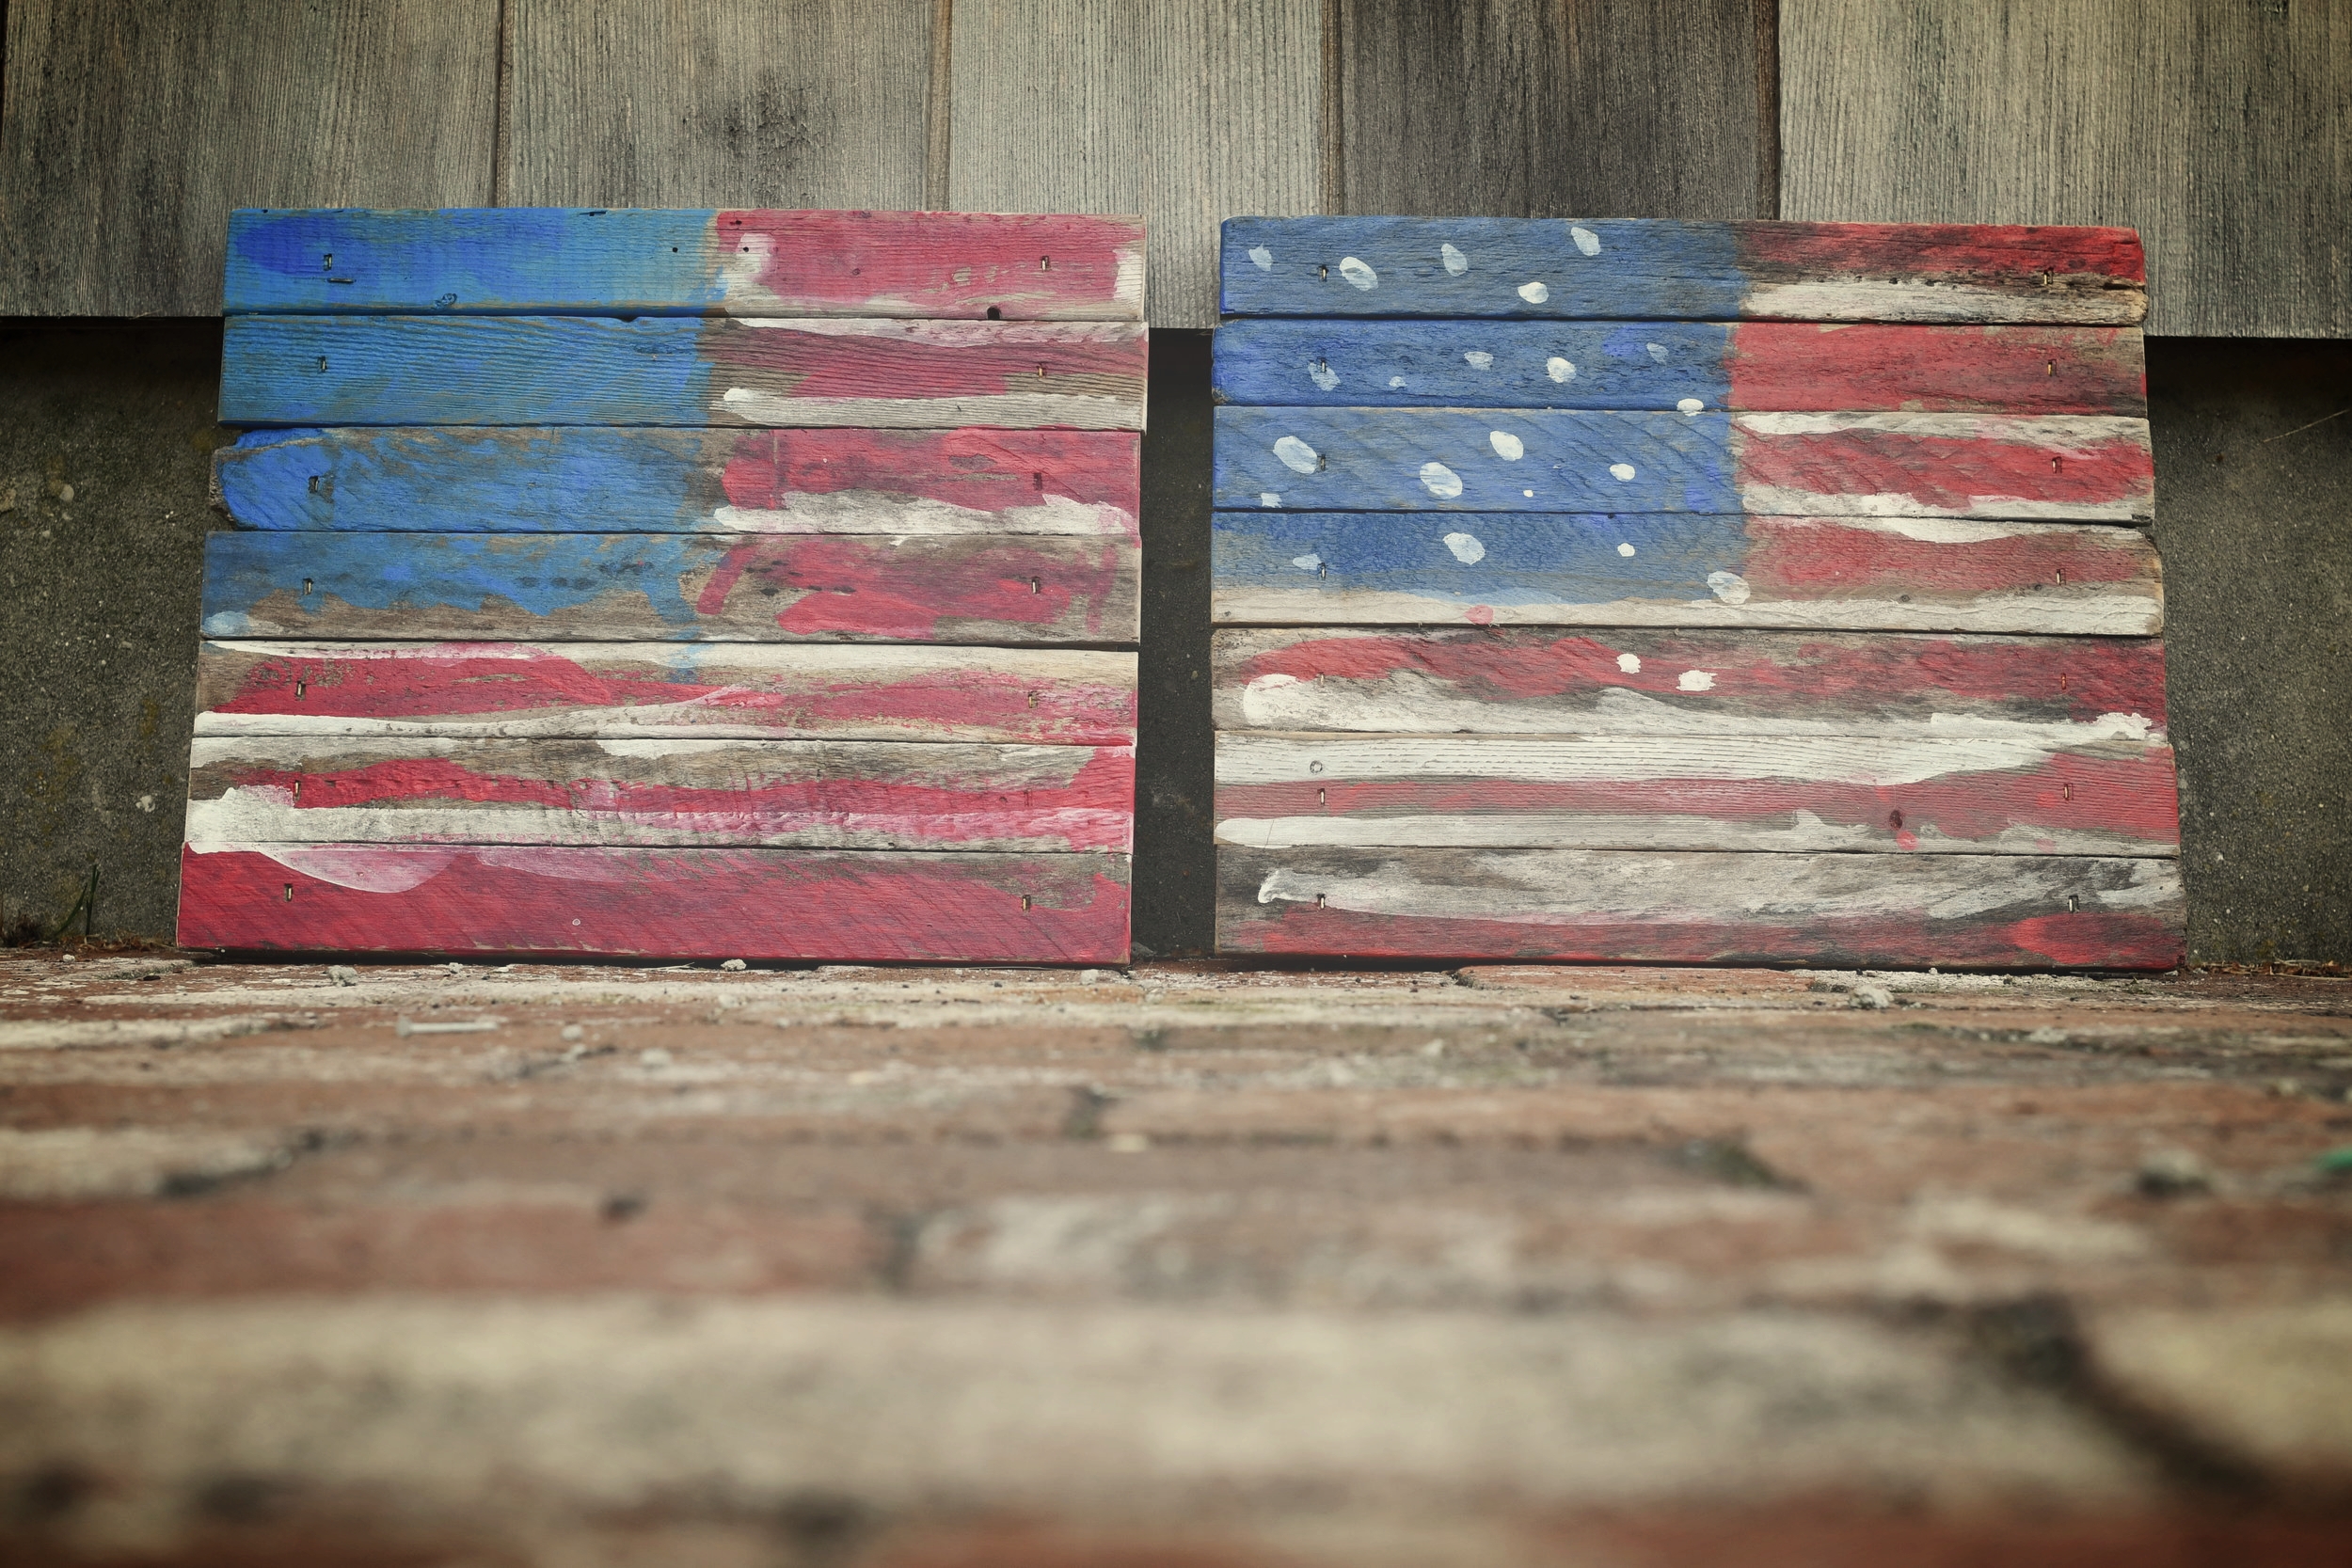
This project was a spur of the moment idea while we were cleaning and organizing our garage one afternoon. We are always looking for ways to use up some of the endless scrap wood pile and also to keep our kids' hands busy. Using some scrap plywood as the base and several reclaimed dune fence lengths, the boys were able to transform these scraps into adorable flags for the summer.
You can also check out the build video here.
What you will need
plywood cut down to 9.5" x 10.5"
(7) scrap strips cut down to 12.25" (we used dune fence)
hammer / nail gun & nails
acrylic paints (reds, whites, blues)
water
sandpaper
sealant of choice (we used water based poly-crylic)

Step 1 - Cut and assemble the flag
Cut plywood and dune fence/strips down to desired size. Our plywood was cut down to 9.5" x 10.5" and each dune fence strip was 1.25" x 12.25". The plywood measurements will depend on the width of the strips you are using. The plywood base should be slightly smaller than the strips so it does not show.
Loosely lay out out the strips on the plywood base, making sure to vary different shades and textures to create a balanced look.
Step 2 - Secure strips to plywood base
Once the strips are laid out as desired, place another scrap board across your workpiece and secure with clamps. While this step is not required, it makes keeping the strips in place and stapling a consistent line MUCH easier.
We opted to use our pneumatic nail gun because of the aesthetic value the staples provided (it helped that our staples were a little rusty).


Step 3 - Rough sand the boards
Give the assembled boards a rough sanding with sandpaper or a sanding block. Nothing too serious is required here, you are only looking to soften the edges of the freshly cut strips.
Step 4 - Paint the blue of the flag
Using a mixture of acrylic blue paint and water, have your kids paint the blue portion of the flag. You can modify the ratio of the mixture depending on how bold / transparent you want the color. If younger children are creating this, you can also outline the section that is to be painted by using a wet brush.


Step 5 - Paint the red stripes
Using the same wash technique, mix red acrylic paint with water. Have the kids paint 7 red stripes, making sure to leave spaces in between. Again, you can use a wet brush to mark where the stripes should go for younger children (the flag should start and end with a red stripe). Let this dry for 5-10 minutes.
Step 6 - Paint the white stripes and (optional) stars
Repeat step 5 using white acrlyic paint and water, painting 6 white stripes in between the red stripes. Older kids may also want to use the white paint to add stars to the blue section of their flag. Our 3 year old was over this project at this point and chose to leave his blue section star-less. Our 5 year old added dots instead of stars. Let this dry for 5-10 minutes.


Step 7 - Rough Sand (Optional)
If you want a more distressed look, you can give the flag another rough sanding.
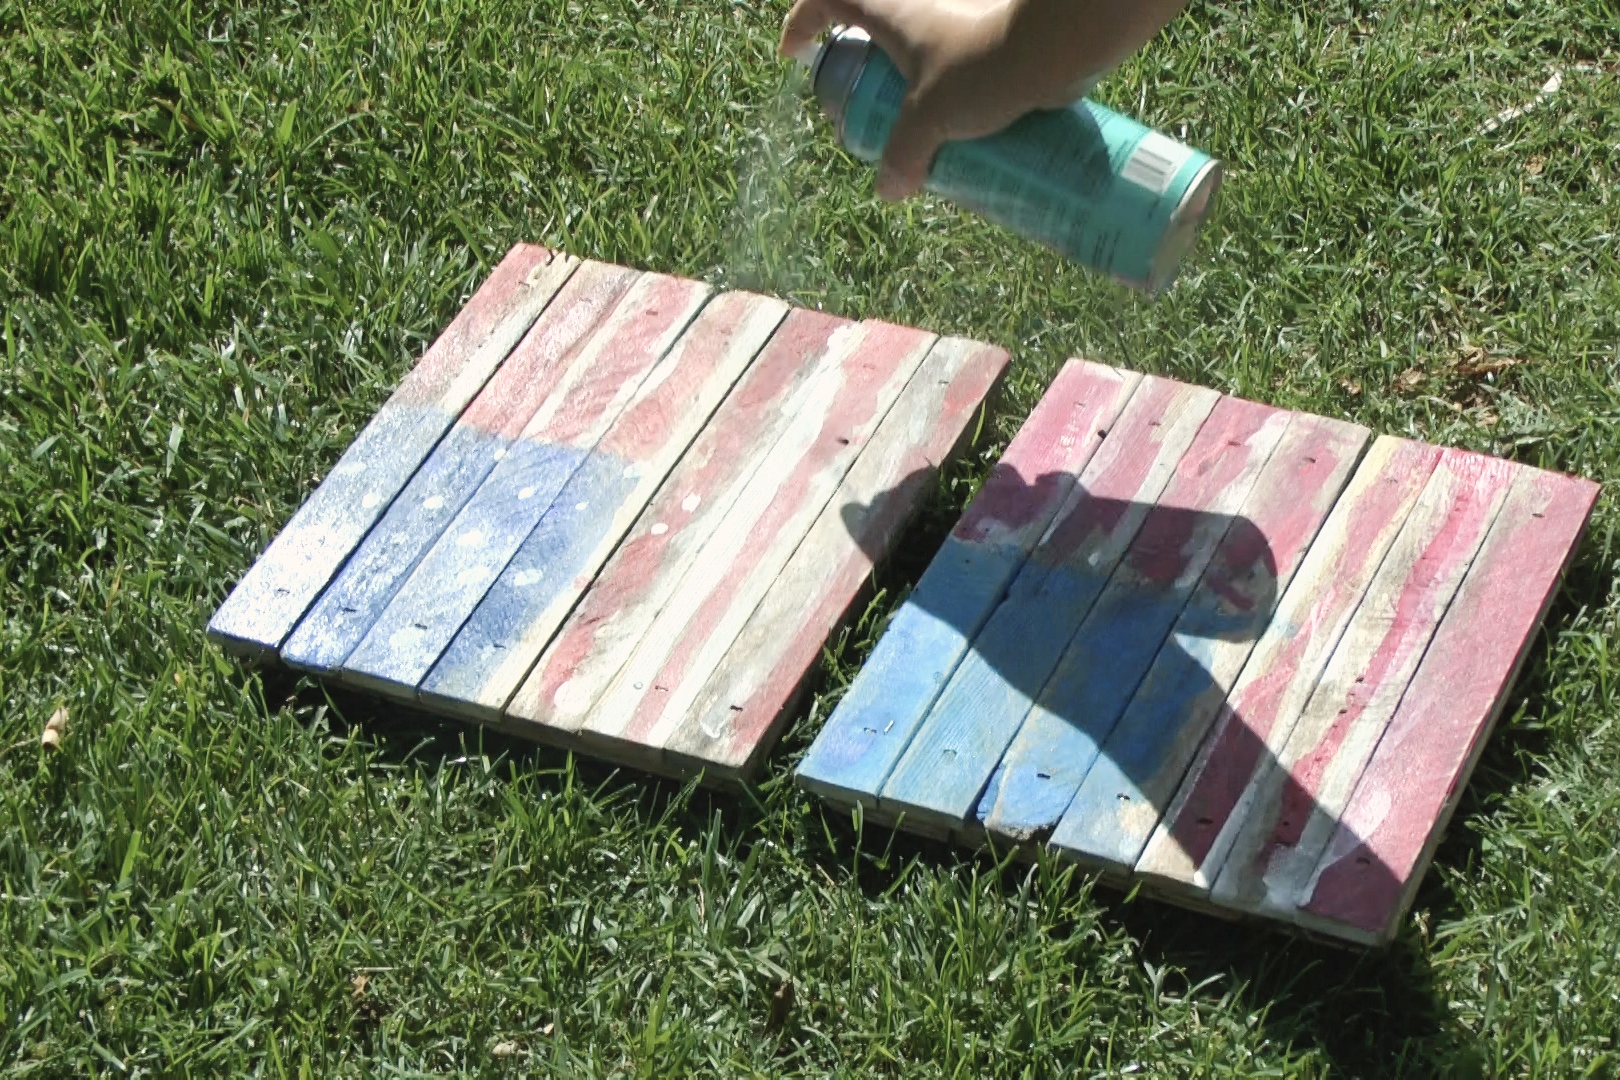
Step 8 - Apply clear coat
Once completely dry, spray the flag with two coats of a sealant. We used water-based poly-crylic by Minwax because it was what we had in the garage and we planned on displaying the flags indoors. If you plan on keeping the flags outside, you would want to use an indoor/outdoor spray.