diy back to school signs
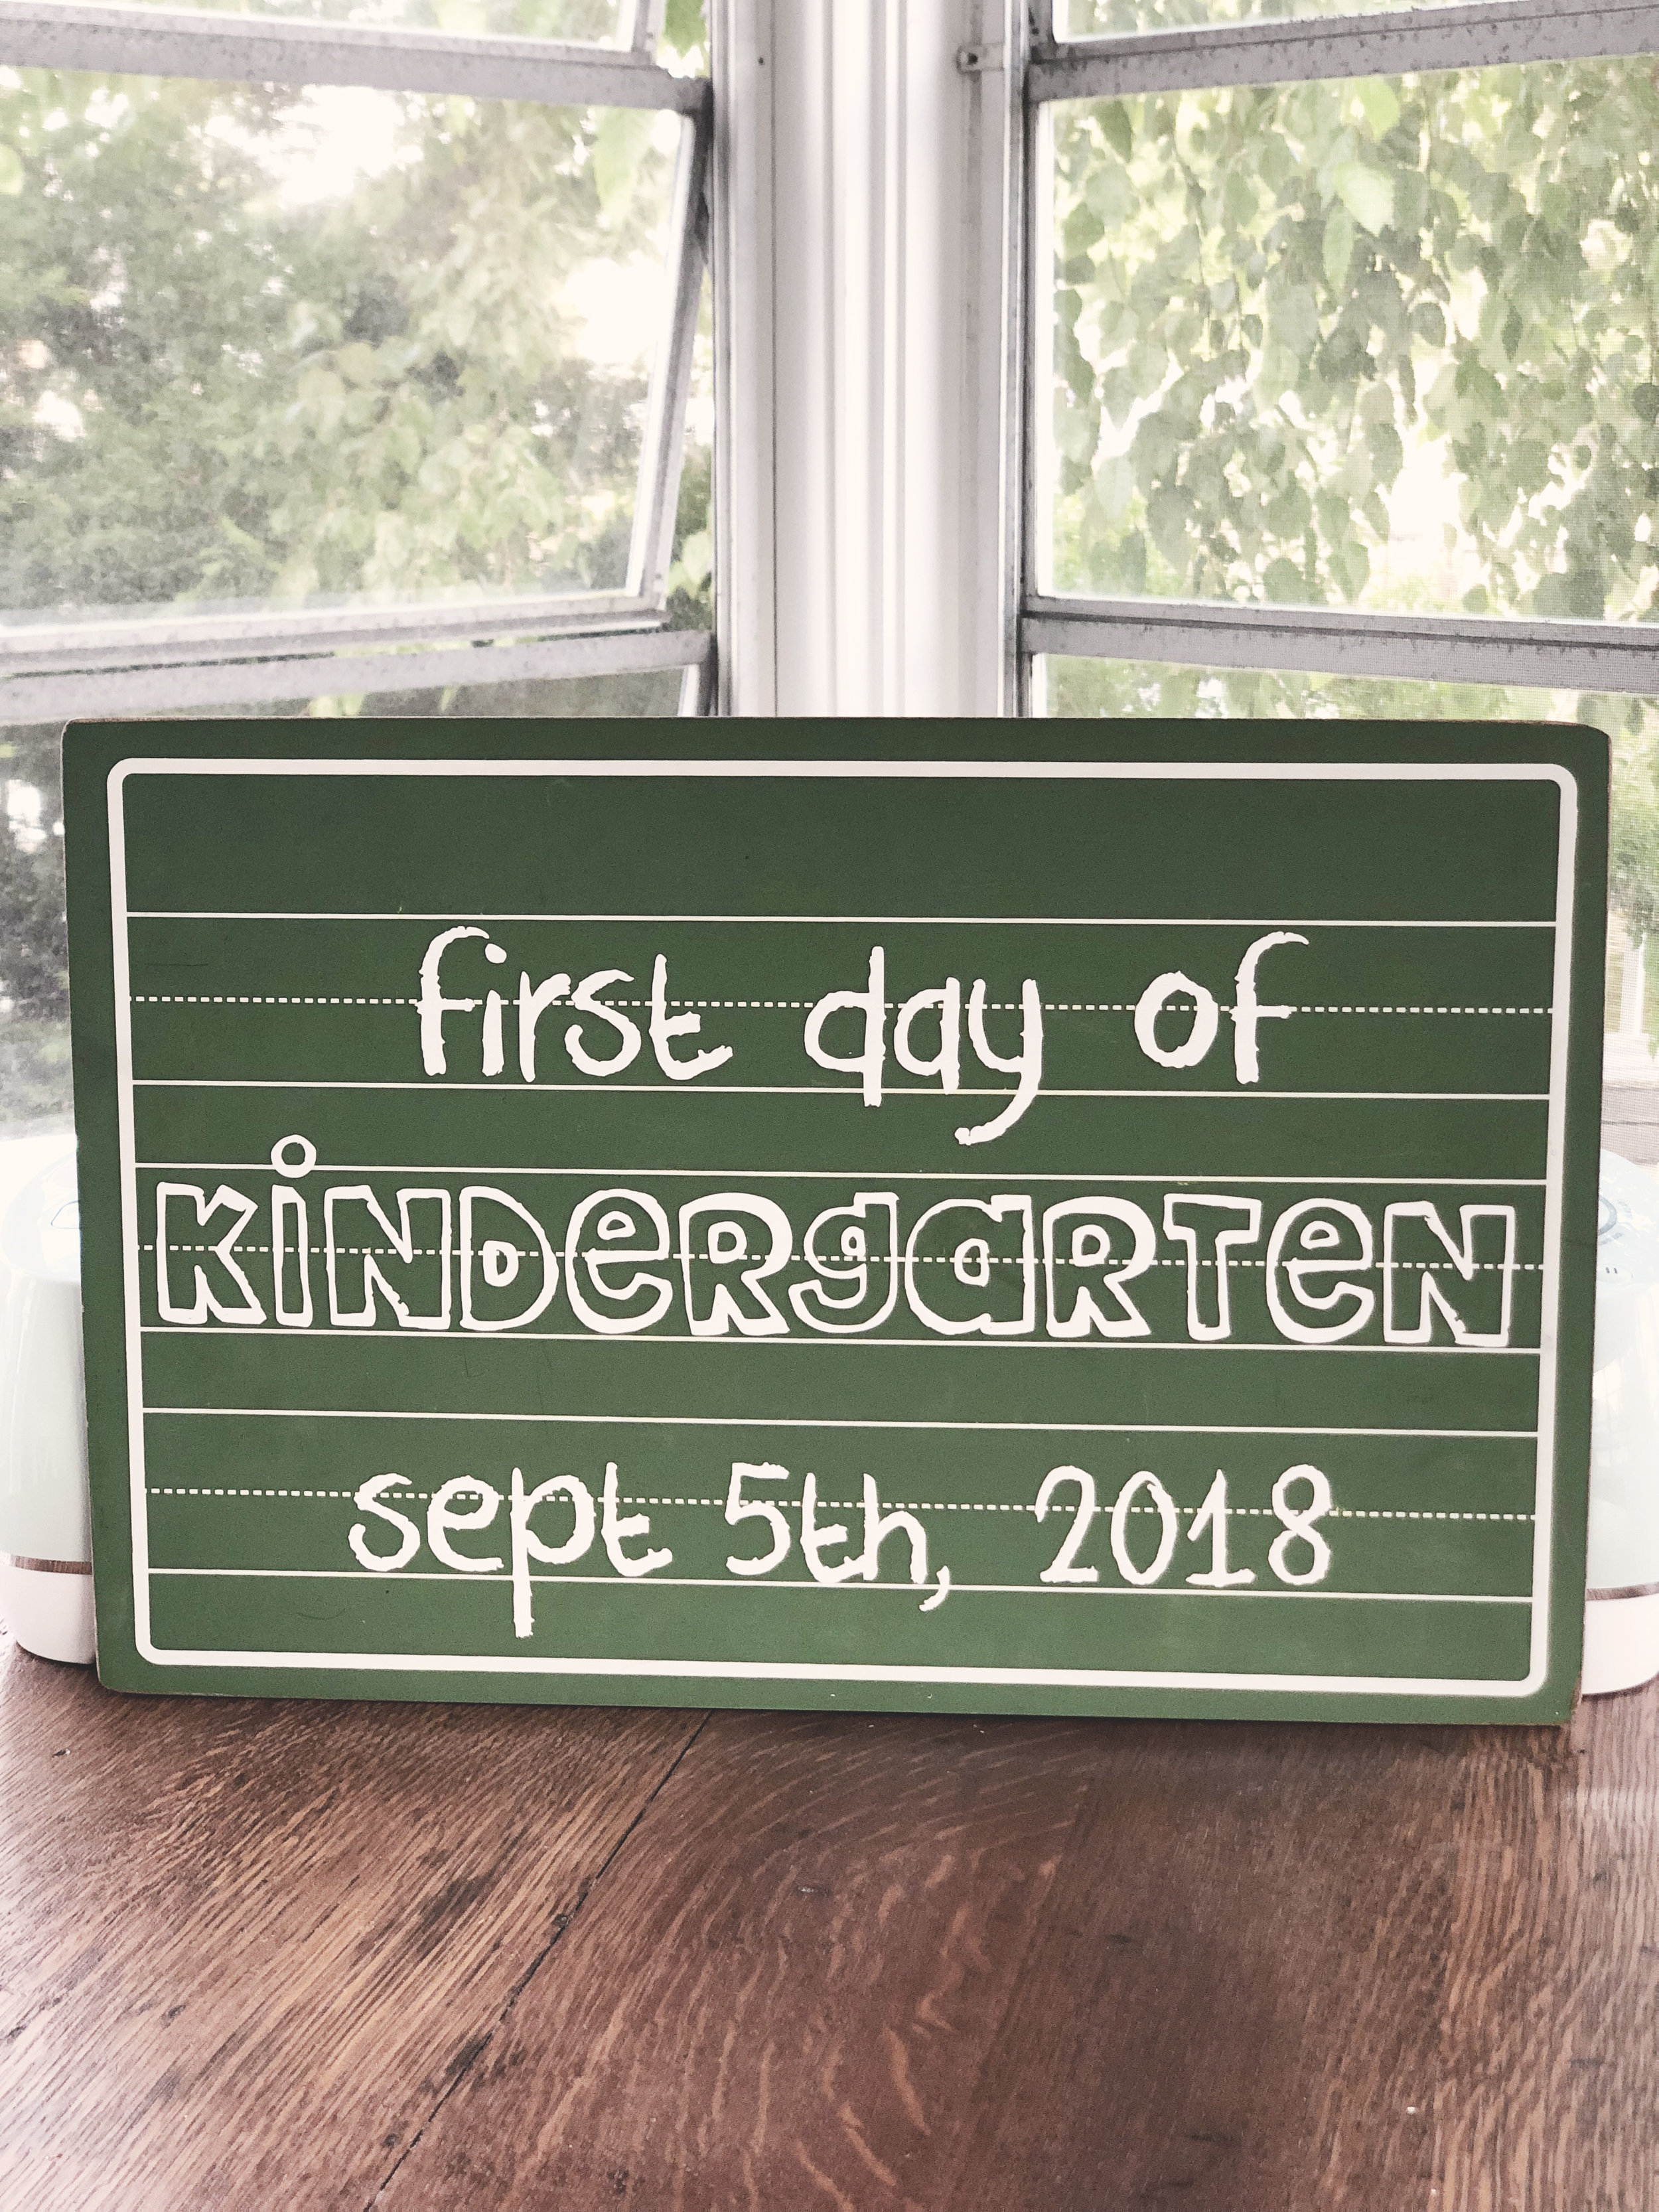
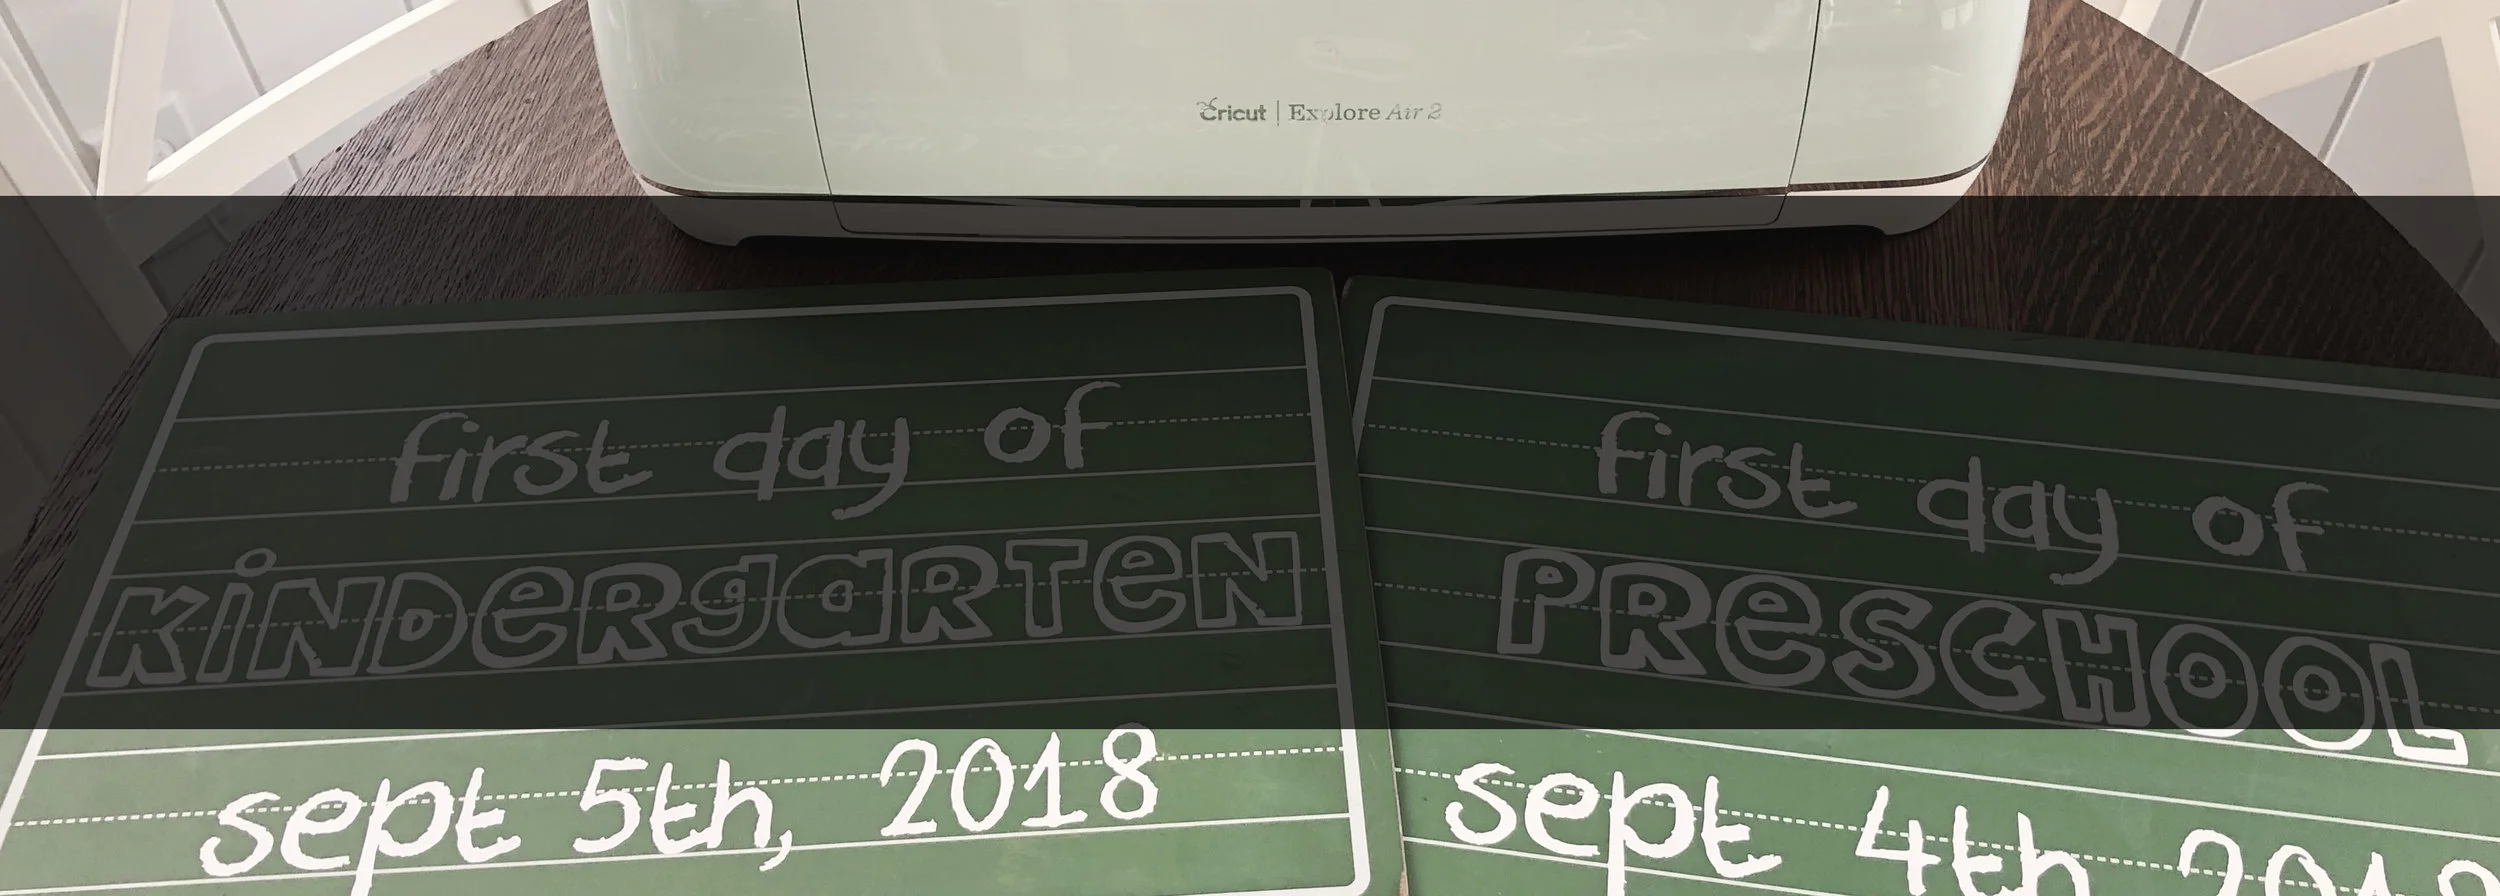
Our oldest, Fisher, is starting Kindergarten this year and as we've watched our friends’ first day of school photos on Facebook the last few weeks we realized we hadn't put much thought into the big day. Hollie acquired a size-able lot of these old chalkboards a few years ago which we thought might make for a great sign. After a few failed attempts using actual chalk and other materials, we turned to the Cricut. While a Cricut is not always a necessary tool, for projects like these it is a great asset to have.
What you will need:
Chalkboard
Removable Matte Vinyl (White)
Scissors
Your favorite fonts (we used MTF Epic and DK Crayon Crumble)
Image Editing Software (Illustrator or Inkscape) - if you choose a complicated font
Purchasing via these affiliate links help support the site.

Step 1 - Font/graphic design and prep
First, you will want to measure out the size of your chalkboard and determine the size of the text and/or graphics you want included. We were constrained to 2" text because of the lines on the handwriting chalkboards we were using. We wanted our fonts to look like they were handwritten, but since there were so many details, we needed to clean them up a bit in Adobe Illustrator to make them cuttable on the Cricut. You can also use Inkscape (a free Illustrator alternative).
Fortunately, cleaning up the text in illustrator only requires a few clicks for each work block.
Type text into Illustrator
With the text box selected, click Type >> Create Outlines
Then click Object >> Path >> Offset Path. We only needed to set the offset to 0.01" to clean up the fonts we selected, but you may need to offset a little further depending on the font you are using.
Once you have all the text components ready, export each object as it's own .PNG or .SVG file. This will make placing them on the Cricut workspace much easier.

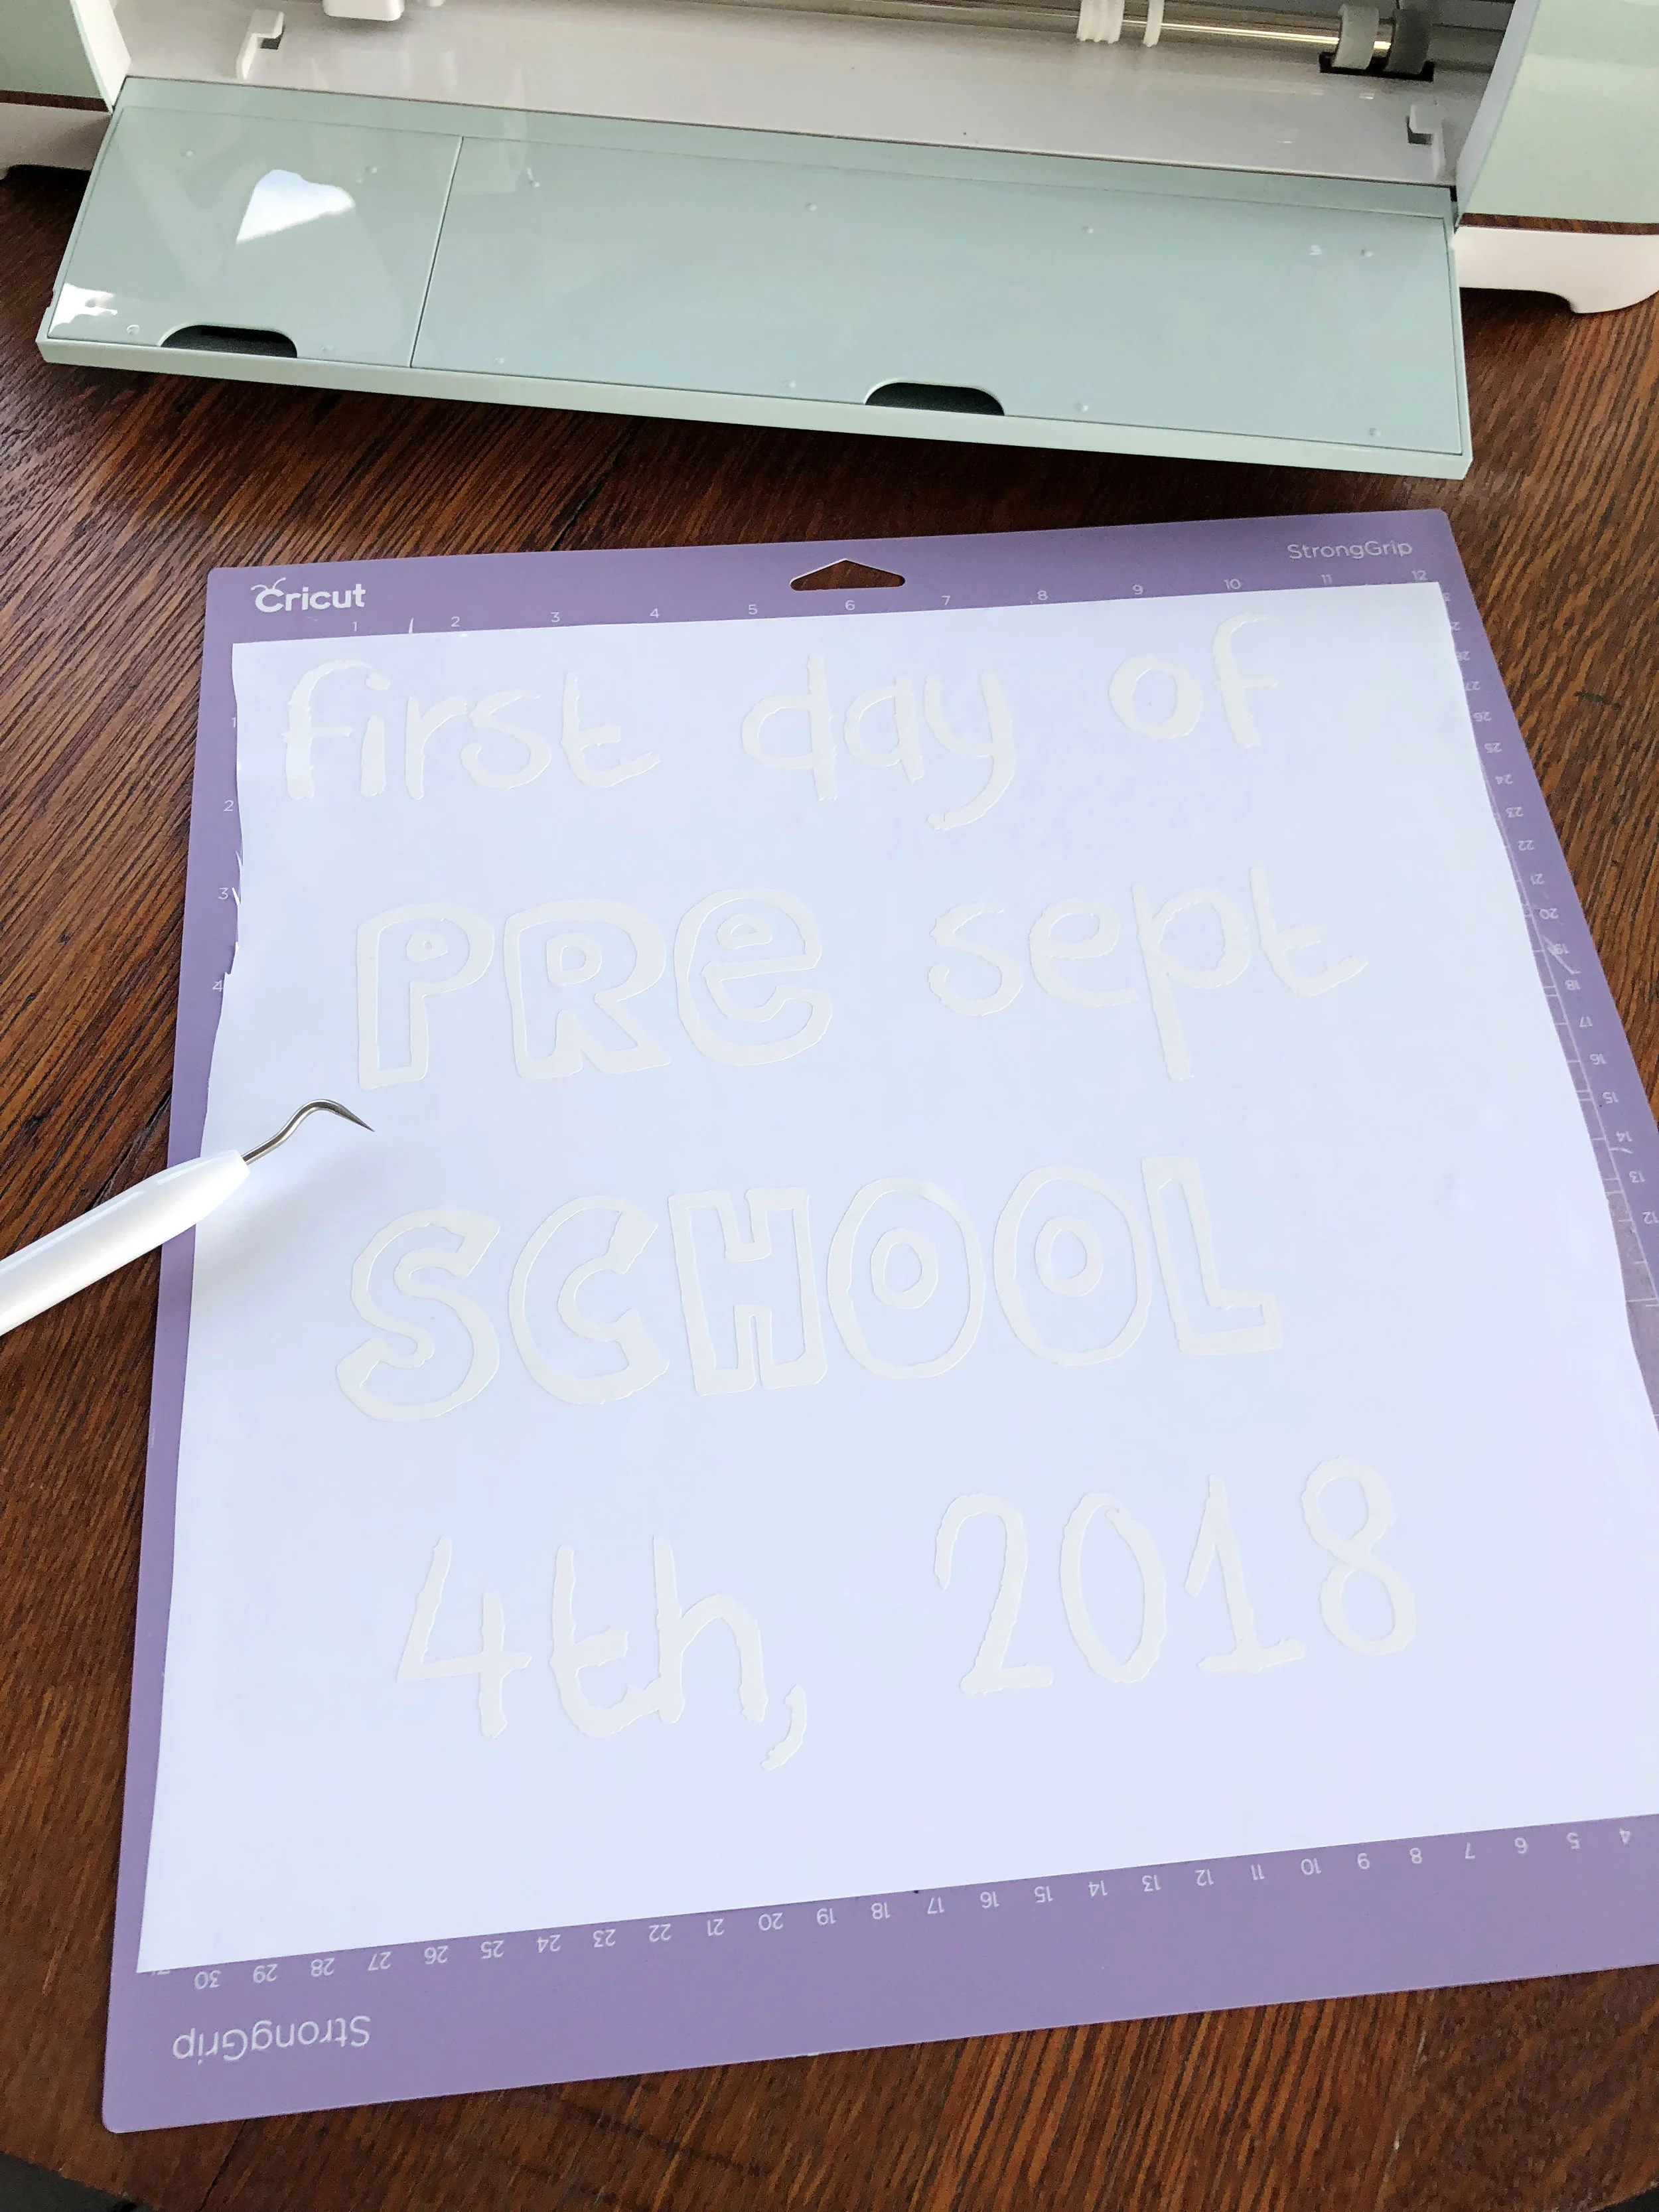
Step 2 - Prepping and cutting your graphics
Upload all of your text components into your image library in the Cricut Design Space and re-arrange to optimize your workspace. The more you can fit into a single workspace, the less material you will use. Make sure that all of your objects are sized to their desired output size. Once everything is laid out, select all of the objects in the workspace and click Attach and Weld from the bottom right menu. This will keep the objects exactly as you've placed then once you begin the cutting process.
Step 3 - Prep graphics for placement
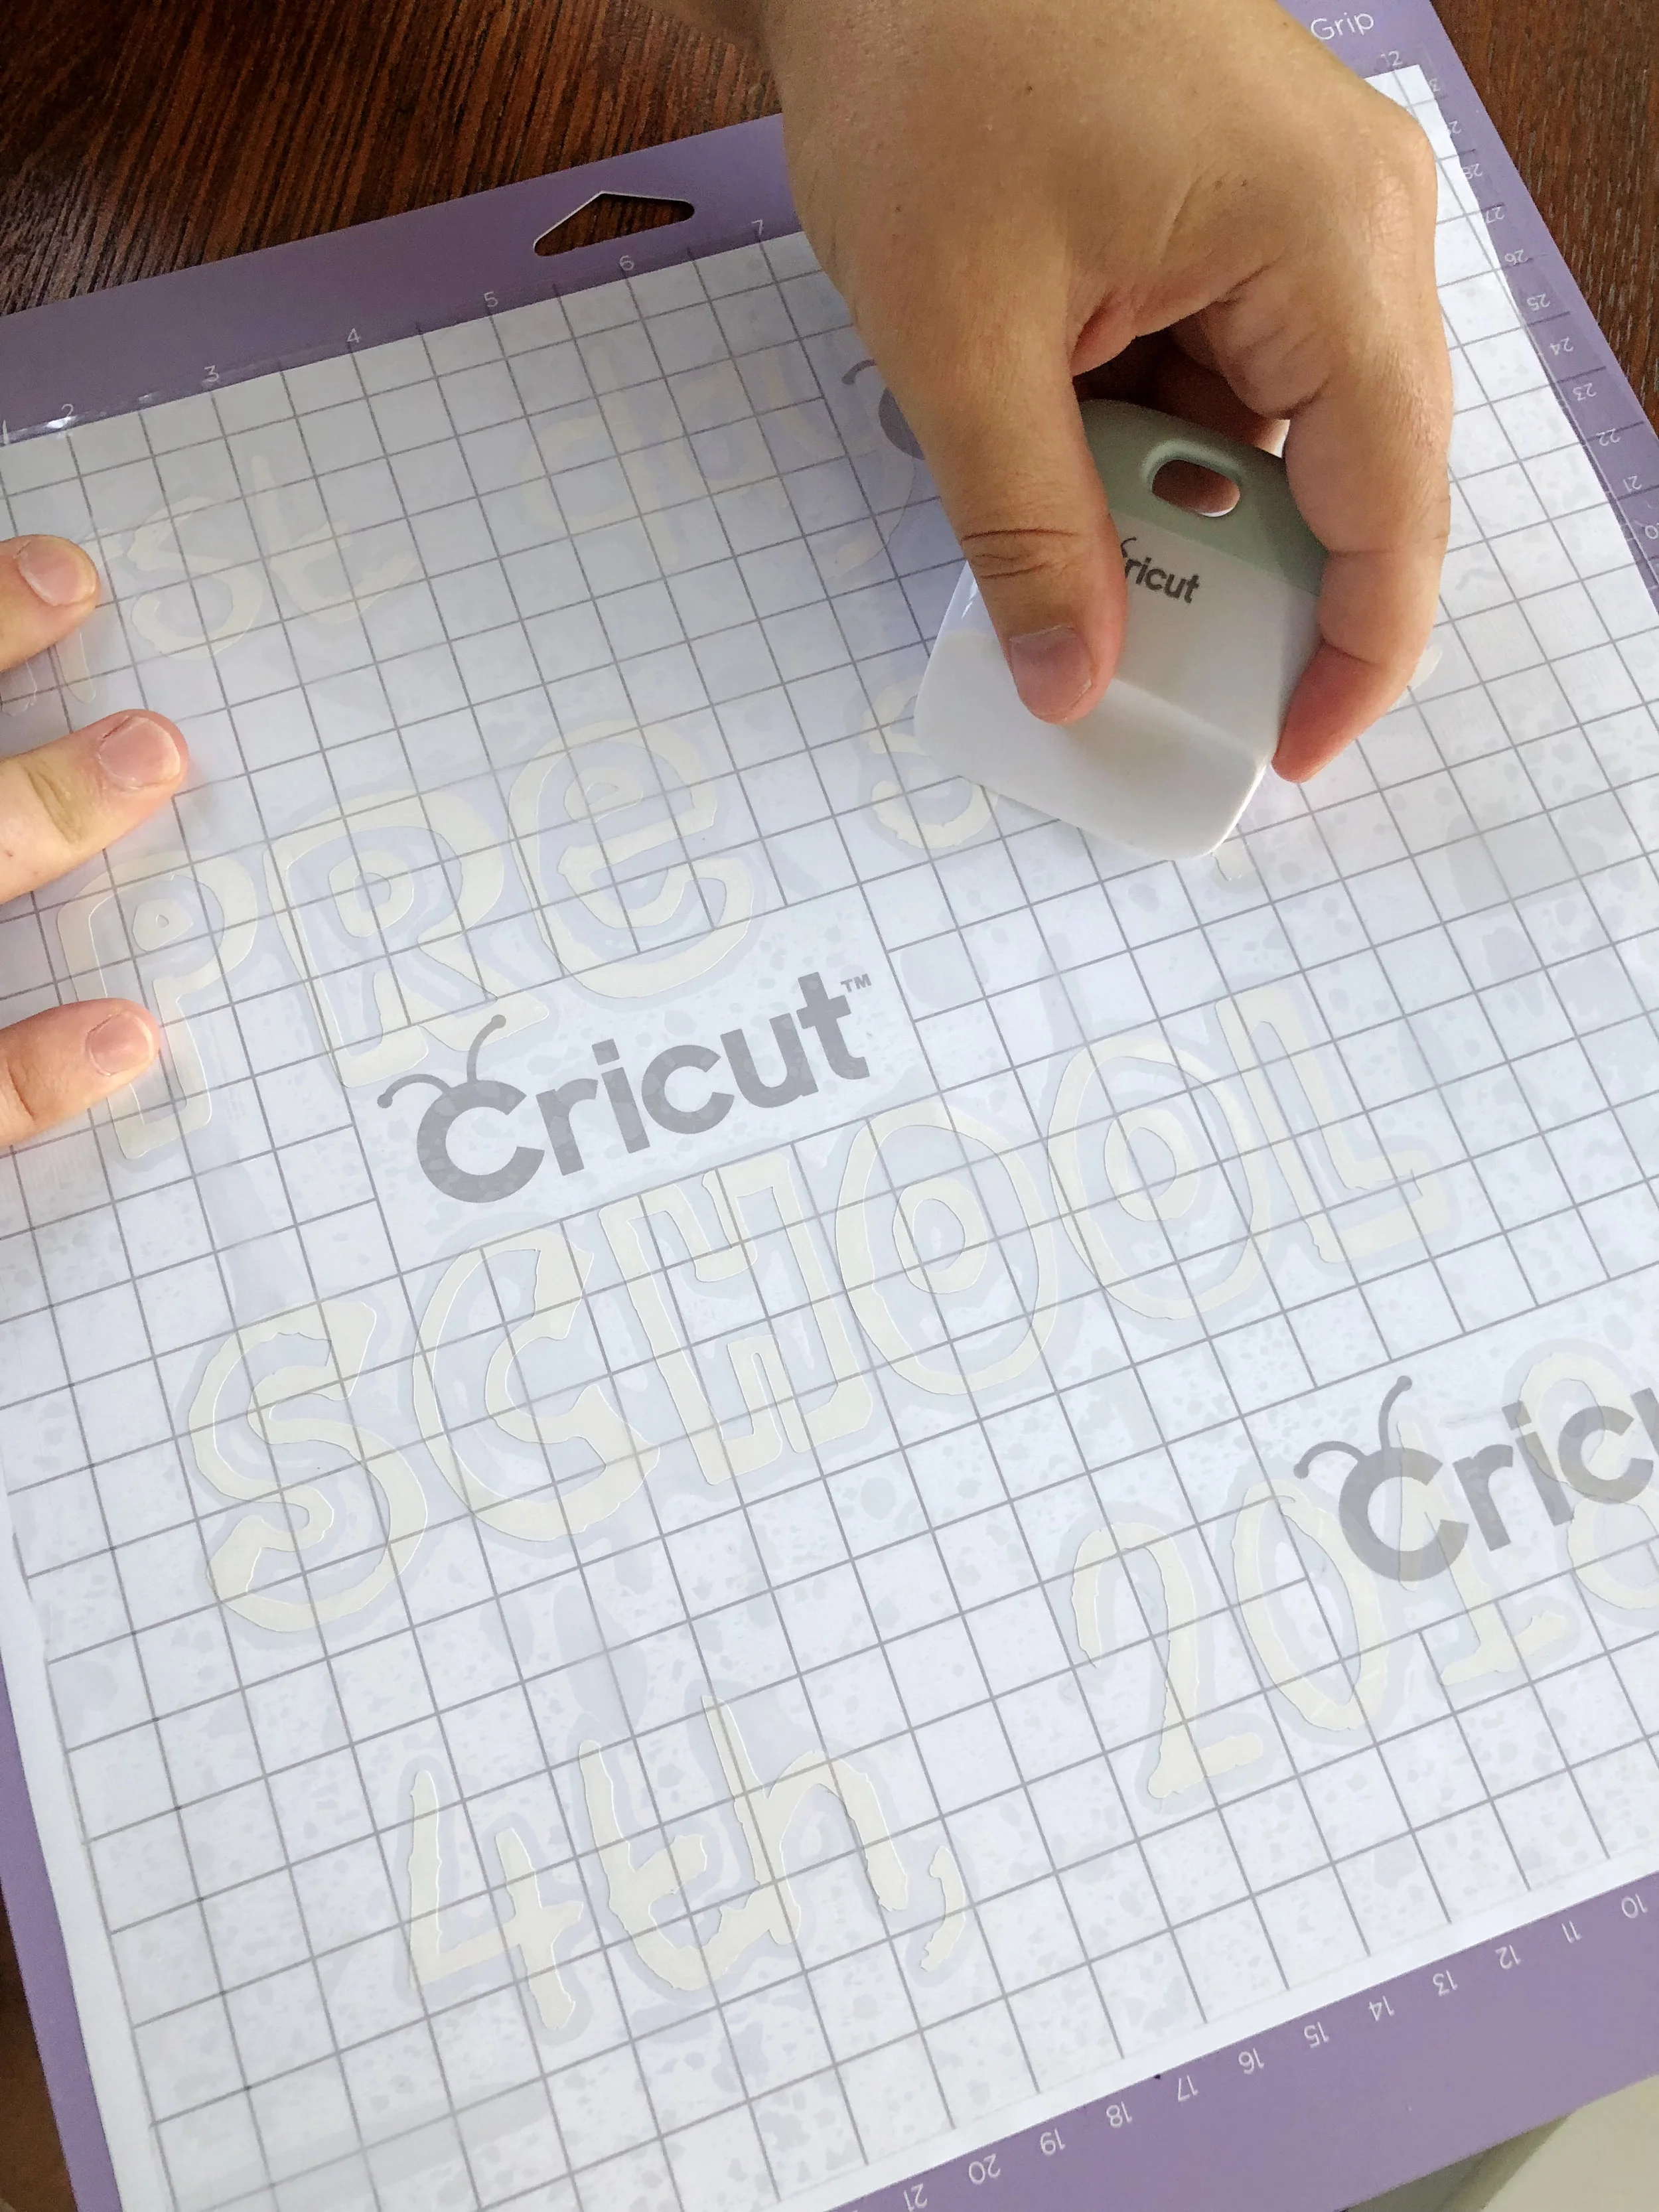
After the Cricut has completed it's task, you must remove the negative space from the vinyl. You are essentially removing anything that you don't want to appear on the chalkboard.
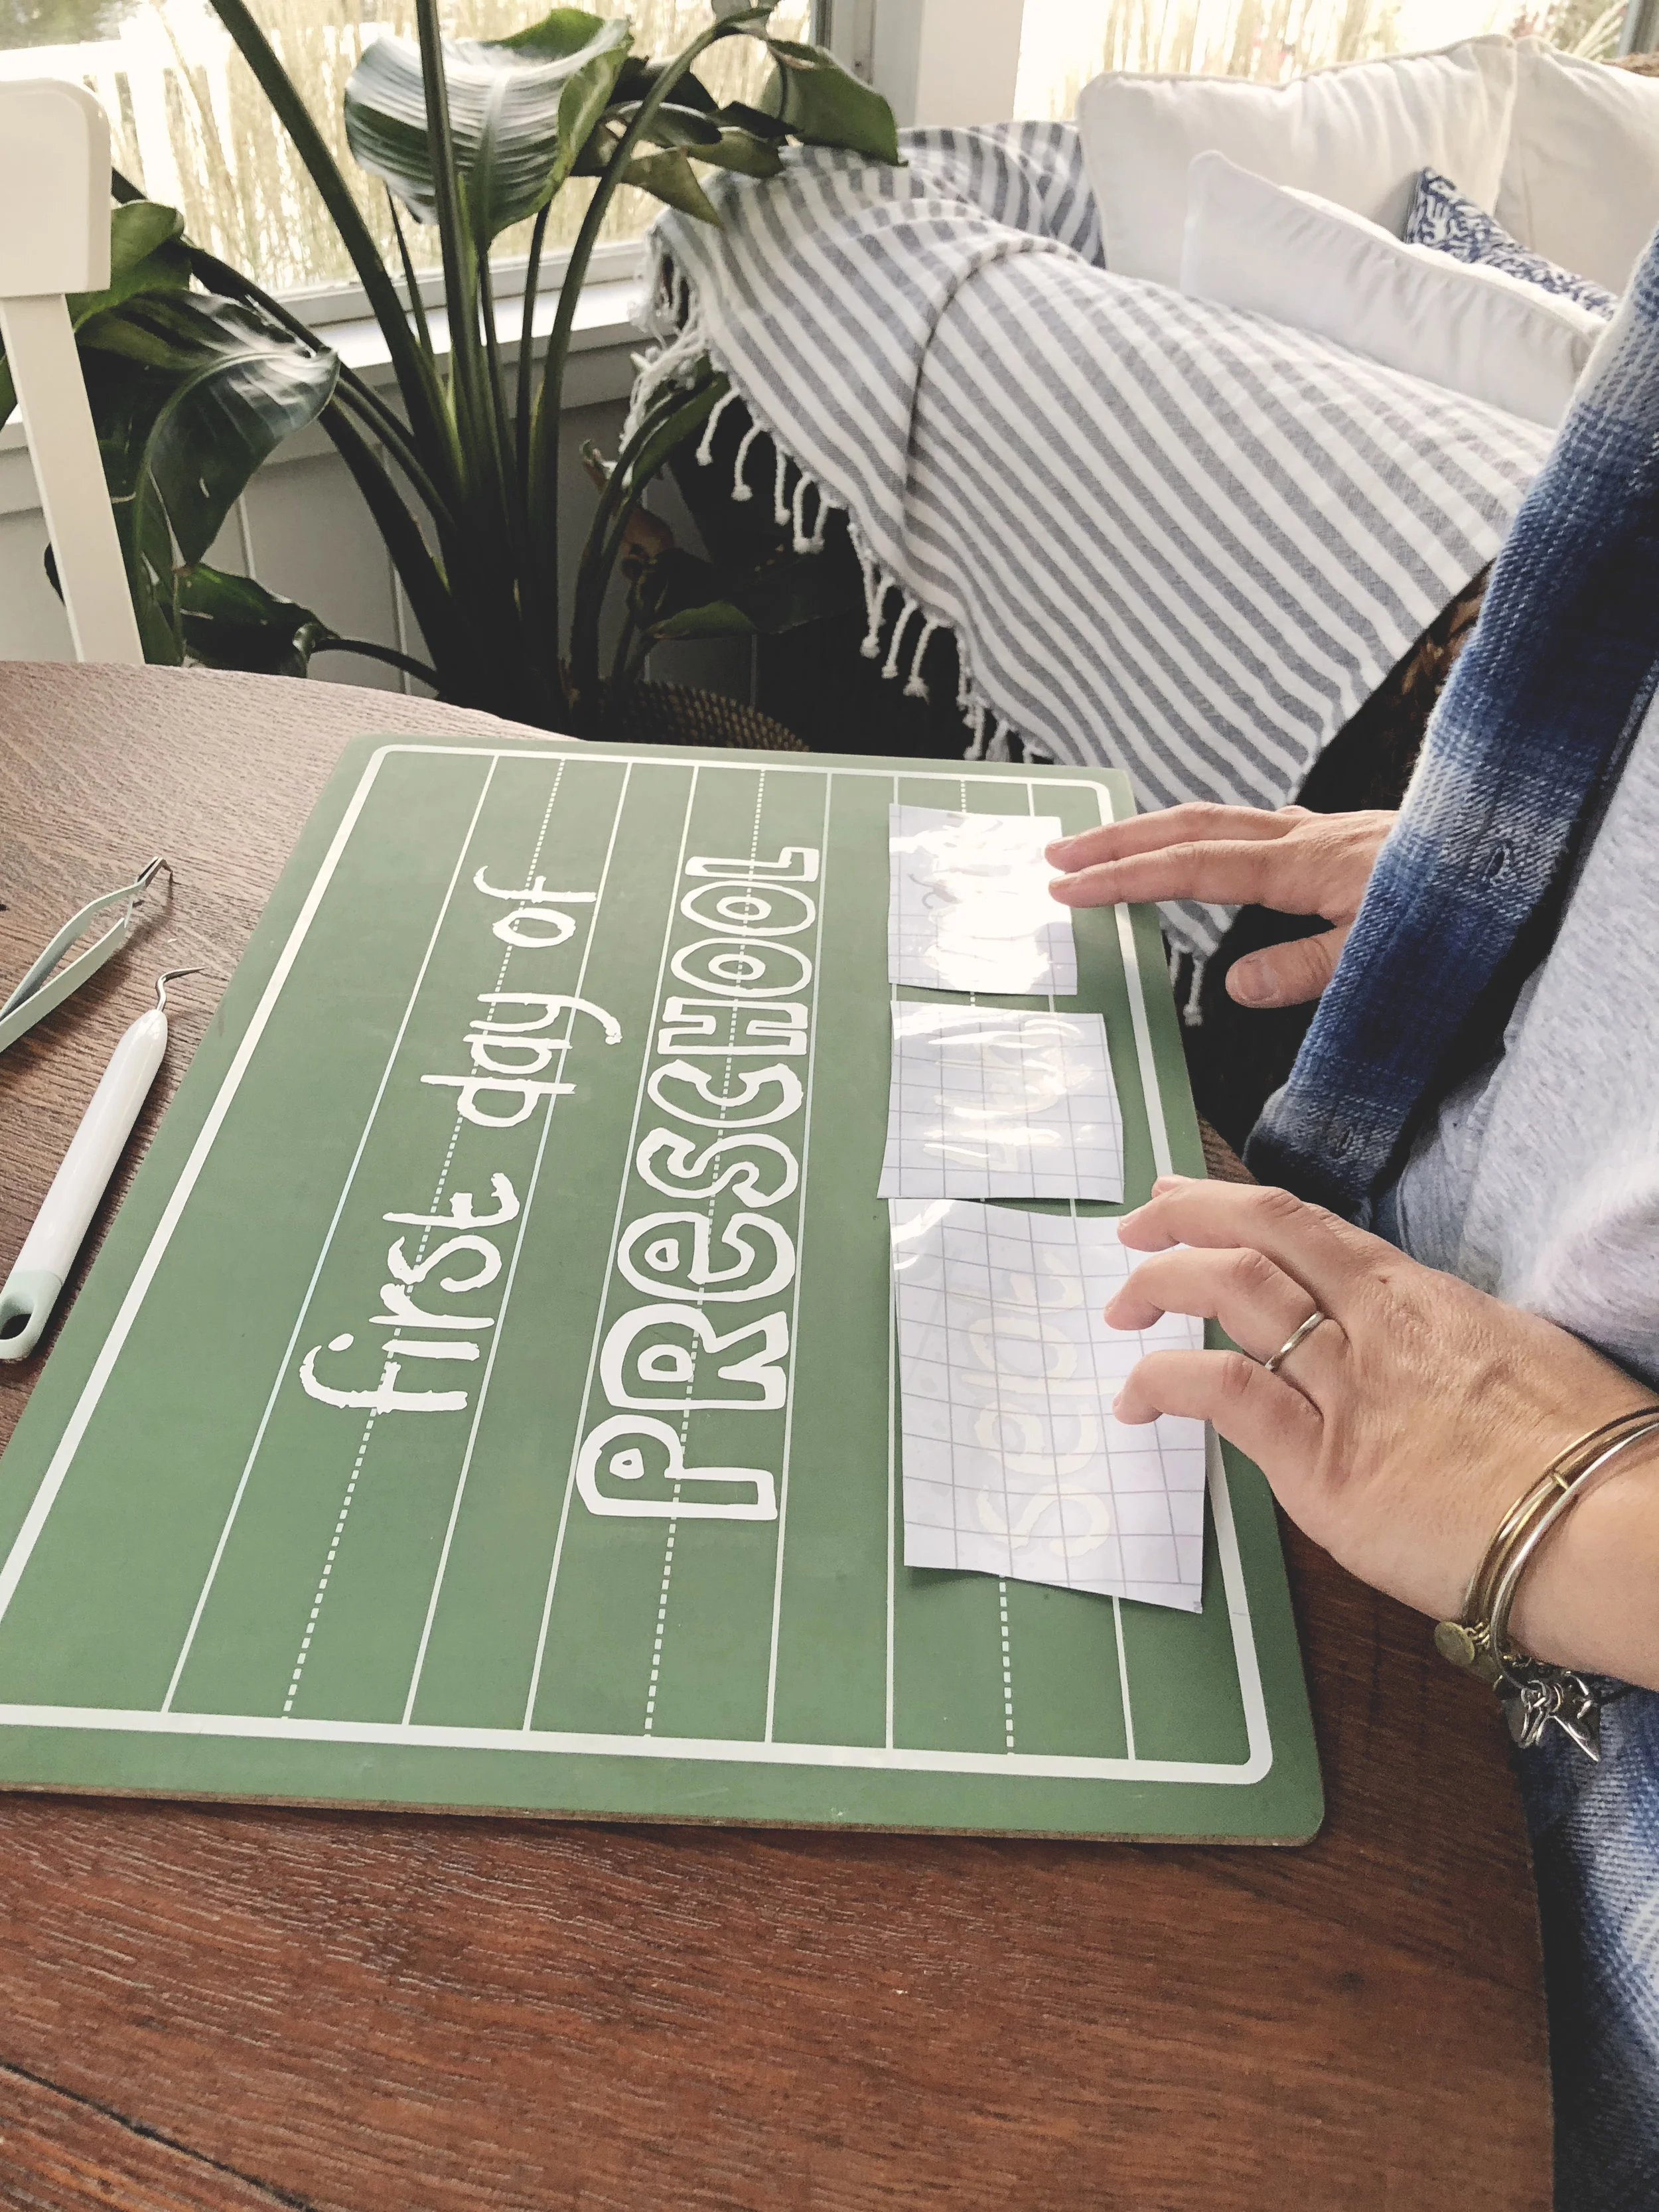
Once the negative space has been removed, carefully apply the transfer tape to the board on top of the remaining vinyl. Using a Cricut tool, a wooden spoon, or your fingernail, firmly press the transfer tape onto the vinyl.
Next, remove the 'decal' from the board and cut out each word component.
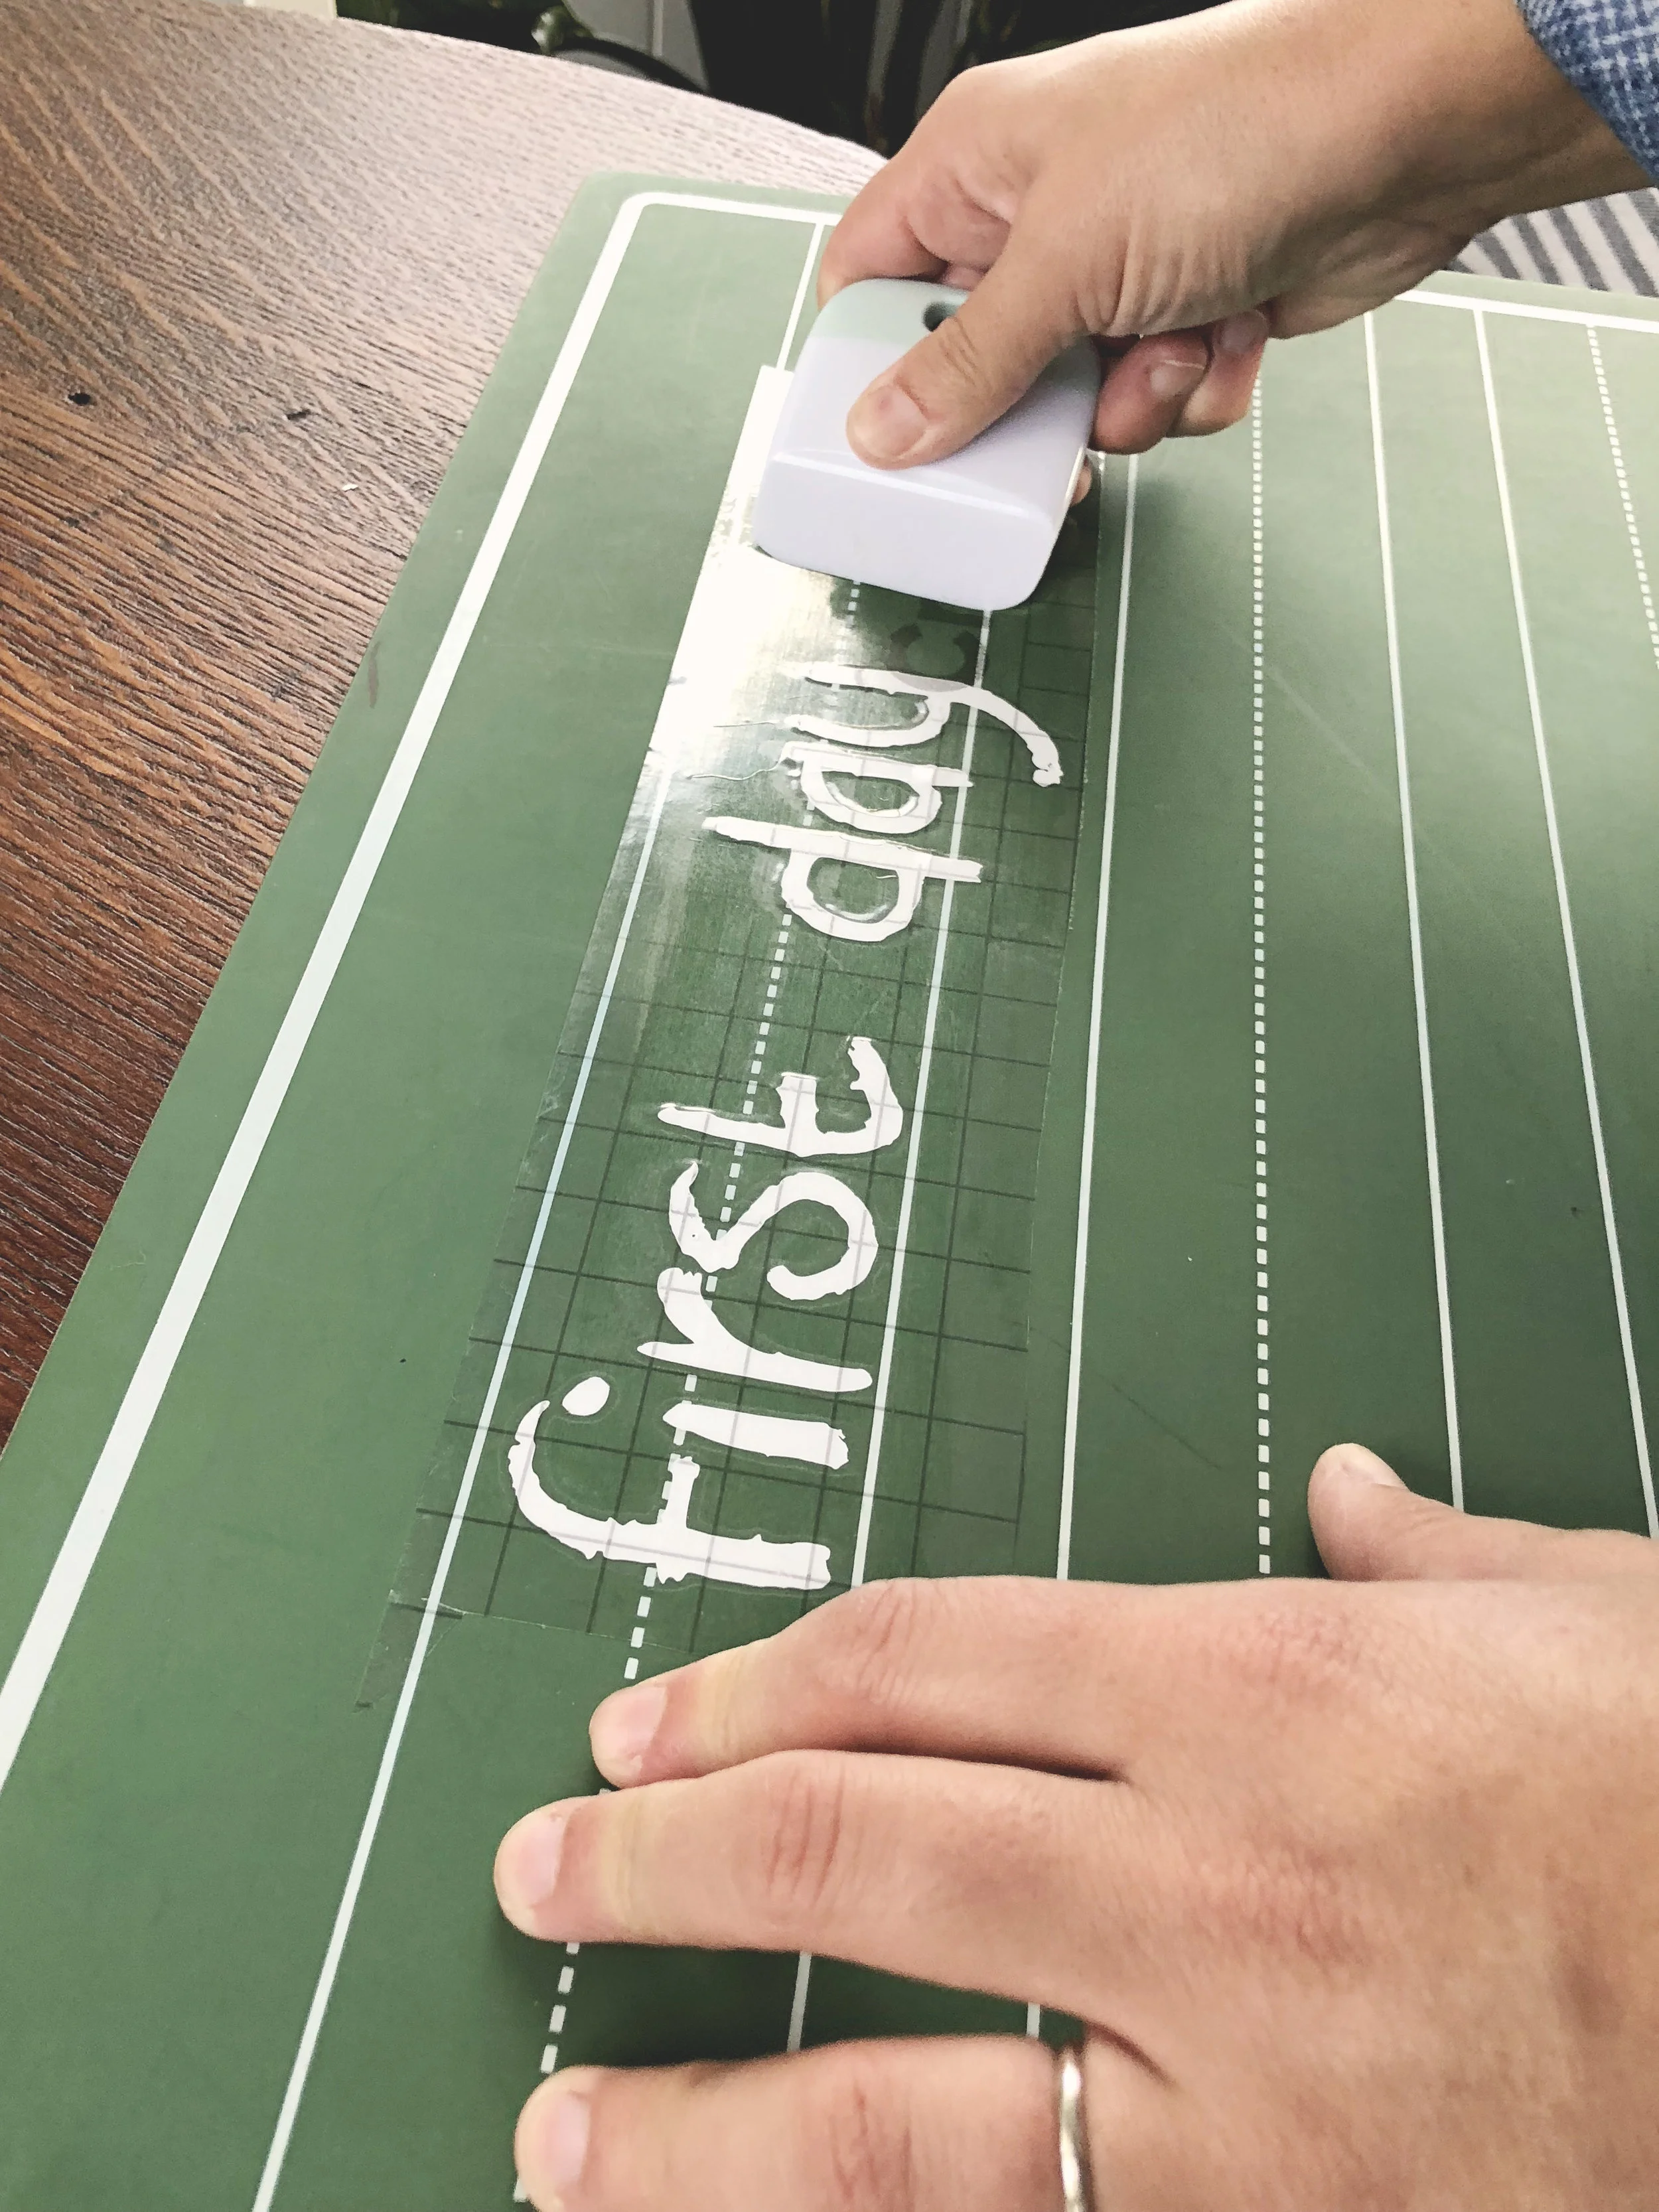
Step 4 - Place the text onto the chalkboard
Remove the vinyl backing and carefully place the newly created 'decals' onto the chalkboard. Using a similar technique as before, press firmly to transfer the letters onto the chalkboard before removing the transfer tape.
Finish by placing all word components.