bug hotel
One of the activities we really enjoy is working outside in the yard. Whether it's mowing the lawn, moving rocks, or planting something, we always seem to find ourselves with a long to-do list. Fisher added to this to-do list by developing construction plans for his very own bug hotel as part of his father's day gift.
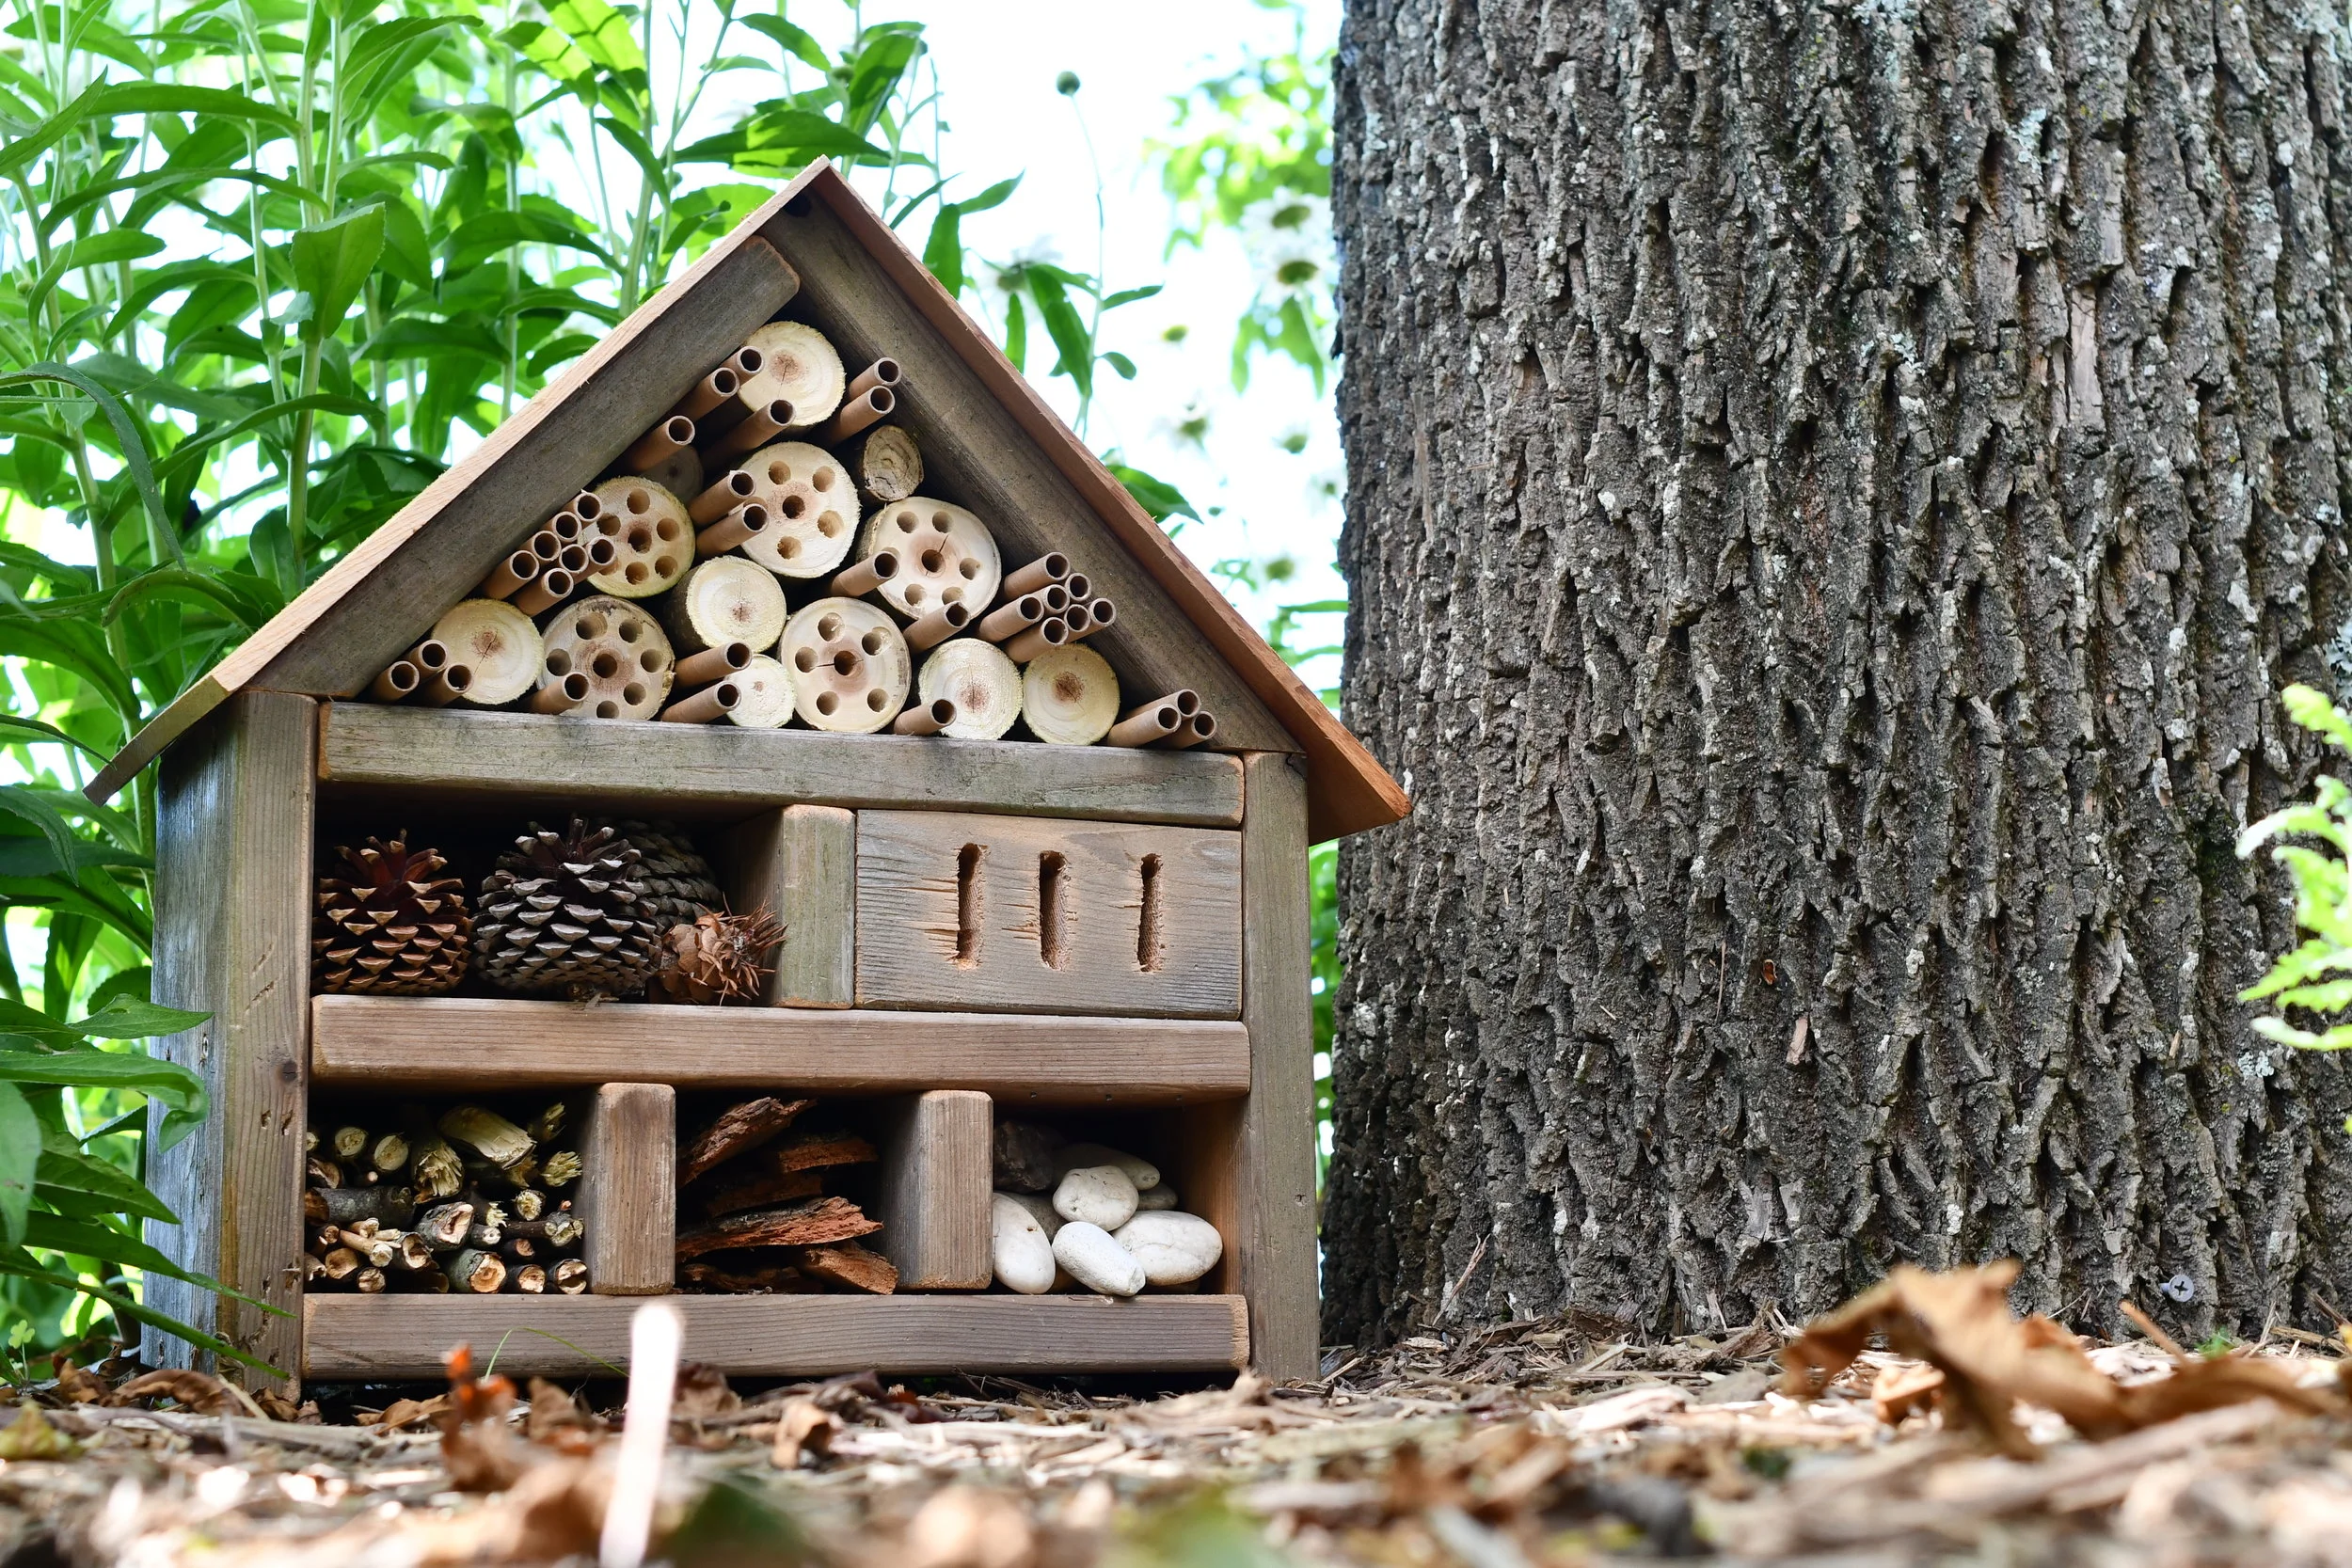
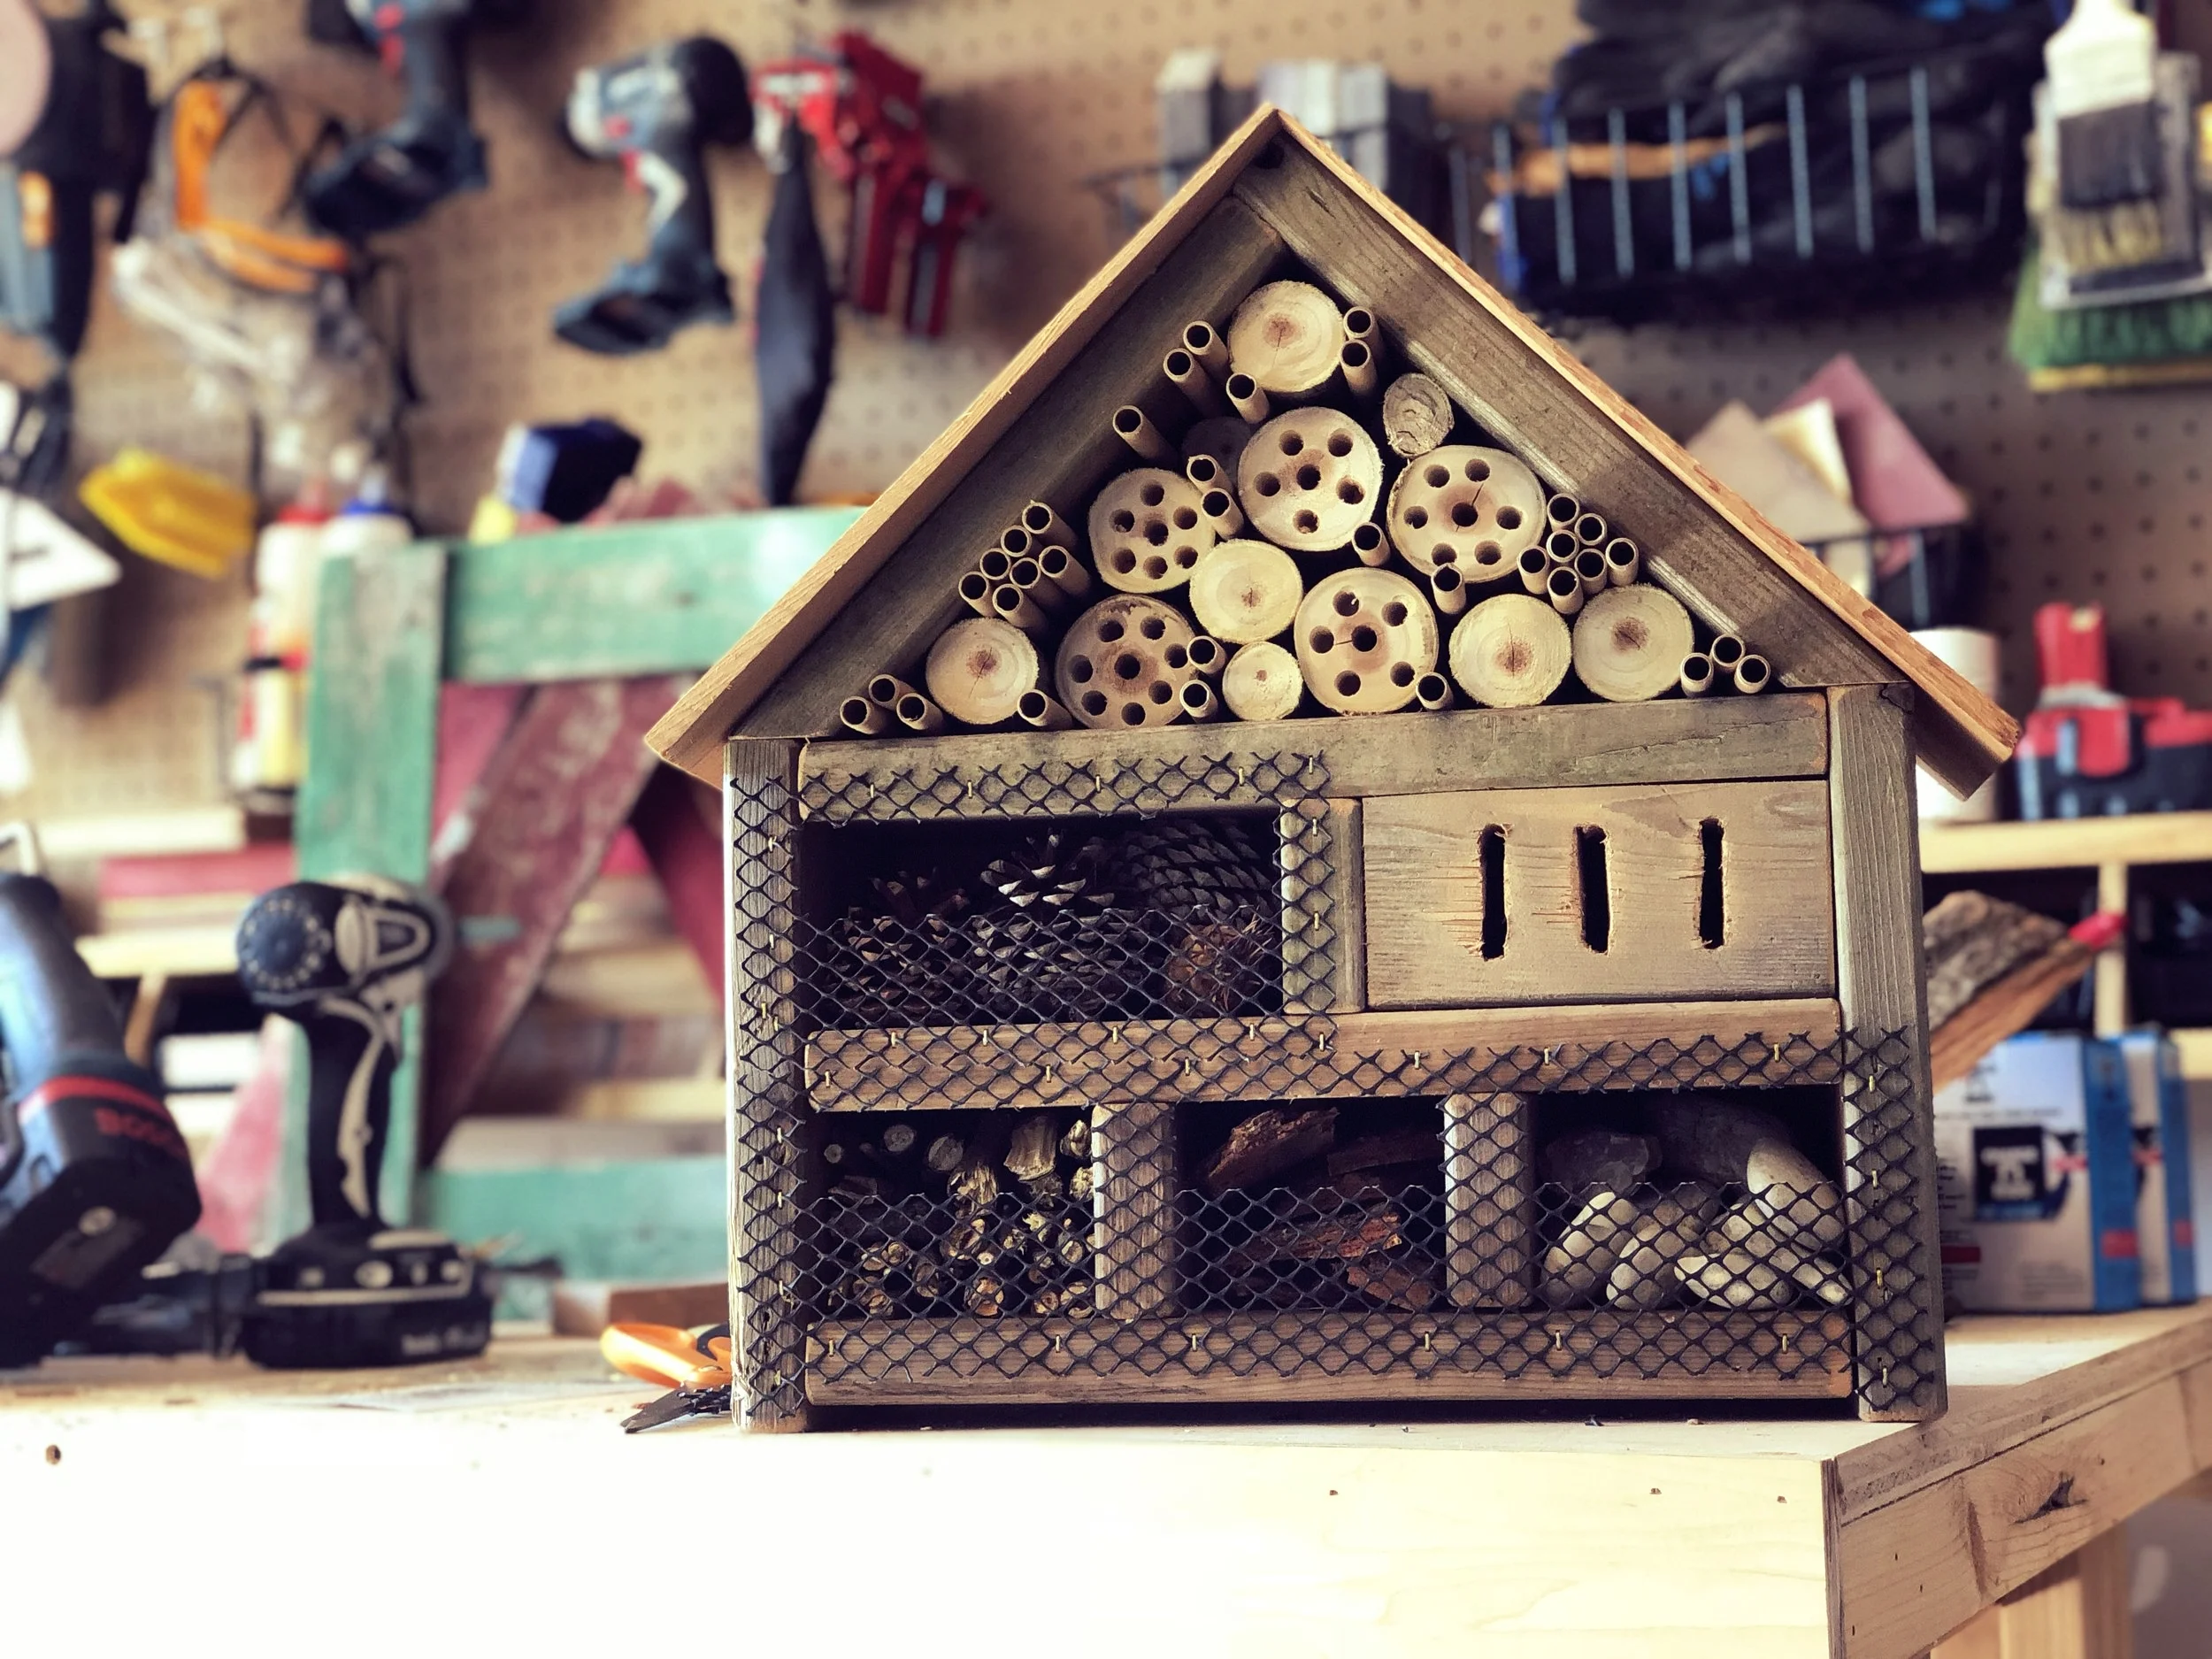
A bug hotel is a structure that provides shelter for various insects and critters. The variety of lodgers in your hotel is dependent on the materials you select and it is completely customizable.
This project also offers a variety of activities within it: design, material collection, assembly, and maintenance & monitoring.
What you will need:
Ruler / Shape Templates
Paper
Pencil & Crayons
Wood (preferably cedar) - 5 1/4" x 8'
Saw (Mitre Saw)
Sandpaper / Sanding Block
Drill
Impact Driver
Outdoor screws (1 5/8")
Hammer / Nail Gun
Nails
Cedar Shake Shingles
Sticks / Tree Branches
Pine Cones
Rocks
Bark
Bamboo / Bee Tubes
Netting / Gutter Guard
Scissors

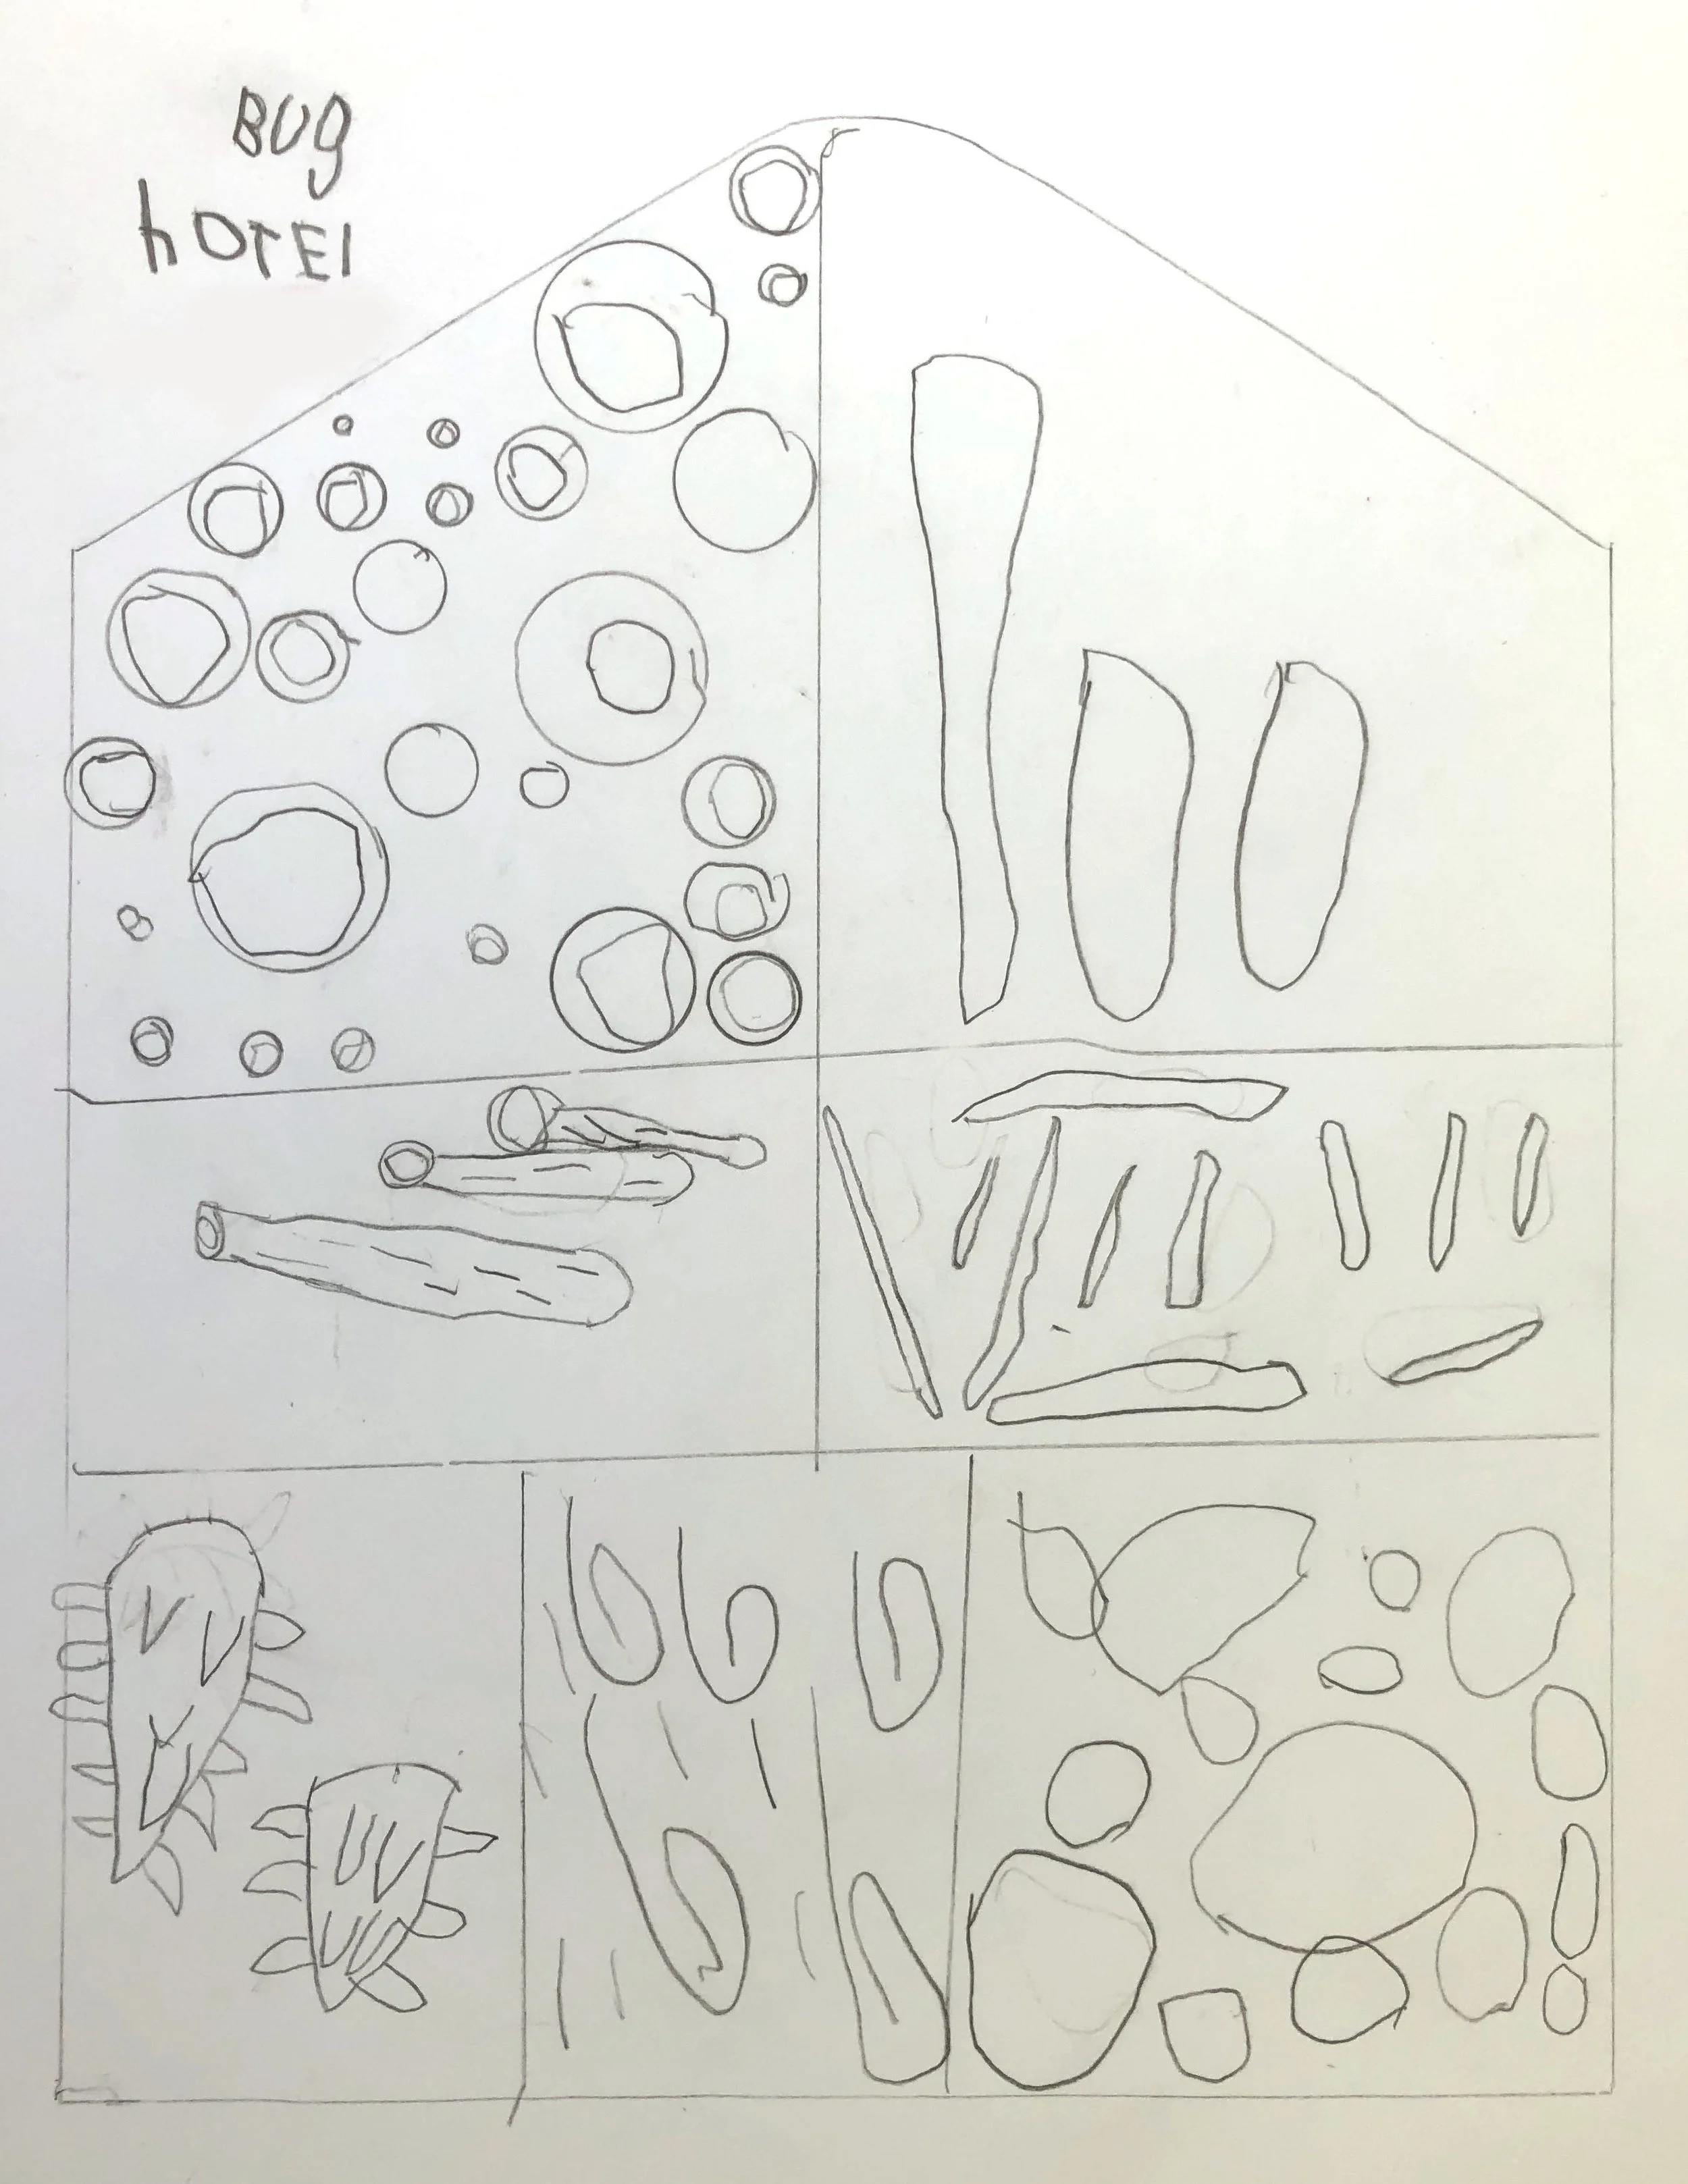
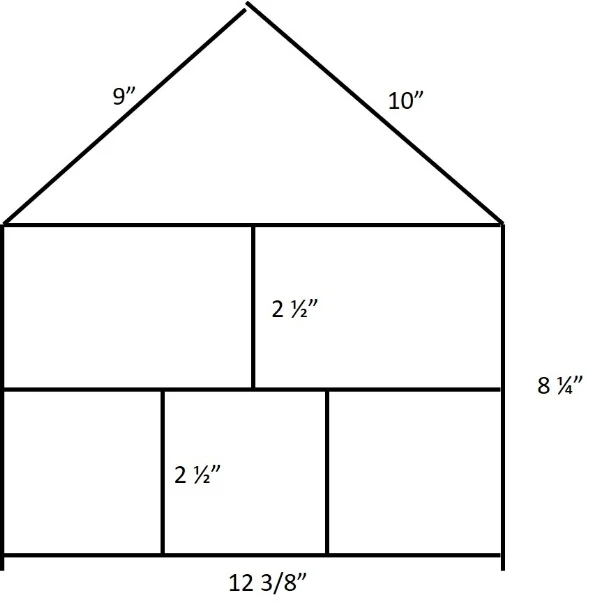
Step 1 - Design your bug hotel
Before Fisher began designing his bug hotel, we read the book, "Bug Hotel, A lift-the-flap book of discovery" to gain inspiration and learn about bug hotels and the insects that call them home. Using a pencil, ruler, and circle tracers, he then began drawing on paper. He chose a classic "A-frame" design for his house (a square with a triangle on top). Using his ruler, he then divided the house into smaller sections by drawing straight lines. He modeled his bug hotel after the one in the book, but it can really be any shape with any amount of sections or rooms. Next, you'll want to figure out what bugs you would like to attract to each area of the bug hotel, and add the appropriate materials to those sections (based on the information in the book, or other references you find)...i.e. rocks, pine cones, bark, etc...).
Critters and their preferred materials:
Bees - bamboo, branches/wood with holes drilled
Butterflies - butterfly boxes
Beetles - bark, deadwood, twigs
Snails - broken pots or tiles stuffed with leaves or grass
Spiders - pine cones, twigs and stems
Ladybugs - hay, straw, and dry leaves

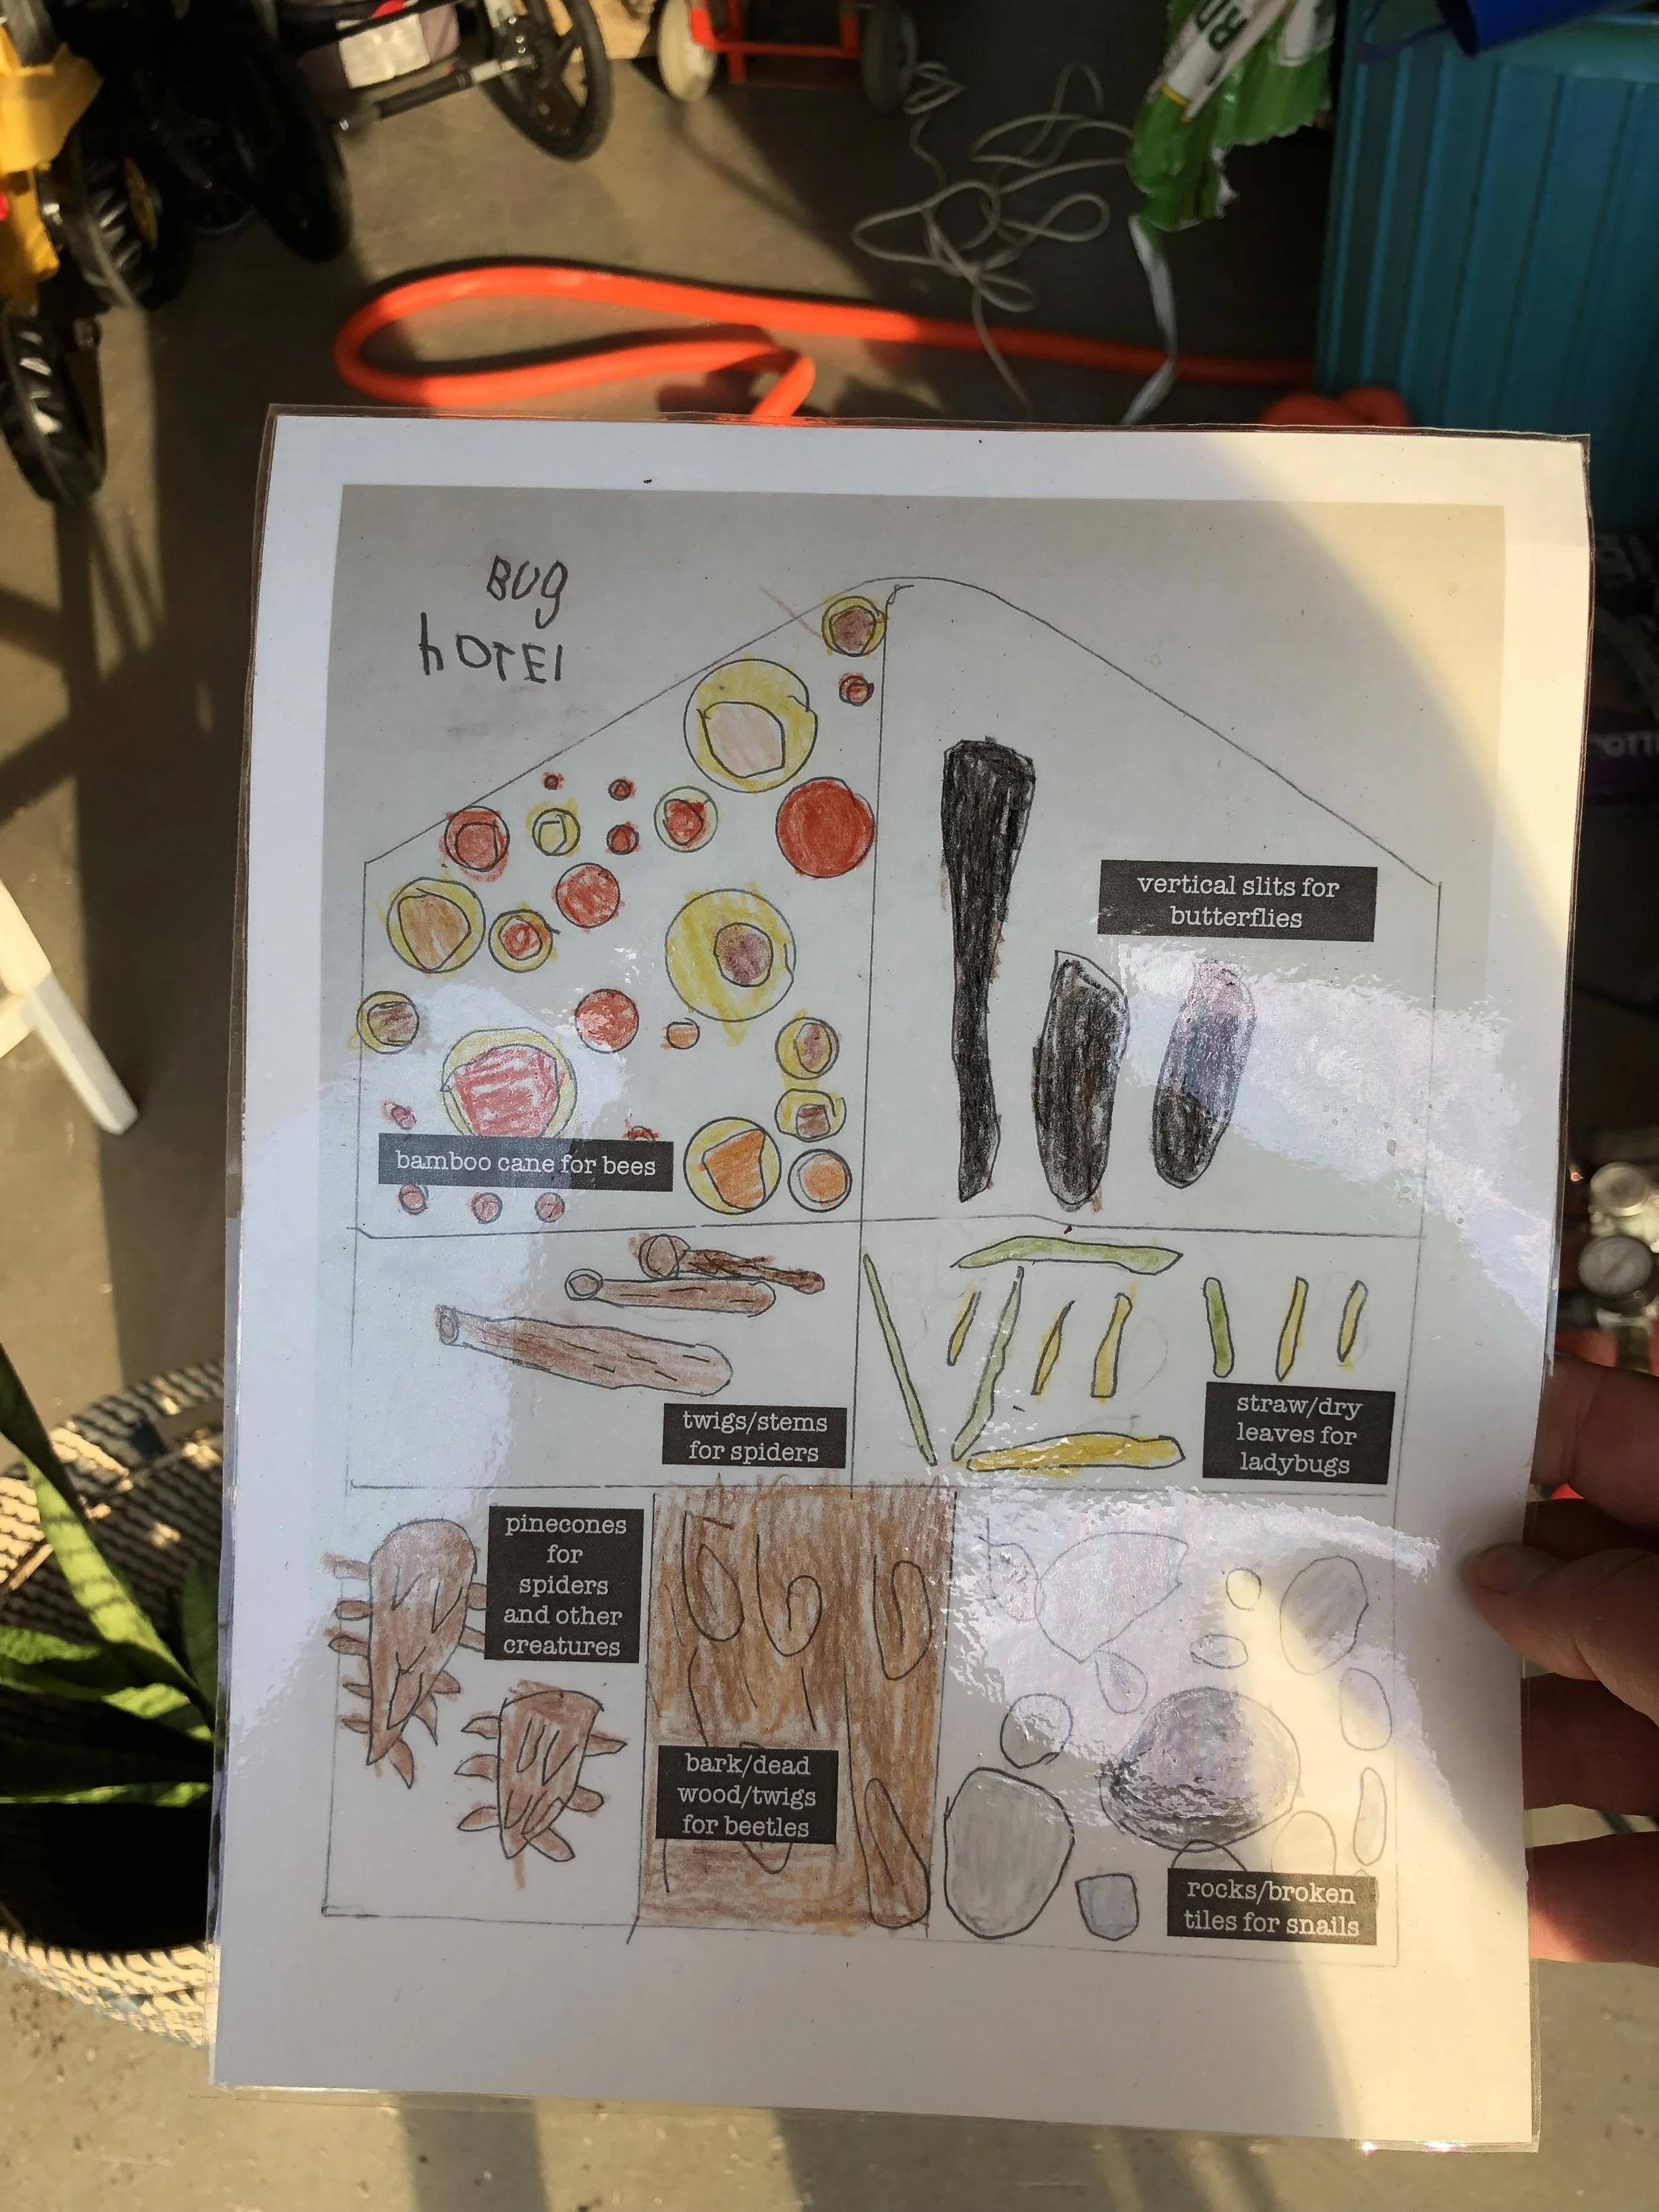
Step 2 - Complete the design (optional)
This step is completely optional, but if your child wants to "complete" their drawing by tracing in marker and/or coloring, that can be done as well. Fisher was giving his design to his dad for Father's Day along with a bucket full of kids' tool belts, tools, etc... so that they could build the actual bug hotel together, so we wanted his design to have a finished look. I scanned his drawing into the computer, added labels for the various sections, and then printed it. He then colored it in using crayons.
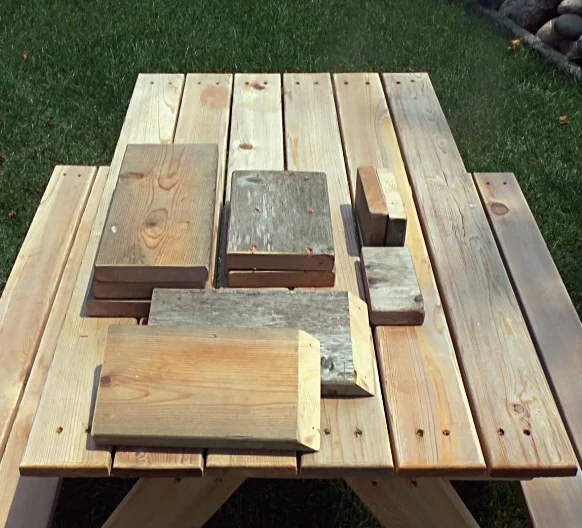
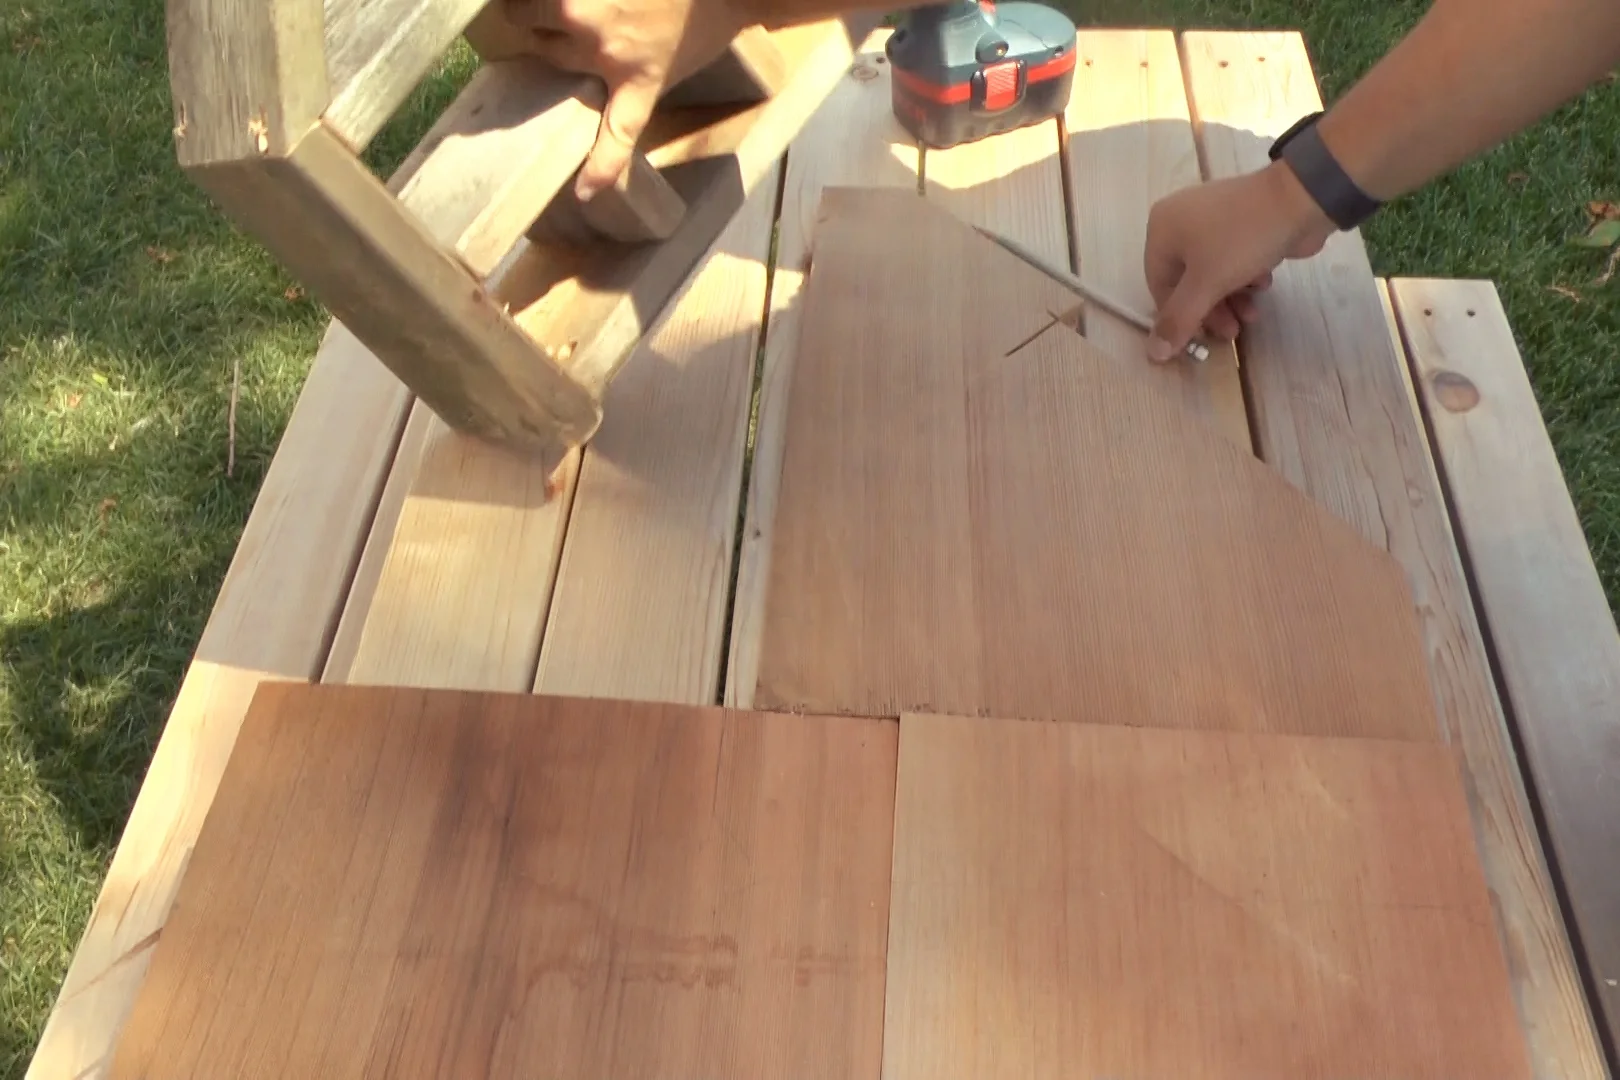
Step 3 - Cut and prepare boards
Using the design as a reference, you will next need to determine the measurements of the boards and cuts for the frame. We modified Fisher's design a little because we were using an old cedar board that we had, so we were limited to the dimensions of the board.
Once cut, we sanded down the rough edges and pre-drilled all the holes since the boys were going to help with assembly.
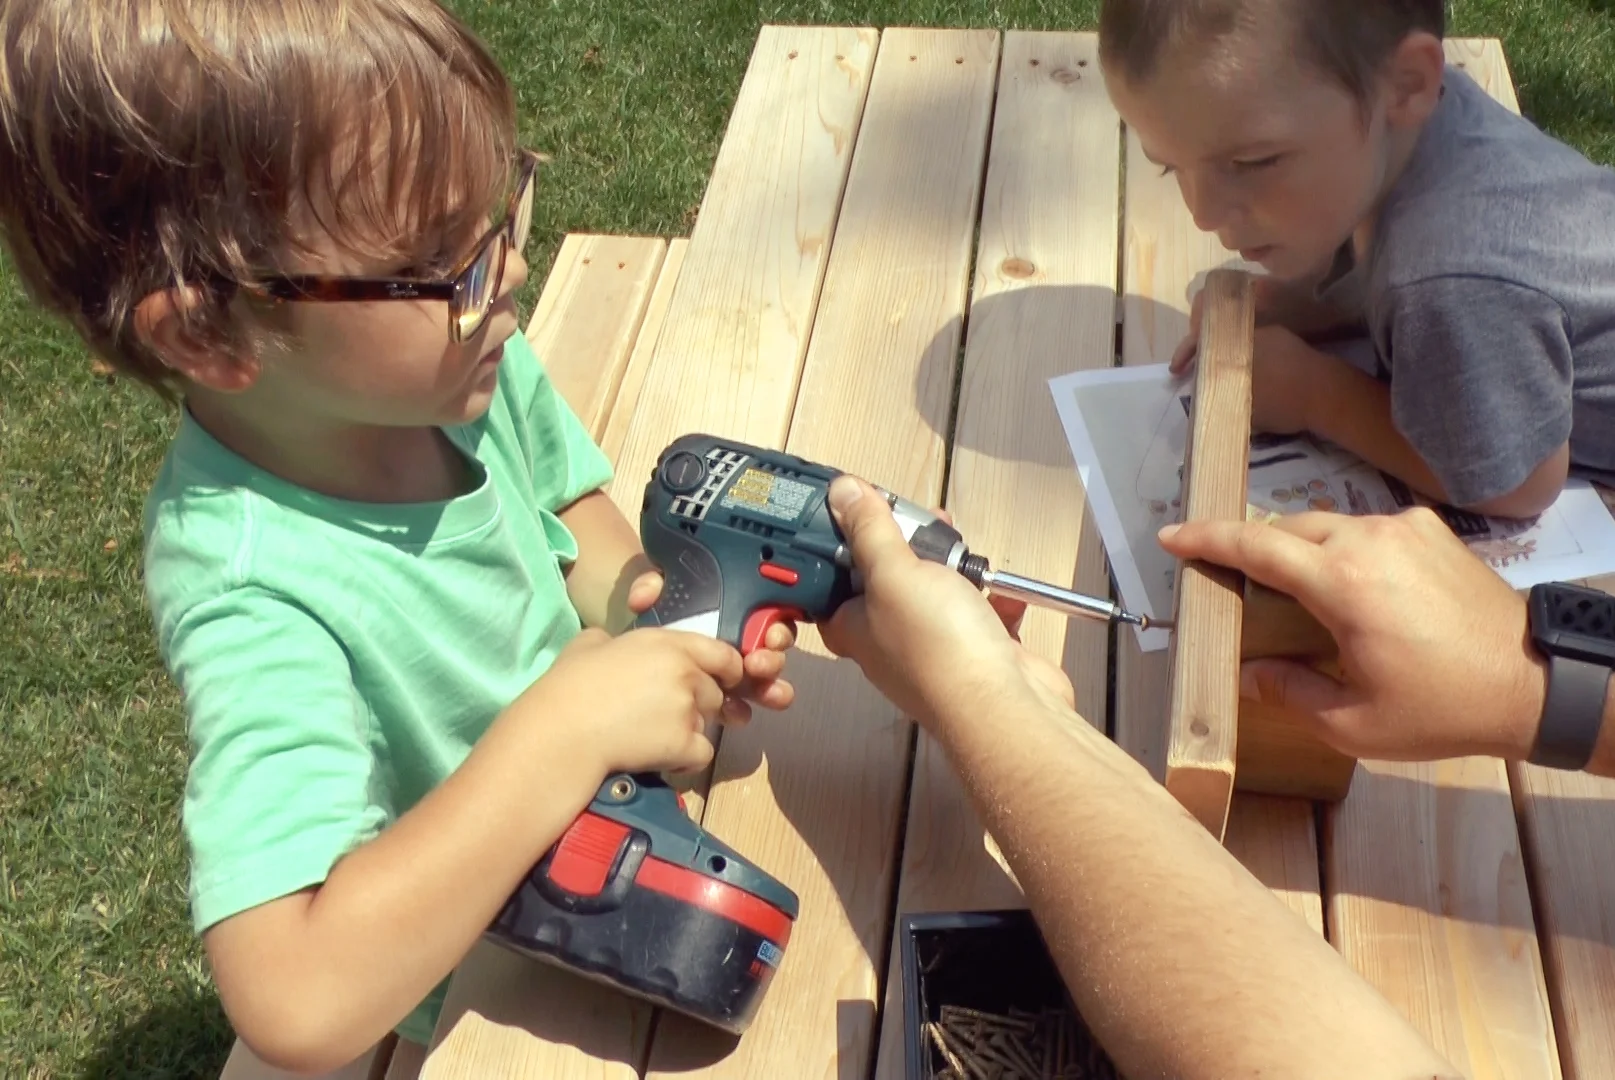
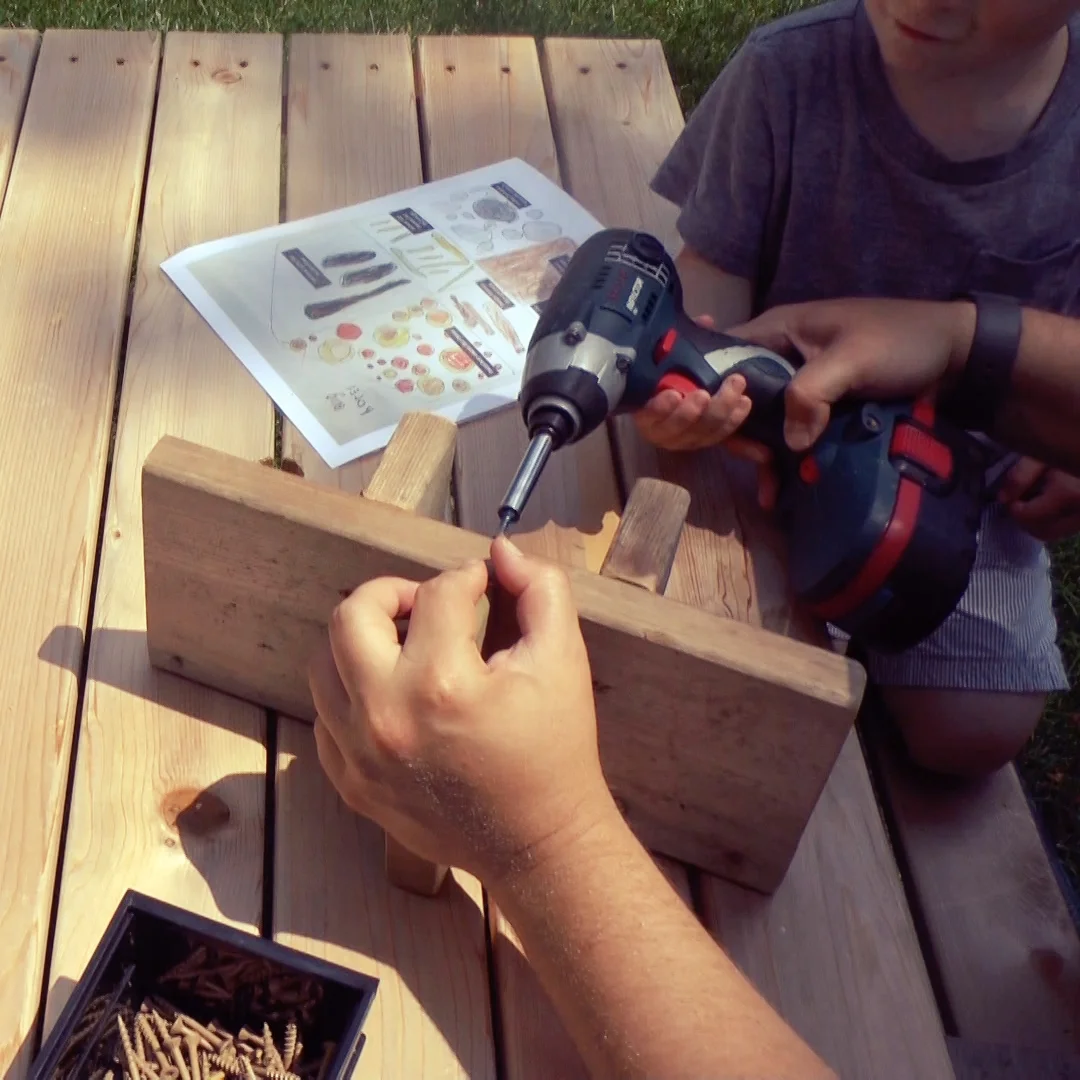
Step 4 - Assemble the hotel frame
With the boards all prepped, it was very easy to let Fisher and Jack use the impact driver to screw everything together. There were a few instances where we utilized clamps to secure pieces together during assembly, but you should be able to hold most pieces together for your kids. Since this piece will be outside and will weather over time, the assembly does not have to be perfect.
Step 5 - Install backing on hotel
To keep all of the contents dry for its future dwellers, we installed a back and a roof using old cedar shake shingles we had. You can use a variety of different reclaimed materials for the roof (old tiles, old roof shingles, wood, license plates, etc.) as long as it will keep most of the water and moisture out of the hotel.
For our hotel, we secured both the roof and backing with staples. We also extended our roof 2 inches over the front of the hotel.
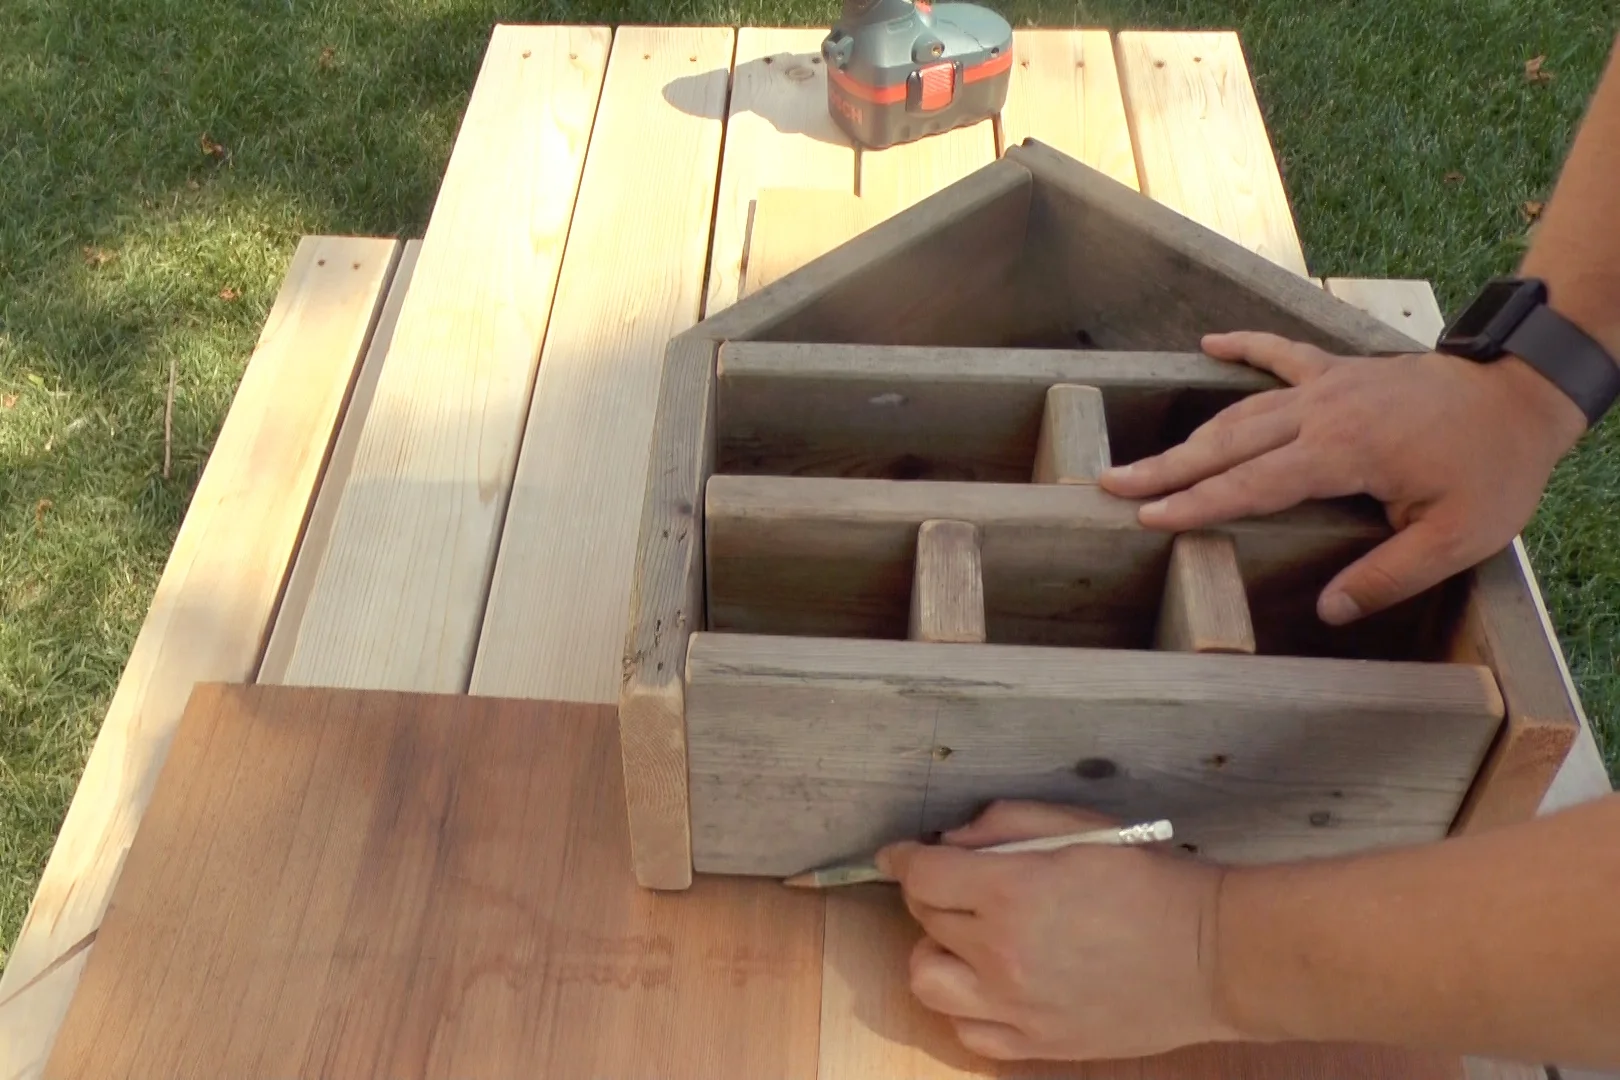
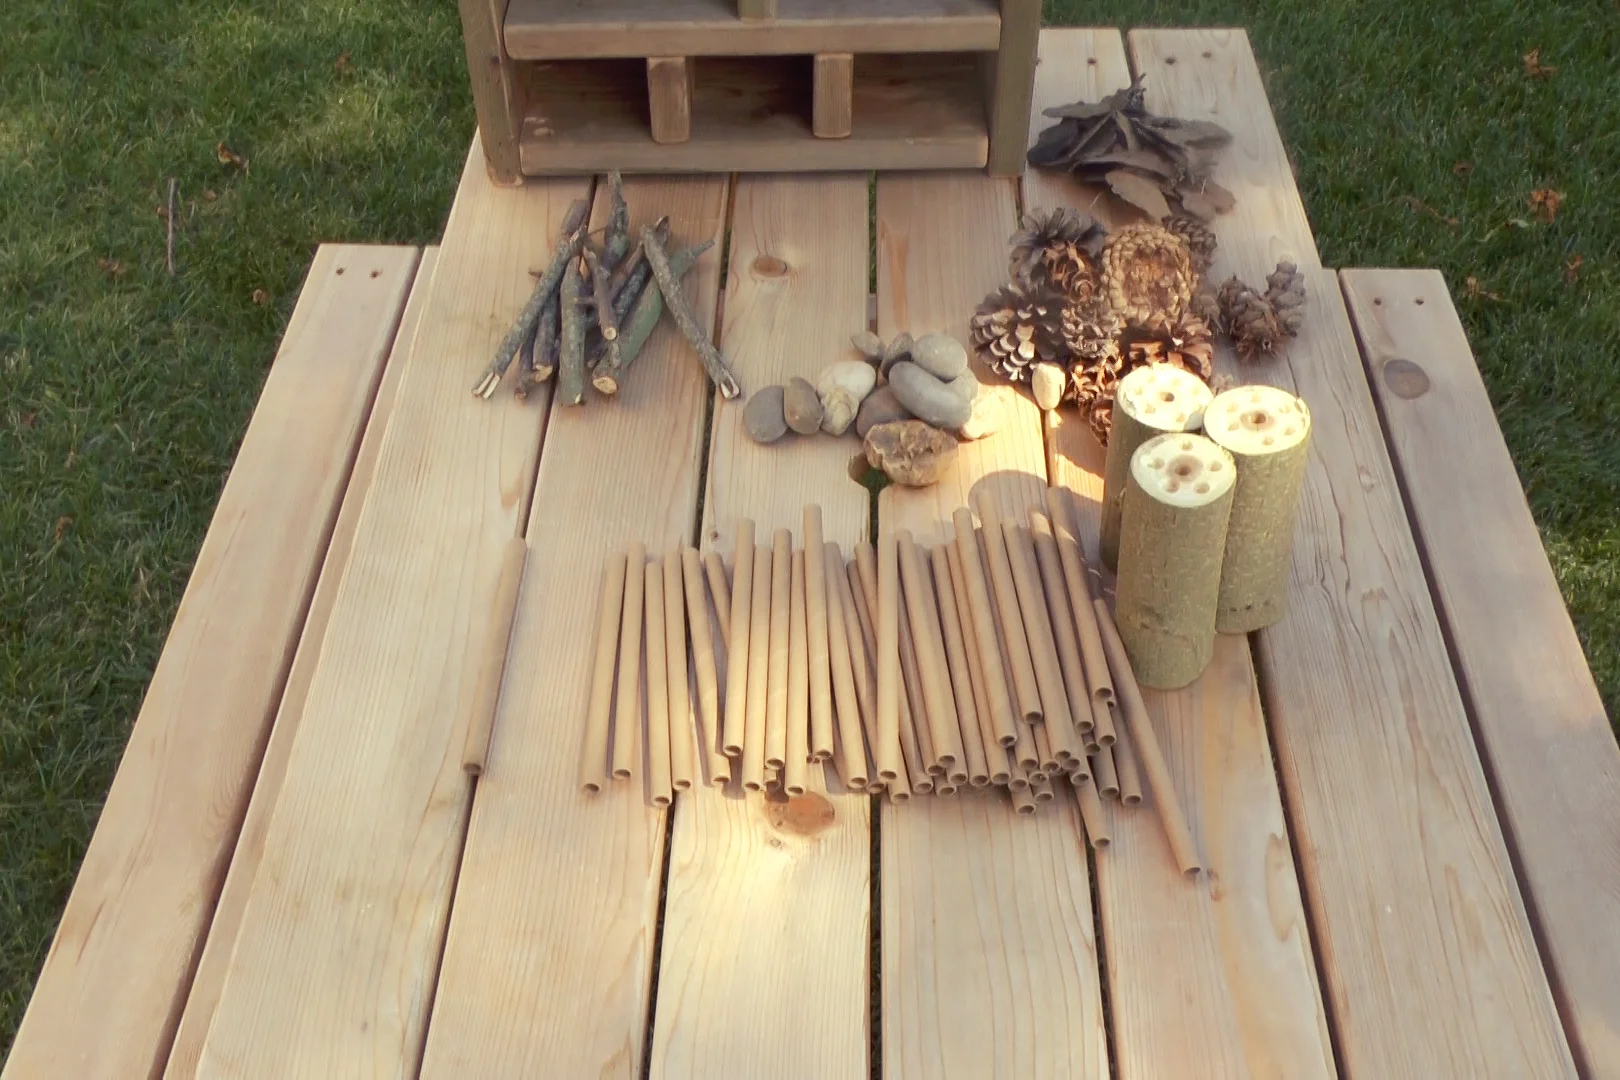
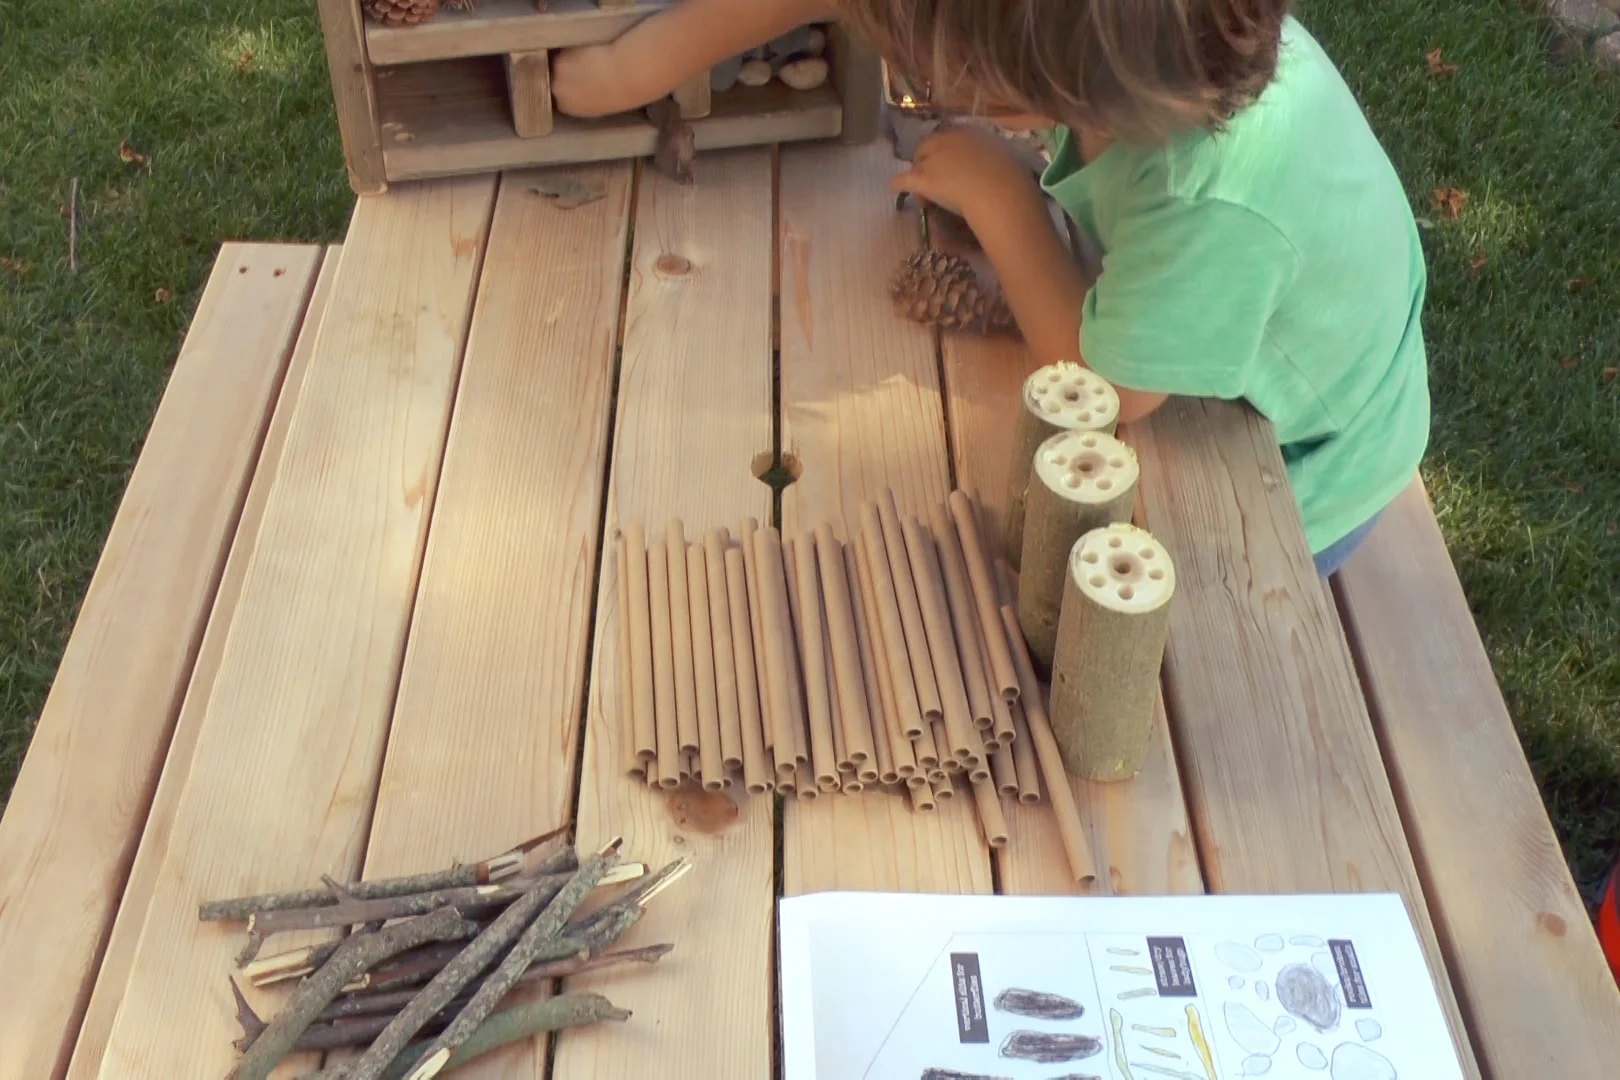
Step 6 - Prep & install bug hotel contents
Now that the structure is completed, you will need to prepare the natural materials for the critters before you can begin to fill up the hotel. First, make sure that all of the sticks and branches are cut to length so that they do not extend beyond the structure too far. Next, we drilled holes in our larger branches to create 'move-in ready' homes for the solitary bees.
Using the design as a guide, your child can complete this step on their own.
Netting without access for critters
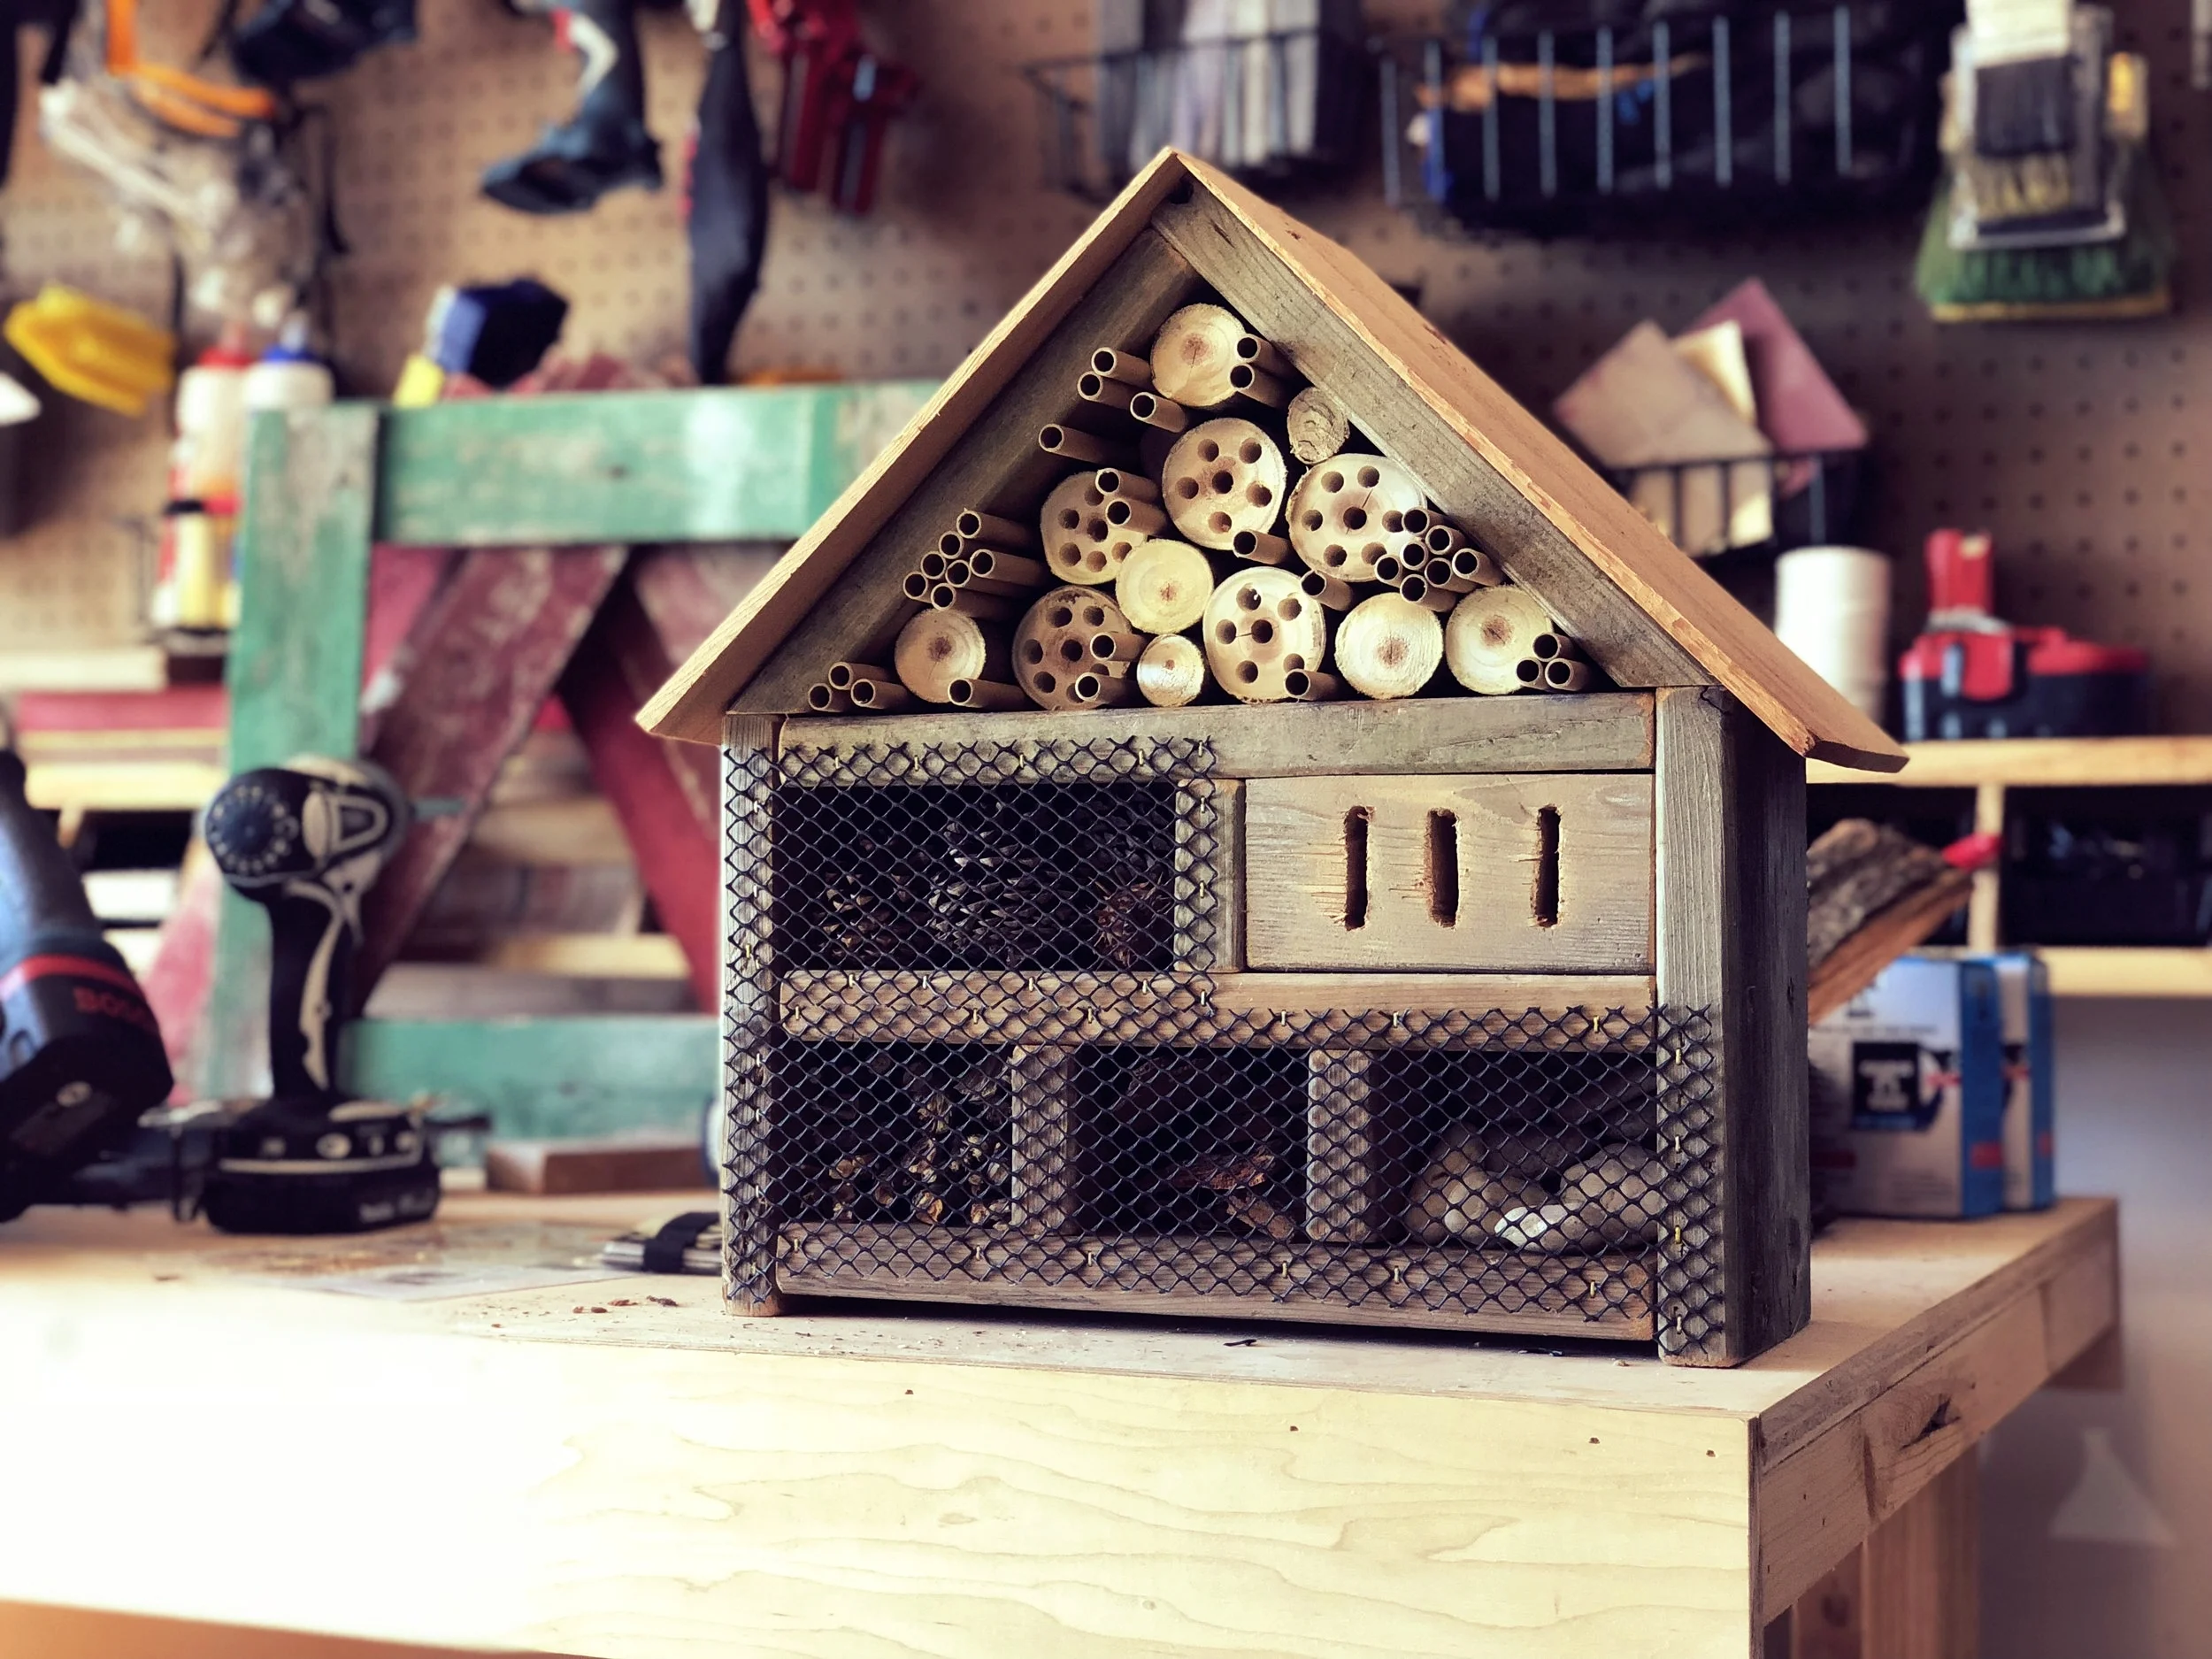
Step 7 - Install netting (optional)
Some of the materials appeared to be a little loose and we weren't certain they would stay secure once the bug hotel was put outside. We chose to add netting (which we then cut larger holes out of) to the face in order to hold everything in place. Other options to keep the contents secure would be cement or an outdoor glue.
Netting with critter access cutout